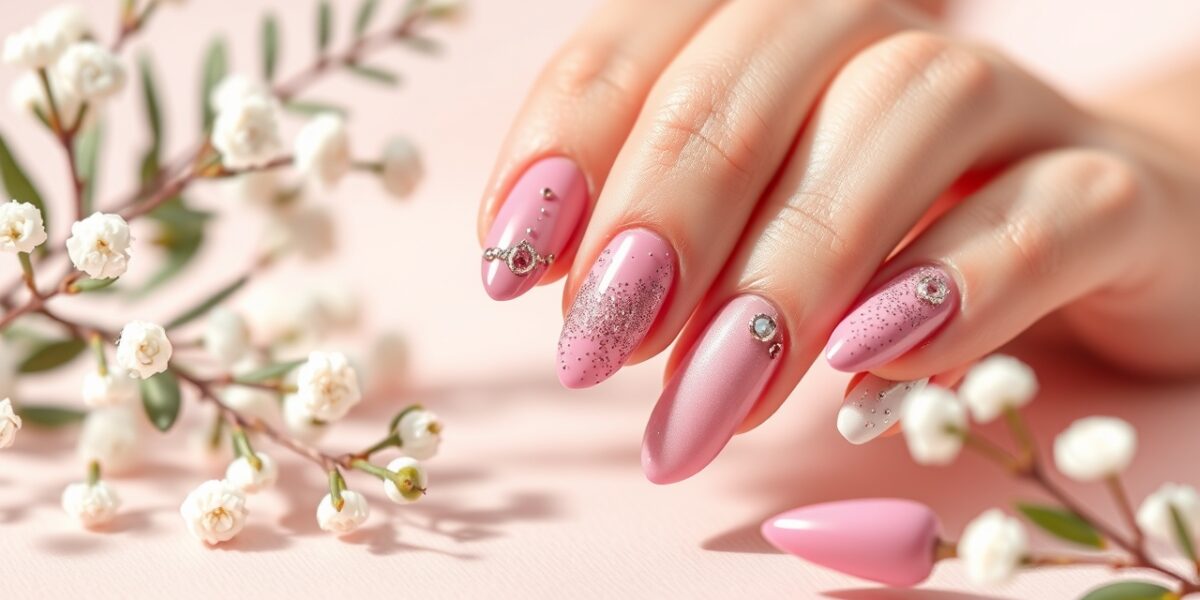
Shaping your nails at home is more than a cosmetic routine; it’s a foundational practice that protects, strengthens, and beautifies the natural nail plate. Whether you’re a student, a professional, or a stay‑at‑home parent, mastering the art of nail shaping allows you to keep your hands looking polished without the need for a salon appointment.
Why Shaping Matters
When nails grow unevenly or develop jagged edges, they become a breeding ground for dirt, bacteria, and fungal infections. A well‑shaped nail reduces the risk of ingrown nails, splits, and breakage, and it provides a smooth canvas for polish, gel, or acrylic. By choosing a shape that complements your hand size and lifestyle, you can enjoy a natural, confident look every day.
Tools You Need for a Smooth Shaping Session
While you can start with a basic set, a few key tools will make the process efficient and safe. Below is a minimalist kit that covers every step of the routine:



- Fine‑grit nail file (160–240 grit)
- Coarse file for initial shaping (80–120 grit)
- Buffer or buffing block
- Cuticle push‑er or a soft wooden stick
- Moisturizing cuticle oil or cream
- Soft, clean towel
- Optional: a digital scale to measure nail length for consistency
- Optional: a small brush to clean dust from the nail bed
Step‑by‑Step Guide: How to Shape Your Nails at Home
- Prep the nails. Wash your hands with warm, soapy water and dry them thoroughly. Apply a light coat of cuticle oil to soften the skin around the nail bed.
- Push back cuticles. Using a cuticle push‑er, gently lift the cuticle away from the nail. Avoid cutting or pulling; this reduces the risk of hangnails and infection.
- Choose the right file. Start with the coarse file to remove any large bumps or unevenness. Switch to the fine file for smoothing the surface without over‑thinning the nail.
- Define the shape. Hold the nail perpendicular to the file and file in a single direction, not back‑and‑forth, to avoid weakening the nail plate.
- Round the edges. File the side edges of the nail in a gentle, curved motion to create a rounded or tapered finish. Keep the center line straight.
- Buff the surface. Once the shape is set, use a buffing block to smooth the nail plate and enhance shine.
- Moisturize. Apply a nourishing hand cream, focusing on the cuticles and the nail bed.
- Clean up. Remove any dust or debris with a soft brush or a damp cloth.
Repeat the process on all fingers, adjusting the length to your preference. If you’re working on a new nail cycle, consider measuring each nail to maintain consistency.
Nail Shapes Guide
Choosing the right shape is key to both comfort and style. Below are the most common shapes and the situations they’re best suited for.
1. Square
- Sharp corners, easy to polish.
- Great for everyday wear and protective coats.
- Ideal for those who use their hands for typing or cooking.
2. Oval
- Soft, rounded edges that mimic natural nail growth.
- Ideal for those who want a subtle, feminine look.
- Provides a longer appearance without the risk of breakage.
3. Pointed (Stiletto)
- Long, tapered tip for a dramatic effect.
- Best for formal occasions; requires extra care to avoid breakage.
- Often paired with bold, statement nail art.
4. Almond
- Combines the elegance of an oval with a slight point.
- Works well for both casual and formal looks.
- Provides a balanced, elongated silhouette.
5. Squoval
- A hybrid shape that is square on the sides and oval at the tip.
- Versatile and easy to maintain.
- Perfect for those who want a professional look with a touch of style.
Advanced Filing Techniques
Once you’re comfortable with basic shaping, you can experiment with more precise techniques to refine the nail’s contour:
- Side‑to‑side filing. File each side of the nail from the base to the tip, then file the opposite side. This method reduces the risk of creating uneven edges.
- Diamond tip files. These files are excellent for shaping the nail’s tip without damaging the plate. Use them gently to avoid thinning the nail.
- Micro‑grit polishing. After filing, use a 400‑grit or higher file to smooth the surface before buffing. This step creates a flawless finish that holds polish longer.
Maintenance Tips for Long‑Lasting Nails
- Never file more than 1/8 of the nail length in a single session.
- Let the nail rest between filing sessions to reduce damage.
- Apply a base coat before polish to protect the nail plate.
- Use a top coat to seal the shape and add shine.
- Hydrate nails daily with a nourishing oil or cream.
- Wear gloves when doing household chores to protect the nails from harsh chemicals.
Choosing the Best Nail Shape for Your Lifestyle
Matching your nail shape to your daily activities ensures both practicality and style:
- Office workers: Squoval or oval for a professional look.
- Manual laborers: Square or rounded for durability.
- Fashion enthusiasts: Almond or stiletto for a statement.
- Parents: Short, sturdy shapes that require minimal maintenance.
- Artists: Oval or almond to allow for creative nail art.
Common Mistakes & How to Avoid Them
- Over‑filing. Leads to weak nails. File in small increments.
- Using a dirty file. Spreads bacteria. Clean after each use.
- Ignoring cuticle health. Causes hangnails. Keep cuticles moisturized.
- Applying polish too thick. Cracks the nail. Use thin coats.
- Skipping a buffer. Leaves a rough surface. Buff after filing.
- Using a nail clipper to shape. Creates jagged edges. Use a file instead.
Quick Checklist Before You Start
- Clean hands and nails.
- All tools sterilized.
- Cuticles softened.
- Nail length measured.
- Nail shape decided.
- Moisturizing cream ready.
- Optional: a small brush for dust removal.
FAQs
- Can I shape my nails without a file? While a file is ideal, you can use a fine nail clipper to trim the edges, but it won’t give a smooth finish.
- What is the best nail shape for short nails? A square or oval shape works best, as it maintains length and is easy to manage.
- Can I use a buffer instead of a file? Buffers smooth the surface but don’t reshape the nail. Use a file for shaping.
- How often should I file my nails? Every 2–3 weeks, or as needed when you notice uneven growth.
- Is it safe to file nails with a nail polish remover? No, nail polish remover is for removing polish, not for shaping nails.
For a deeper understanding of nail anatomy, see the Wikipedia article on nails: Nail.
Want more DIY tips? Visit our website for tutorials and inspiration.
Leave a Reply