When you ask how to make your manicure last longer, the answer isn’t just about choosing a glossy shade or a high‑end brand. It’s a science that blends proper prep, precise layering, and daily habits. Below, I’ll walk you through a step‑by‑step routine that has kept my nails looking showroom‑ready for two weeks straight.
The Foundation: Preparing the Nail Plate
Cleaning and Dehydrating
Before a single drop of polish lands on your nail, you must strip away every trace of oil and residue. Grab a cotton ball, dip it in 70‑percent isopropyl alcohol (or a commercial nail dehydrator), and wipe each nail from tip to cuticle. Let the alcohol evaporate for 30 seconds; the nail should feel dry to the touch. This simple step removes the glossy barrier that would otherwise prevent the base coat from bonding.
Proper Cuticle Management
Cuticles are living skin, and polish that touches them will lift. Use a cuticle pusher or a soft wooden stick to gently push back the skin. Avoid cutting the cuticle with scissors; that creates micro‑tears that invite bacteria and break the seal. After pushing back, dab a small amount of cuticle oil to keep the skin supple but let it dry before you start painting.



Shaping for Strength
Shape matters. Sharp corners catch on sleeves and gloves, making chips inevitable. I prefer an almond or oval shape because it distributes pressure evenly. Use a fine‑grit file (400–600 grit) and file in one direction—down to the tip, then back up—rather than sawing back and forth. This technique preserves the nail’s natural curve and reduces micro‑fractures that could become future chip sites.
The Layering Strategy for a Manicure That Lasts
The Essential Base Coat
Think of the base coat as the adhesive that holds the paint to the wood. A good base coat should be clear, fast‑drying, and contain a mild polymer that grips the keratin. If you have ridges or unevenness, choose a ridge‑filling base coat; it levels the surface and eliminates air pockets that can lift. Apply one thin layer (about 0.5 mm) and let it dry for 30 seconds before proceeding.
Thin Coats Over Thick
Polish is a solvent‑laden liquid. Thick layers trap solvent and never fully cure, leaving a tacky finish that cracks. Instead, apply two to three coats, each thin enough to run off the brush in a single stroke. Let each coat dry for 1–2 minutes—if you’re in a hurry, a quick tap of the nail on a clean surface will help the solvent evaporate.
Capping the Free Edge
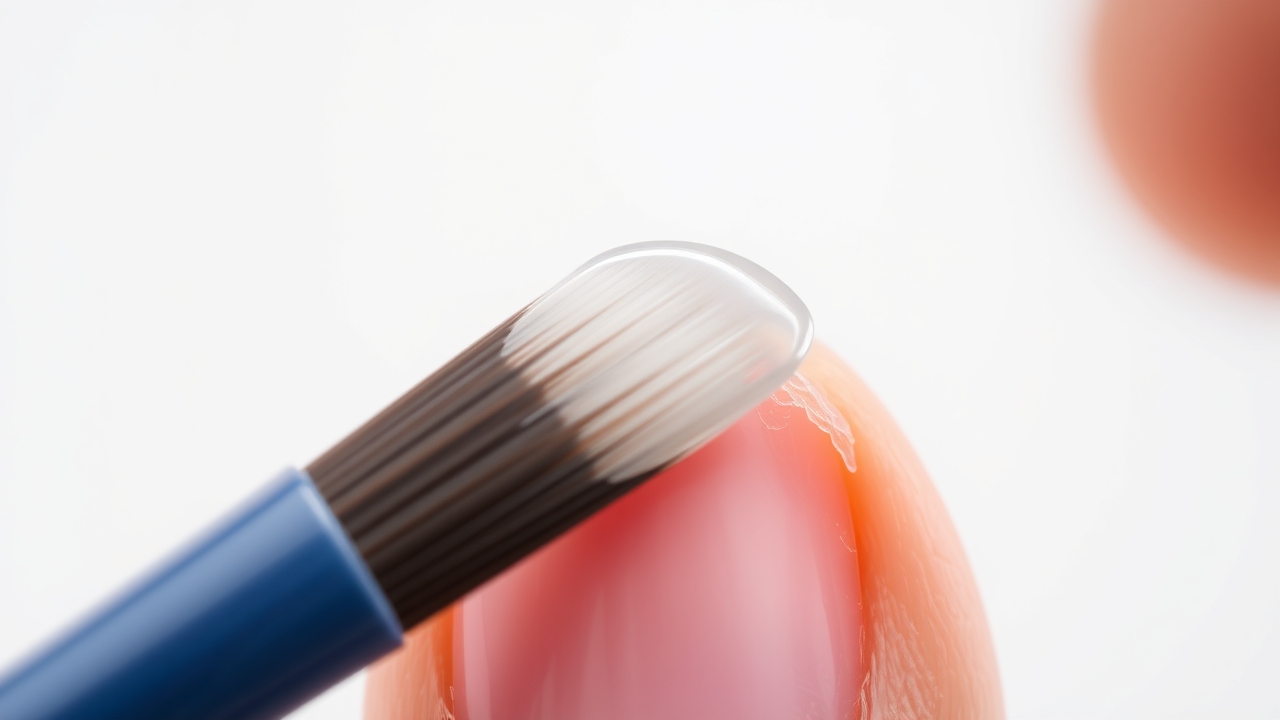
This is the single most reliable trick for a chip‑free manicure. After you’ve painted the surface, take a fresh brush, load it lightly with polish, and glide it horizontally along the very edge of the nail. The brush should travel from the cuticle to the tip, sealing the layers together. Repeat this step for the base coat, each color coat, and the top coat. The cap creates a physical barrier that resists the friction of everyday tasks.
Advanced Long‑Lasting Manicure Tips
The Top Coat Cycle
A top coat isn’t a one‑time finish. Every two to three days, apply a thin layer of clear top coat to refresh the seal. This step plugs micro‑scratches that appear after a few days of use and re‑caps the free edge. If you notice a tiny chip, fill it in with a touch of color, then immediately re‑cap and top‑coat.
Hydration and Oil
Dry nails are brittle and prone to snapping. Each night, apply a high‑quality cuticle oil (look for jojoba, vitamin E, and almond oil). Massage it into the cuticle and the nail bed; it penetrates the keratin and keeps the surface flexible. This simple nightly ritual prevents the polish from cracking as the nail flexes during sleep.
For a deeper dive into nail anatomy, check out Wikipedia’s article on nails. Understanding the layers of the nail plate helps you appreciate why hydration matters.
Avoiding Harsh Chemicals
Acetone and household cleaners strip the oils that keep your polish intact. Whenever you’re washing dishes or cleaning, wear rubber gloves. Even a brief splash of water can soften the top coat, making it more susceptible to chips. If you must remove old polish, use a non‑acetone remover or a gentle nail polish stripper that contains moisturizing ingredients.
Daily Habits to Prevent Chipping
- Don’t use nails as tools: Scratching stickers or opening cans with your nails inflicts micro‑damage that severs the bond between polish and nail.
- Limit water exposure: Prolonged soaking in hot water causes the nail bed to swell and contract. After a shower, pat your hands dry and apply a light hand cream to lock in moisture.
- Ice‑water rinse: After your final top coat, dip your nails in ice water for 30 seconds. The cold temp helps the polish set faster, reducing the chance of smudges right after application.
Troubleshooting Common Manicure Failures
Bubbling Polish
Bubbles often appear when the bottle is shaken too violently or when painting in a drafty room. Instead of shaking, roll the bottle between your palms for 30 seconds. Paint in a well‑ventilated area away from fans or open windows to prevent rapid drying that traps air.
Peeling at the Base
If the polish lifts near the cuticle, it’s usually because paint touched the skin. Before the top coat dries, use a small brush dipped in acetone to clean up any stray polish along the cuticle. This ensures a clean seal that won’t lift.
Streaking Color
Streaks happen when the brush is overloaded or the polish is too thick. Keep the brush loaded lightly and glide it in a single motion. For sheer shades, apply three thin coats instead of two thicker ones. For more detailed tutorials, visit Nails Made Simple.
The Role of Nail Health in Longevity
Your natural nails are the foundation of any manicure. If they’re peeling, split, or overly soft, no amount of polish will stay. Incorporate a nail strengthener—either a dedicated treatment or a base coat with added polymers—into your routine. Avoid over‑filing; a light buffing with a 400‑grit pad can improve grip without thinning the plate. Remember: a thin, flexible nail is more likely to crack under pressure than a thick, rigid one.
Summary Checklist for a 14‑Day Manicure
- Remove old polish and shape nails into an almond or oval shape.
- Push back cuticles, wipe the nail plate with 70% alcohol, and let dry.
- Apply one thin layer of base coat, cap the free edge, and let dry.
- Apply two thin layers of color, capping each time.
- Finish with a high‑quality top coat, cap the edge, and let dry.
- Wait 20 minutes before heavy activities.
- Apply cuticle oil nightly.
- Re‑apply top coat every 3 days.
- Wear gloves during chores that involve water or chemicals.
Frequently Asked Questions
How to make your manicure last longer at home?
Start by dehydrating the nail plate with 70% alcohol. Use thin layers of polish, cap each layer’s free edge, and top‑coat every few days. Pair these steps with nightly cuticle oil and gloves during chores to protect the finish.
Why does my polish always chip at the tips?
Chipping at the tips usually means the polish wasn’t capped or the nails are hitting hard surfaces. Capping creates a seal that protects the most vulnerable area. If you’re still seeing chips, switch to a thicker formula or add a protective top coat.
Does the brand of polish affect how long it lasts?
While some brands offer more flexible formulas, technique trumps brand. Using a matching system—base, color, and top coat from the same line—can improve adhesion because the chemicals are engineered to work together.
Can I use cuticle oil over my polish?
Yes, you can and should. Cuticle oil hydrates the skin and french the nail plate without dissolving the polish. It keeps the nail flexible, preventing cracks as the nail flexes.
How often should I change my manicure?
For nail health, give your nails a “naked week” every month. Remove polish with a gentle, non‑acetone remover, then focus on hydration and strengthening treatments before starting a new color.
Leave a Reply