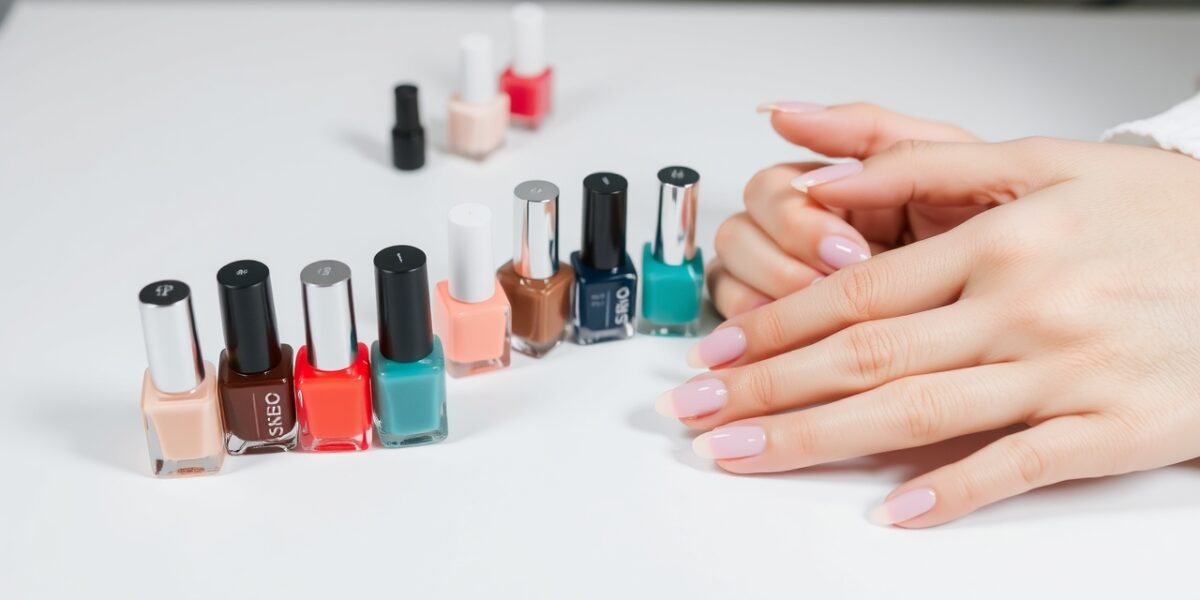
When the glossy finish of a gel manicure starts to feel like a second skin, you’ll want to peel it back without turning your nails into brittle wreckage. Below is a practical, human‑written walk‑through that keeps the science simple and the steps gentle.
Why You Might Want to Remove Gel Polish at Home
Gel polish offers a high‑gloss, long‑wear finish that regular nail polish can’t match. Yet, whether you’re switching to a new color, giving your nails a break, or simply want to avoid a salon appointment, removing gel at home can save time and money. The key is to treat your nails with care so they stay healthy while you enjoy the convenience of a DIY manicure.
How to Remove Gel Polish at Home
Below is a clear, step‑by‑step routine that balances speed with nail preservation.



Step 1: Gather Your Supplies
- 100% acetone (10‑15 ml bottle) – the solvent that dissolves gel.
- Aluminum foil or pre‑cut cotton balls – to keep the acetone in contact with the nail.
- Cuticle pusher or a wooden stick – for lifting softened gel.
- Cuticle oil or a thick hand cream – for post‑removal hydration.
- Paper towels or a clean cloth – to wipe away residue.
All of these items are inexpensive and can be found in a drugstore or grocery store. No special gel‑removal kit is required.
Step 2: Protect the Skin Around Your Nails
Apply a thin layer of cuticle oil or a professionalism‑grade hand cream along the cuticle line. Let it sit for 30–60 seconds; this barrier shields the skin from acetone’s drying effect.
Step 3: File the Surface (Optional but Helpful)
- Gently file the top layer of the gel in a downward motion. Lightly removing the shiny film allows acetone to penetrate faster.
- Avoid aggressive filing; over‑filing thins the nail plate and can lead to breakage.
Step 4: Soak with Acetone
Soak a cotton ball in acetone, press it onto the nail, and wrap it with a strip of foil. Repeat for each nail. The acetone will soften the gel in 10–15 minutes. If you’re short on time, a 5‑minute soak followed by a gentle push can work for thinner coats.
Step 5: Gently Remove the Gel
After soaking, use a cuticle pusher or a wooden stick to lift the softened gel. Work from the cuticle toward the nail tip. If the gel resists, re‑soak for an additional 3–5 minutes and try again.
Step 6: Clean and Condition
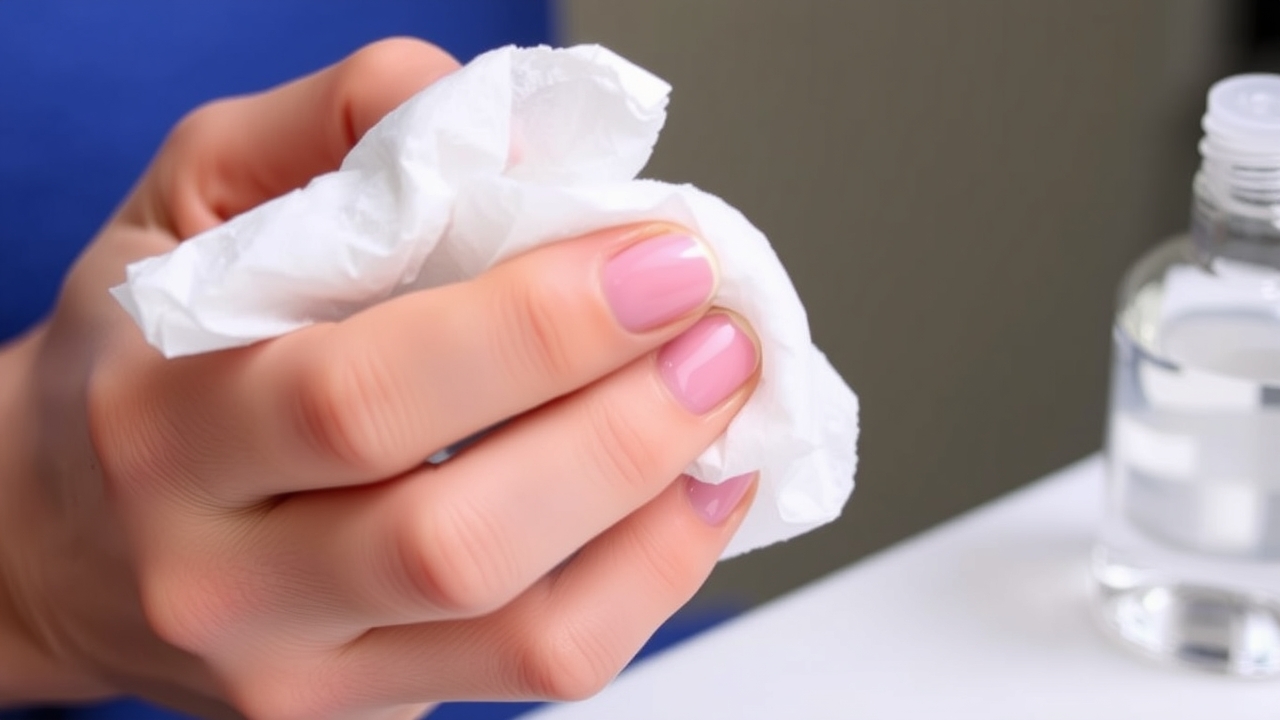
Wipe away any remaining gel with a clean cloth, then rinse your hands with lukewarm water. Pat dry and apply a generous amount of cuticle oil or a thick hand cream to replenish moisture lost during the process.
Step 7: Optional – Polish or Buff
Once the nails are dry, you can lightly buff the surface to smooth any ridges or apply a fresh coat of regular nail polish. Remember, after gel removal the nail bed is slightly porous, so a single light coat is usually enough.
Key Tips to Remove Gel Without Damage
- Secure the acetone. A foil wrap keeps the solvent in constant contact with the gel.
- Keep everything gentle. Filing, soaking, and pushing should all be done with light pressure.
- Hydrate consistently. Moisturizing after each removal cycle prevents dryness and brittleness.
- Limit frequency. Give your nails a break every 3–4 weeks to allow them to recover.
Common Mistakes to Avoid When Soaking Off Gel Nails
- Using warm water instead of acetone. Warm water does not dissolve gel polish; acetone is the only effective solvent.
- Leaving the nails in acetone too long. Prolonged exposure can dry out the nail and cuticle. Stick to 10–15 minutes.
- Forcing the gel off. Pushing too hard can chip the nail plate. Use light pressure and re‑soak if necessary.
- Neglecting cuticle care. The skin around the nails can become irritated if not protected. Apply oil beforehand.
What to Do If You Encounter a Problem
- Re‑soak for a few minutes. A short additional soak can break down stubborn gel.
- Use a fine‑grit file. Gently file the surface to remove any residual film.
- Apply a strengthening treatment. A nail strengthener or a protein polish can help rebuild the nail’s integrity.
Understanding the Science Behind Gel Removal
Gel nail polish is a polymer that hardens when exposed to UV or LED light. Acetone works by breaking the chemical bonds in that polymer, turning the gel into a soft, water‑soluble mixture that can be wiped away. That’s why a brief soak, followed by proper moisturization, keeps the nails safe.
For deeper insight into the chemistry, check out the Gel nail Wikipedia entry, which explains the composition in plain language.
Safety Precautions When Using Acetone at Home
- Work in a well‑ventilated area to avoid inhalation of fumes.
- Avoid prolonged skin contact; use a protective glove if you have sensitive skin.
- Keep acetone away from open flames or heat sources.
- Store acetone in a sealed container out of reach of children.
Aftercare: Keeping Your Nails Healthy Post‑Removal
- Moisturize daily. Apply cuticle oil or a thick hand cream to keep the nail bed hydrated.
- Use a nail strengthener. A strengthening polish or a protein treatment can help rebuild the nail’s structure.
- Avoid harsh chemicals. Until the nails feel fully recovered, steer clear of bleach or harsh detergents that can further dry them out.
- Give them a break. After a gel removal, avoid reapplying gel polish for at least 2–3 weeks to allow the nails to recover.
Frequently Asked Questions
how to remove gel polish at home – What is the quickest method?
The fastest way is to soak each nail in acetone for 5–10 minutes, then gently push the gel off with a cuticle pusher. Remember to wrap the cotton ball with foil to keep the acetone in place.
How long does it take to soak off gel nails?
Typically 10–15 minutes per nail is sufficient. If the gel is especially thick, you may need a few extra minutes.
Can I use warm water to remove gel polish?
No, warm water does not dissolve gel polish. Acetone is required for effective removal.
Is it safe to remove gel polish at home?
Yes, when done carefully with acetone and proper aftercare, home removal is safe and gentle on your nails.
What should I do if my nails feel weak after removal?
Apply a strengthening treatment or protein polish, and keep your nails moisturized. Avoid any harsh chemicals for at least a week.
For more nail care tutorials and inspiration, visit Nails Made Simple and discover a variety of DIY manicure ideas that keep your nails healthy and beautiful.
Leave a Reply