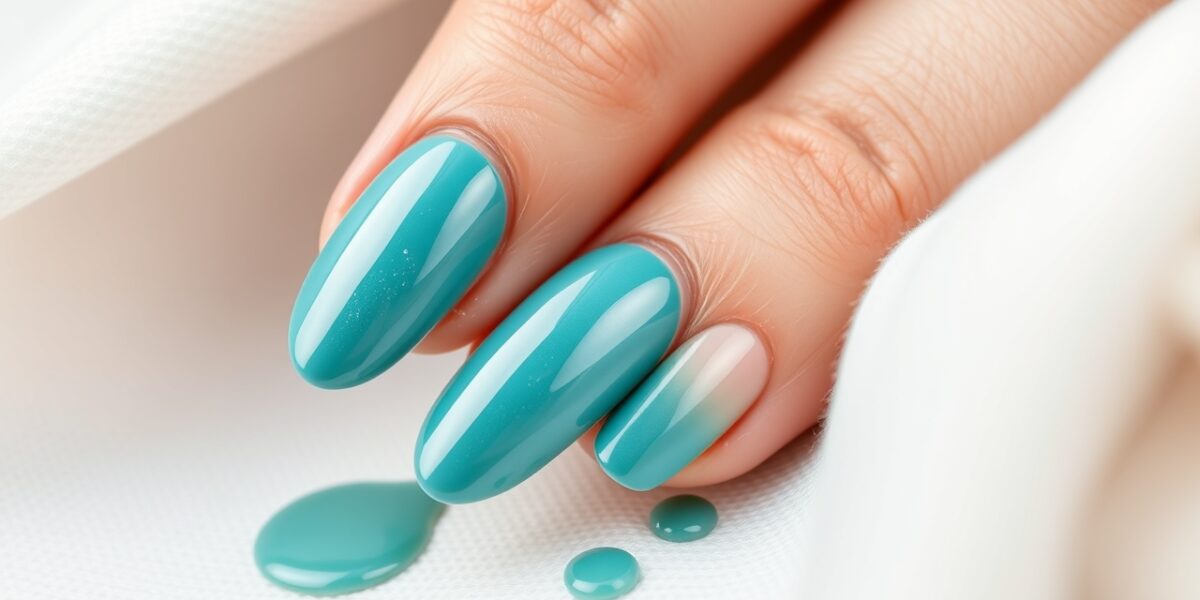
How to make your manicure last longer can feel like a rite of passage for anyone who loves polished nails. When the polish fades after a few days, frustration sets in. The good news? With the right techniques, you can keep your nails looking flawless for weeks. Below is a step‑by‑step guide that covers everything from prep to sealing, plus the long lasting manicure tips that make everyday wear feel like a fresh salon visit.
How to Make Your Manicure Last Longer: A Step‑by‑Step Guide
To truly master how to make your manicure last longer, you need to treat each phase of the process as a critical step. Below is a comprehensive workflow that ensures your nails stay chip‑free and vibrant.
- Preparation – Clean, buff, and moisturize.
- Base coat – Use a high‑quality, long‑wear base.
- Color layers – Apply thin layers for even drying.
- Top coat – Lengthen the life with a sealant that resists odour.
- Aftercare – Protect with gloves and moisturize.
Preparation: The Foundation of Longevity
Before you even touch a bottle of polish, the nails themselves must be primed. A chip‑free manicure starts with clean, dry nails. Use a gentle nail cleanser to remove oils and old polish. If you have thick cuticles, trim them carefully but avoid cutting the skin to prevent infection.



Buffing is a double‑edged sword. Lightly buff the nail surface to remove shine, but avoid over‑buffing, which can thin the nail plate. A smooth, slightly matte surface allows the base coat to adhere better, which is essential for how to make your manicure last longer.
Moisturize the nail bed with a thin layer of cuticle oil or a lightweight hand cream. Healthy nails hold polish better, reducing the likelihood of peeling.
Base Coat: Your First Line of Defense
A high‑quality base coat is the unsung hero in any long lasting manicure. It seals the nail plate, prevents staining, and creates a consistent surface for the color layers to grip. When choosing a base, look for formulas that mention “long wear” or “chip resistance.” Even if you’re using a budget brand, the base coat can make a noticeable difference in how to make your manicure last longer.
Color Layers: Thin, Even, and Patient
Applying the color in thin layers is key. Thick layers dry unevenly and crack, leading to chips. Aim for 2–3 thin coats, allowing each to dry completely before adding the next. For darker shades, a primer under the first coat can help the pigment adhere better and avoid dullness.
When you’re ready for the top coat, remember that it’s the final barrier against everyday wear. A top coat that contains “polyurethane” or “acrylic” will provide superior protection. Apply two thin layers, letting each dry for 30 seconds.
Long‑Lasting Manicure Tips: Prep Is the Secret
While the base coat and top coat are crucial, the prep phase often determines the overall longevity of your nails. Below are additional long‑lasting manicure tips that focus on the initial steps:
- Use a nail buffer with a fine grit to smooth the surface without removing too much nail.
- Keep your nails at a moderate length; very short nails are more prone to damage from daily tasks.
- Apply a thin coat of nail polish remover to clean any residual oils before starting.
- Let each coat dry for at least 1–2 minutes; rushing can cause bubbles and uneven drying.
Make Polish Last: Layering and Sealing
One of the most common questions is how to make polish last. The answer lies in layering and sealing:
- Primer – A primer under the first color coat boosts pigment and adhesion.
- Thin coats – Apply 2–3 thin coats of color.
- Top coat – Finish with 2 thin layers of a high‑gloss, long‑wear top coat.
- Optional: A quick “top coat” spray can add an extra protective shield.
Chip‑Free Nails: Common Pitfalls to Avoid
Even with the best prep, mistakes can lead to chips:
- Over‑buffing or too aggressive filing.
- Using a top coat that dries too quickly, trapping air bubbles.
- Applying polish on a damp nail surface.
- Skipping the base coat, which weakens adhesion.
By avoiding these pitfalls, you’ll see a noticeable improvement in how to make your manicure last longer.
Aftercare: Protecting Your Masterpiece
The final step is often overlooked. Protecting your freshly painted nails during daily activities can dramatically extend their life. Here are some aftercare strategies:
- Wear cotton gloves during dishwashing or when using harsh chemicals.
- Apply a thin layer of cuticle oil every night to keep the nail bed supple.
- Avoid excessive exposure to water; if you must, use a quick‑dry hand dryer.
- Use a nail strengthening serum moisturizing the cuticles and nail plate.
Choosing the Right Products for Long‑Lasting Results
Not all nail polishes are created equal. When shopping for a long‑lasting manicure, pay attention to the following:
- Long‑wear formulas – Brands like OPI’s “Forever” or Essie’s “Forever” line specifically target durability.
- Chip‑resistant top coats – Look for “Ultra‑Gloss” or “Super‑Shine” variants that contain polyurethane.
- Fast‑dry options – A quick‑dry spray can reduce the risk of smudging and keep the polish intact.
- Non‑toxic ingredients – 3‑free or 5‑free polishes reduce potential skin irritation and improve adhesion.
DIY vs. Salon: When to Call the Professionals
While a well‑executed DIY manicure can last 3–5 weeks, salon treatments often provide a longer lifespan due to professional tools and techniques. Consider the following scenarios:
- Special occasions – For weddings or events, a salon manicure can guarantee a flawless look for at least a month.
- Sensitive nails – If you have weak or brittle nails, a salon’s custom base coat can prevent breakage.
- Time constraints – A salon visit frees you from the meticulous layering process, saving you hours.
Tips for Different Nail Types
Every nail is unique. Tailoring your approach can make a significant difference in longevity:
- Soft, thin nails – Use a strengthening base coat and avoid heavy filing. Apply a thicker top coat for added protection.
- Thick, ridged nails – Lightly buff the ridges and use a high‑adhesion primer. A thicker base coat helps fill gaps.
- Curly or hooked nails – Apply a thin layer of gel polish to smooth the curve and prevent snagging.
- Very short nails – Keep them at least 3 mm long to protect the nail bed. Use a nail plate protector if you need to keep them short.
Common Mistakes and How to Avoid Them
- Skipping the base coat – This leaves the nail vulnerable to staining and reduces polish adhesion.
- Applying polish on a damp nail – Moisture can cause the polish to lift or peel.
- Over‑buffing – Removes protective layers, making the nail plate thin and susceptible to breakage.
- Using the wrong top coat – A low‑quality top coat will crack quickly. Invest in a high‑gloss, long‑wear formula.
- Ignoring aftercare – Neglecting moisturization and protective gloves leads to premature chipping.
Frequently Asked Questions
1. How long does a typical manicure last if I follow these steps?
With proper prep, layering, and aftercare, a DIY manicure can last 3–5 weeks. Salon treatments may extend this to 6–8 weeks.
2. Can I use gel polish for a longer lasting manicure?
Gel polish typically lasts 2–3 weeks without chips and can be cured at home with a UV or LED lamp. However, it requires a removal process that can be harsh on nails if not done correctly.
3. Is it safe to use a nail buffer every day?
Daily buffing can thin the nail plate. Instead, limit buffing to once a week or use a gentle buffing pad. Over‑buffing leads to weak nails and increased chipping.
4. What’s the best way to protect my manicure while washing dishes?
Wear cotton or nitrile gloves to shield the nails from water and detergents. If you must remove gloves, pat the nails dry gently and reapply a thin layer of cuticle oil.
5. How can I prevent my manicure from fading in the sun?
UV radiation can cause polish to fade. Store your nails out of direct sunlight and consider a UV‑resistant top coat. Reapply a fresh top coat after prolonged sun exposure.
Final Thoughts: Mastering the Art of Long‑Lasting Manicures
Achieving a chip‑free, long‑lasting manicure is less about the polish itself and more about the process. By treating each step—prep, base coat, color layers, top coat, and aftercare—with equal importance, you’ll consistently see results that last weeks, not days. Experiment with different base and top coat formulas to find what works best for your nail type, and remember that a little extra care goes a long way. With these proven techniques, you’ll enjoy a flawless manicure that looks freshly painted every time you glance at your hands.
For further reading, see related references on Wikipedia.
Leave a Reply