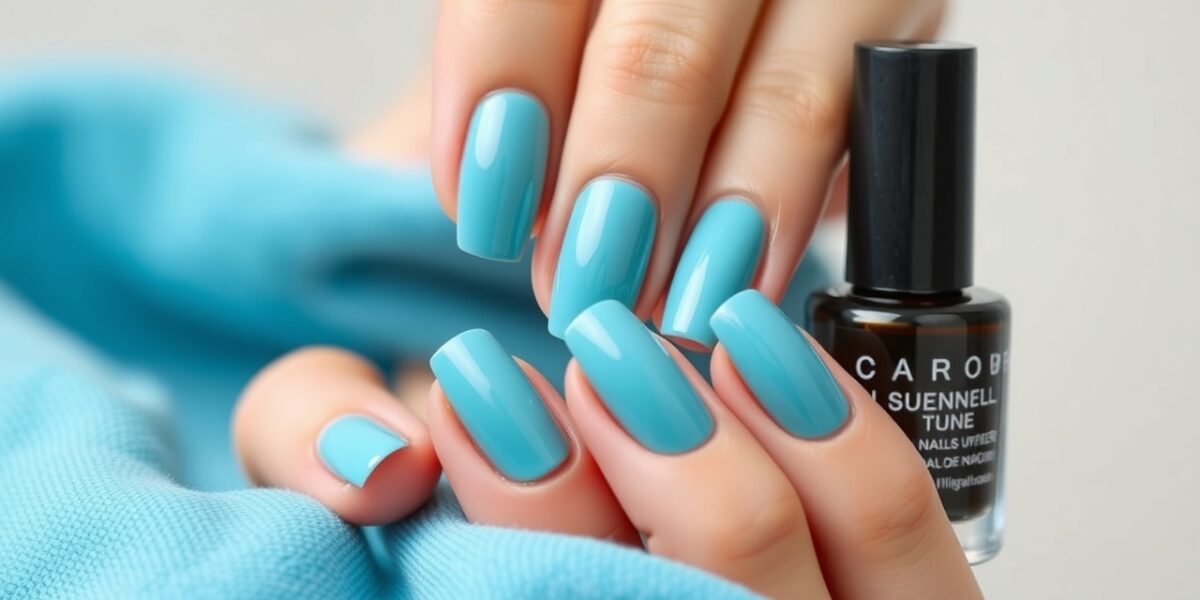
There’s nothing quite like the clean, understated elegance of a French manicure. Whether you’re prepping for a wedding, a job interview, or just want to feel polished, the look can be achieved in a few minutes right in your own bathroom. The trick is a steady hand, the right tools, and a clear understanding of each step. Below is a detailed, no‑kit recipe that will have you sporting salon‑grade tips in no time.
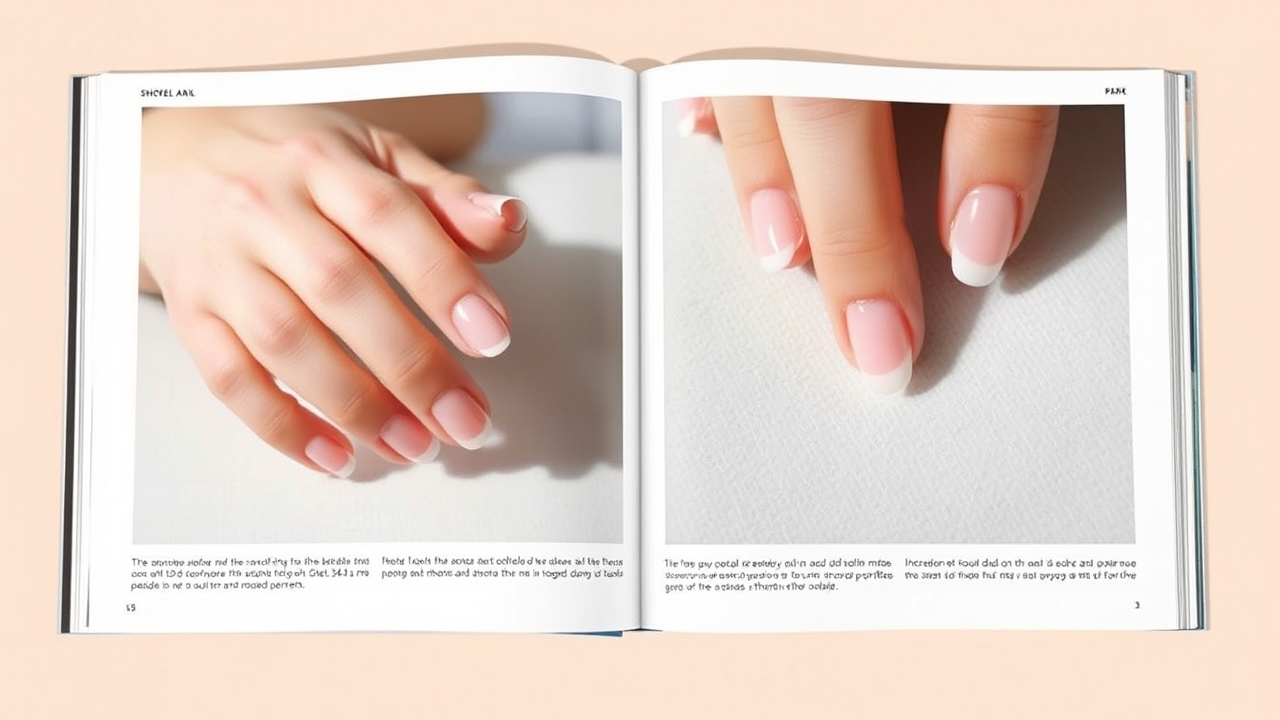
Tools You’ll Need
Contrary to what many think, you don’t need a fancy kit to nail this classic style. A handful of everyday items will do:
- Clear or translucent base coat – protects the nail and improves polish adhesion.
- White or light‑cream nail polish – the tip color.
- Light base color (pale pink, ivory, or a soft pastel) – the nail’s background.
- Clear top coat (glossy or matte) – seals the design.
- Fine‑tipped brush or angled brush – for precision line work.
- Tip irritated strip or nail art sticker – an easy way to outline the tip.
- Cuticle pusher or orange stick – to push back cuticles.
- Nail file and buffer – shape and smooth the nail surface.
- Rubbing alcohol or nail polish remover – for cleanup.
- Optional: masking tape, dotting tool, or a small rubber band to hold strips in place.
Step‑by‑Step Instructions
1. Prep Your Nails
Start with clean, dry nails. Remove any old polish with a gentle remover, then push back your cuticles with a cuticle pusher. File the nail in one direction—never file back and forth—to prevent splitting. A quick buff gives the surface a subtle sheen that helps the polish adhere.



2. Apply the Base Coat
Apply a thin layer of base coat, covering the entire nail. Let it dry for 30–60 seconds; a tacky base can cause the tip line to lift. A clear base also helps the white polish stay true to color.
3. Outline the Tip
You have three popular options to define the tip without a dedicated kit:
- Strip method: Cut a small strip of clear nail polish (about 1–2 mm wide) and slide it along the nail’s tip, leaving a 1 mm gap from the cuticle for a classic look.
- Masking tape method: Apply a strip of white masking tape along the tip and paint over it with your white polish. Once the polish dries, peel the tape off.
- Brush method: Using a fine‑tipped brush, practice a straight line tests on a piece of paper before painting. Hold the brush at a 45° angle and glide along the nail’s edge.
4. Paint the White Tip
Once the outline is secure, fill in the white area with a small brush or the tip of a cotton swab. Keep strokes short and steady to avoid feathering. Let the white coat dry for a minute before moving on.
5. Apply the Base Color
Choose a light shade that complements the white tip—ivory, pale pink, or a soft champagne works well. Apply 2–3 thin coats, allowing each to dry for 30–45 seconds. Thin coats prevent smudging and give a polished finish.
6. Seal with a Top Coat
Finish with a clear top coat. A glossy top coat gives a high‑shine look, while a matte top coat offers a modern, understated finish. Apply two thin layers, letting each dry fully. The top coat protects the design and extends wear.
7. Clean Up
Use a small brush dipped in rubbing alcohol to clean any stray polish around the cuticles. Let your nails air dry for a few minutes; avoid touching surfaces to prevent smudges.
Variations to Personalize Your French
Once you master the classic look, experiment with these twists:
- Pastel tip: Swap the white polish for a soft lavender or mint. The contrast is subtle yet stylish.
- Glitter accent: Add a single glitter dot or a thin glitter strip at the tip for a festive touch.
- Metallic base: Paint the base color with a light gold or rose gold polish, then layer the white tip on top for a luxe finish.
- Gradient tip: Blend the white into the base color with a small brush for a seamless fade.
Advanced Techniques for the Aspiring Nail Artist
If you’re ready to take your Frenchatsu to the next level, try these pro tricks:
- Nail art pen: A fine‑pointed pen lets you draw a perfectly straight line without a strip. Practice on a nail template first.
- Stencil method: Print a small stencil with a 1 mm line, place it on the nail, and paint over it. Peel off for a crisp edge.
- Dotting tool: Use a dotting tool to apply a small white dot at the tip, then blend with a brush for a subtle, rounded tip.
- Two‑tone tip: Paint the tip with a second color (e.g., pale pink) and overlay a thin white line for a layered effect.
Troubleshooting Common Mistakes
- Smudged tip line – Wait until the white polish is completely dry before applying the top coat.
- Uneven base color – Apply thin, even coats and let each layer dry fully.
- Faded tip over time – Reapply the top coat every 3–4 days to keep the finish fresh.
- Chipped tip – File the tip gently to create a slightly angled edge before painting.
Maintenance Tips for Long‑Lasting French Tips
- Moisturize your cuticles daily with a nourishing oil to prevent dryness.
- Wear gloves when doing household chores to protect your nails from harsh chemicals.
- Use a clear, anti‑chipping top coat on weekends for extra durability.
- Reapply the base color and top coat every two weeks to keep the polish looking fresh.
Conclusion
French tip nails at home can be both simple and elegant. With the right tools, a steady hand, and a few practice sessions, you’ll master the classic look in no time. Remember, the key to a flawless finish is patience—allow each layer to dry fully and keep your brush clean. Whether you’re prepping for a special event or just want to feel polished every day, this step‑by‑step guide will help you achieve a salon‑quality French manicure from the comfort of your own space.
For more nail care ideas and tutorials, visit Nail Made Simple.
Want to learn more about the history and evolution of the French manicure? Check out the Wikipedia page on French manicure for a deeper dive.
FAQ
- How can I achieve french tip nails at home? The process involves prepping the nail, applying a base coat, defining the tip with a strip or a fine brush, painting the tip, filling the rest of the nail with a light base color, and sealing with a top coat.
- What is a diy french manicure and how does it differ from a classic French manicure? A DIY French manicure is a homemade version that may use everyday items like masking tape or nail stickers to create the tip, whereas a classic French manicure usually uses a dedicated tip brush and precise technique.
- Can I do a french tip without a kit? Yes—using a strip, masking tape, or a small white polish dotting tool can give you a clean tip without a specialized kit.
- What makes easy french nails suitable for busy days? Skipping the base coat, using pre‑painted strips, and applying the top coat in a single pass keeps the process quick while still looking polished.
- How do I maintain a classic french manicure for longer? Keep your cuticles moisturized, wear gloves during chores, reapply top coat weekly, and avoid harsh chemicals to preserve the look.
Leave a Reply