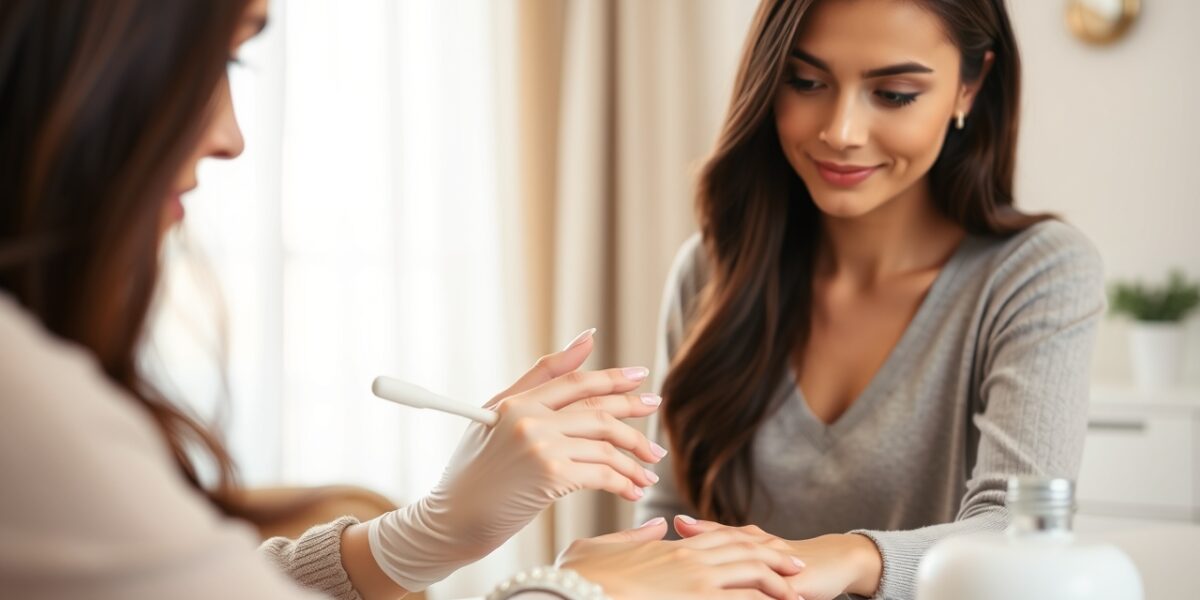
Want salon‑grade polish that lasts weeks, but don’t want to break the bank? How to do a gel manicure at home is a game‑changer for anyone who loves a high‑gloss finish without the recurring appointments.
What You’ll Need
- Gel polish kit – base coat, color coat(s), and top coat from the same brand to ensure compatibility.
- UV or LED lamp – LED lamps cure faster (30–60 s per layer) but UV lamps are more common.
- Cuticle pusher or orange stick – for pushing back or trimming cuticles.
- Soft nail buffer or pumice pad – to shape and smooth the nail surface.
- 70 % isopropyl alcohol wipes – for cleaning the nails before application.
- Paper towels or a clean microfiber cloth – for wiping off excess polish.
- Optional: nail primer or strengthener – useful if your nails feel weak or prone to lifting.
- Optional: nail art tools – stencils, decals, or glitter for creative flair.
Before you dive in, glance at a quick primer on how gel polymerizes under UV light. Wikipedia’s overview explains the science behind the magic.
Step 1: Prep Your Nails
Good results start with a clean canvas. Remove any old polish with a non‑acetone remover; acetone dries out the nail bed and can cause cracking. Lightly buff each nail with a soft pad to shape the edge and smooth the surface. Avoid aggressive buffing – you don’t want to thin the nail plate.



Next, push back your cuticles with a cuticle pusher or orange stick. If you prefer a trimmed look, use a cuticle nipper, but keep the cuticle skin a millimeter from the nail plate to avoid irritation. Finish by wiping the nail surface with an alcohol wipe to strip oils and debris. A dry, oil‑free surface is essential for adhesion.
Step 2: Apply the Base Coat
The base coat is your foundation. Using a gel brush, apply a thin, even layer across the entire nail, leaving a small border around the tip. A good rule of thumb is to keep the layer about 1–2 mm thick; thicker layers cure unevenly and can trap bubbles.
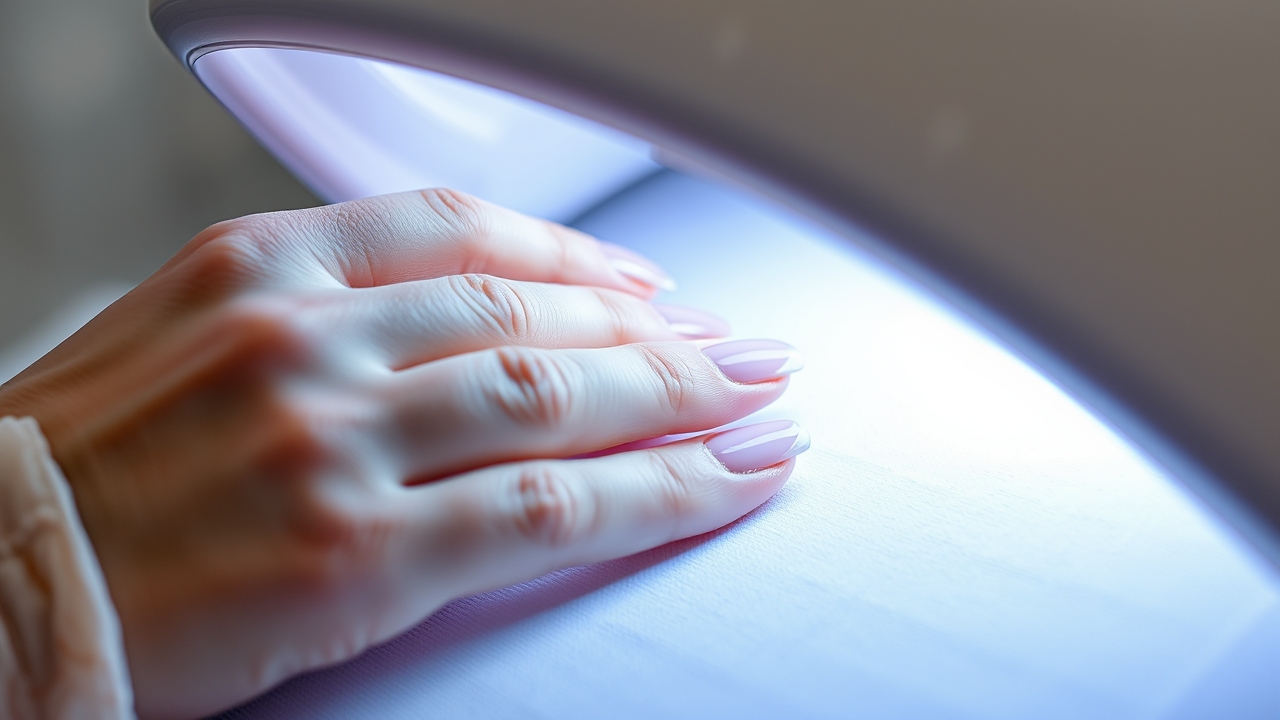
Place the nail under the lamp and cure according to the brand’s instructions – most LED kits recommend 30–45 seconds, while UV kits need 90–120 seconds. Once cured, the base should feel firm yet flexible, not tacky.
Step 3: Add the Color Coat(s)
Apply the first color coat the same way you did the base. For most shades, a single thin coat suffices. If you’re using a darker or highly pigmented color, a second coat may be necessary. Remember to cure each layer separately; a partially cured layer will cause the next coat to peel.
For a richer hue, consider layering two shades. Apply the lighter shade first, cure it, then apply the darker shade on top. This technique gives depth without compromising durability.
Step 4: Seal with the Top Coat
The top coat is the final seal that locks in color and adds shine. Apply a thin, even coat over the entire nail, making sure to cover the tip. Avoid rushing – a slow, steady stroke helps prevent bubbles.
Cure the top coat for the recommended time. A properly cured top coat should feel smooth and glossy, with no tacky residue.
Step 5: Remove the Tacky Film
After the final cure, a thin, tacky film often remains. This is normal; it will harden after 24–48 hours. To speed the process, wipe the nails with a paper towel lightly dampened with alcohol. If you prefer a no‑wipe method, simply let the film dry naturally – it’s harmless and will harden on its own.
Step 6: Finishing Touches
Once the polish is fully cured, you can add finishing details. If you enjoy nail art, now is the time to apply decals, stickers, or a dusting of glitter. Finish with a clear top coat for extra protection.
For a natural look, apply a thin coat of cuticle oil along the edges of the nail to keep the surrounding skin soft and hydrated.
Common Mistakes and How to Avoid Them
- Over‑curing – leaves the polish brittle. Stick to the time listed on the bottle.
- Under‑curing – results in a sticky surface that chips. Ensure your lamp is fully charged and positioned correctly.
- Too thick a layer – causes bubbling. Always apply thin, even coats.
- Skipping cuticle prep – can cause lifting. Always push back or trim cuticles first.
- Using expired gel polish – may not cure properly. Replace your polish after 12–18 months.
Tips for Beginners
If you’re new to gel nails, start simple. Pick one color and stick to a single brand’s kit to reduce variables. Once you’re comfortable, experiment with layering or adding subtle nail art.
Keep your lamp clean – dust or residue can interfere with curing. Wipe the lamp’s surface with a dry, lint‑free cloth after each session.
For more nail care tips and tutorials, visit our main site where we share detailed guides and product recommendations.
Keeping Gel Nails Healthy
Even though gel polish is forgiving, it’s still important to care for your natural nails. After removing gel polish, give your nails a break for a day or two before reapplying. Use a strengthening base coat or a nourishing nail oil to promote healthy growth.
When removing gel polish, avoid harsh chemicals. Instead, soak your nails in acetone‑free remover or gently buff the polish away. This reduces the risk of thinning or cracking.
When to Remove or Reapply
Gel nails typically last 2–3 weeks. If you notice the top coat becoming dull or the polish lifting at the edges, it’s time to reapply. Removing old gel polish with a gentle technique and applying a fresh base coat will extend the life of your manicure.
FAQ
- How to do a gel manicure at home in 15 minutes? Start with a quick prep: buff, clean, apply a thin base coat, cure, then add a single color layer and top coat. Each step takes about 3–4 minutes.
- Can I use a regular nail lamp for gel polish? Yes, but you’ll need to adjust the curing time. UV lamps generally take 90–120 seconds per layer, while LED lamps cure in 30–60 seconds.
- What should I do if my gel polish starts to lift? Gently push the lifted edge back with a cuticle pusher, apply a fresh top coat, and cure again. If peeling persists, remove the polish and start again.
- Is it safe to keep gel nails on for more than 3 weeks? It’s best to remove them after 2–3 weeks to avoid weakening the natural nail. Over‑prolonged wear can lead to brittleness.
- How can I avoid nail damage when removing gel polish? Use an acetone‑free remover or soak in a gentle solution. Avoid forcefully scraping the polish; instead, let it soften and lift naturally.
Leave a Reply