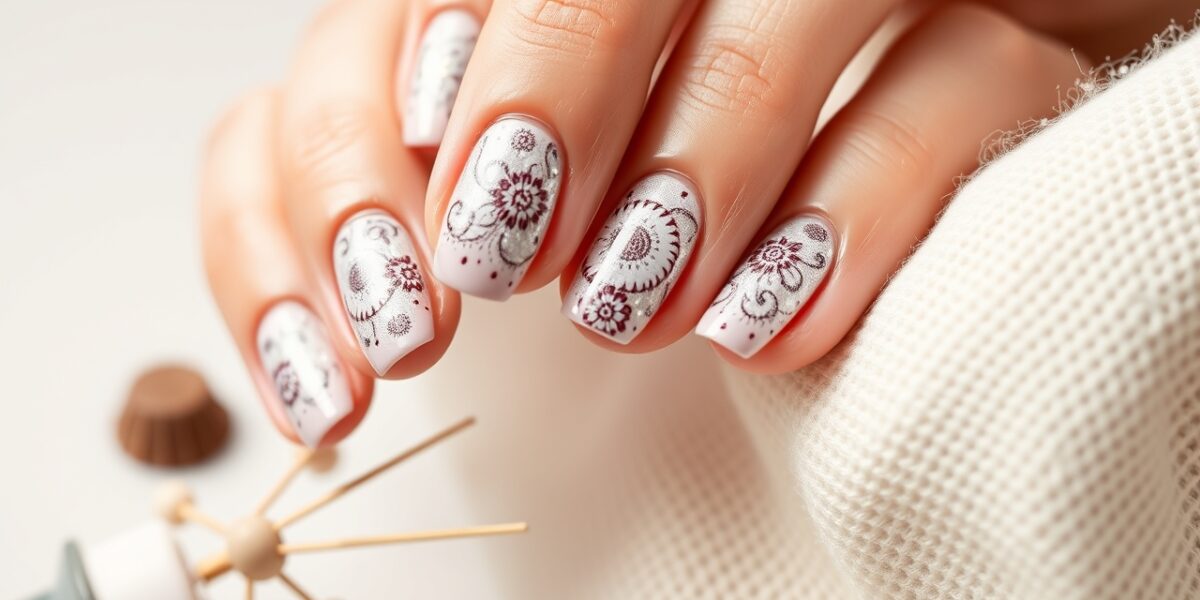
How to do a basic at home manicure is a skill that anyone can master with a few simple steps and the right mindset.
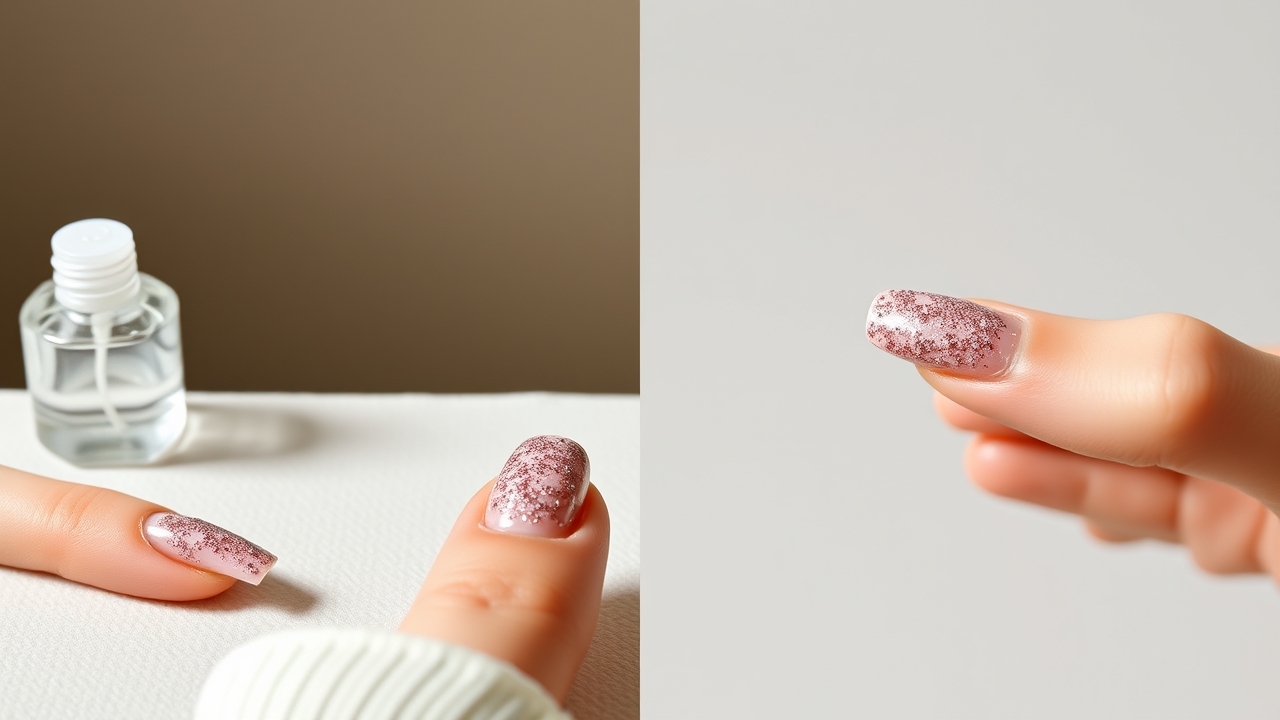
Choosing the Right Tools
Before you even touch a nail, gather a clean, organized kit. A good starter set includes:
- Nail clippers or scissors – choose a clipper with a comfortable grip and a sharp blade.
- Nail file – a 180‑grit file for shaping and a 320‑grit buffer for smoothing.
- Cuticle pusher or orange stick – a wooden stick keeps the tip of the cuticle safe.
- Soft cotton pads – for cleaning and removing excess polish.
- Hand cleanser – a mild, alcohol‑free cleanser that won’t dry out the skin.
- Base coat, nail polish, top coat – pick a base that suits your nail type (e.g., gel base for weak nails).
- Quick‑dry spray or water drops – optional, but handy for a fast finish.
Understanding Nail Anatomy
Knowing the layers of your nail helps you avoid common pitfalls:



- Nail plate – the hard, visible part you paint.
- Cuticle – the skin that protects the nail bed.
- Nail bed – the skin underneath the plate; keep it moisturized to prevent cracks.
- Nail matrix – the growth zone; avoid cutting this area to prevent permanent damage.
Step 1: Nail Preparation
Start with clean hands. Wash with warm, soapy water to remove oils that can hinder polish adhesion. Pat dry, then apply a thin layer of hand cream to keep the skin supple.
Trim and Shape
Trim nails straight across to avoid splitting. File in a single direction—never back and forth—to maintain a smooth edge. Choose a shape that matches your nail length: square for a classic look, round for a softer silhouette, or almond for a touch of elegance.
Cuticle Care
Soak fingertips in warm water for 2–3 minutes. Gently push cuticles back with a cuticle pusher. If dead skin remains, trim carefully with a nail clipper; never cut too close to the nail bed to avoid bleeding.
Step 2: Buffing for a Smooth Base
Buff each nail lightly with the 320‑grit buffer to remove shine. This creates a textured surface that helps the base coat adhere better. Be cautious not to over‑buff, as this can thin the nail plate.
Step 3: Base Coat Application
Apply a thin, even coat of base coat, covering the entire nail and the cuticle edge. Let it dry for 30–60 seconds. A good base coat protects against staining and improves polish longevity.
Step 4: Choosing Your Color
Select a polish that fits your mood or the occasion. Classic shades like nude, pale pink, or red are safe bets. For a creative twist, try a two‑tone or ombre effect—apply a lighter shade on the tip and a darker one on the base.
Step 5: Applying the Polish
- Dot the polish on the nail plate.
- Stroke from cuticle to tip.
- Stroke back from tip to cuticle.
- Repeat for a second coat, allowing each layer to dry for 30–60 seconds.
Two coats provide depth and durability. Avoid a third coat until the second is fully dry to prevent smudging.
Step 6: Top Coat and Finish
Seal the color with two thin layers of top coat, drying each for about a minute. The top coat adds shine and protects against chips.
Quick‑Dry Techniques
When in a hurry, use a quick‑dry spray after the top coat, or dab a few drops of water onto the nails. Apply a clean cotton pad to lift excess water. Avoid over‑watering, which can cause bubbles.
Step 7: Clean‑Up and Touch‑Up
Use a small brush or cotton swab with nail polish remover to clean the cuticle area. For a flawless finish, wipe the nail surface with a clean cotton pad to remove any smudges.
Step 8: Aftercare & Maintenance
- Strengthen – apply a clear nail strengthener every few days.
- Moisturize – keep hands hydrated; dry skin lifts polish.
- Gentle Use – avoid using nails as tools to prevent chips.
- Top Coat Refresh – reapply a fresh top coat after two weeks to maintain shine.
Common Mistakes & How to Fix Them
- Skipping the base coat – leads to stains. Remedy: thinly reapply a fresh base coat and let it dry.
- Applying thick layers – causes uneven drying. Remedy: thin the next coat and use a quick‑dry spray.
- Neglecting cuticle care – results in unsightly edges. Remedy: gently push back cuticles and moisturize.
- Using the wrong file grit – can damage the nail. Remedy: switch to a finer grit for smoothing.
Advanced Tips for a Salon Finish
- Use a nail primer – especially on porous nails to improve polish adhesion.
- Experiment with nail art – add a single accent nail or tiny decals for flair.
- Apply a top coat with a brush – gives a smoother, more even finish.
- Store nails properly – keep them in a clean, dry area to prevent bacterial growth.
Eco‑Friendly & Natural Alternatives
For those who prefer green beauty, consider plant‑based polishes, mineral‑based bases, and natural cuticle oils. These options reduce exposure to harsh chemicals while still delivering a polished look.
Resources for Further Learning
For more detailed information about nail care and the science behind nail polish, visit the Manicure page on Wikipedia. It offers a comprehensive overview of techniques and historical context.
Want deeper insights into nail health and DIY beauty routines? Check out Nails Made Simple for a wide range of tutorials and inspiration.
FAQ
- How to do a basic at home manicure? Follow the step‑by‑step guide above: prepare your nails, apply base coat, polish, top coat, and finish with quick‑dry methods.
- What is the best way to keep my nails strong after a DIY manicure? Use a clear nail strengthener weekly, moisturize your cuticles daily, and avoid harsh chemicals or excessive filing. A weekly gel or acrylic top coat can also add extra protection.
- How long does a basic at home manicure usually take? With practice, a full set takes about 20–25 minutes. The bulk of the time is spent drying between coats; quick‑dry sprays reduce this to 5–10 minutes.
- Can I use regular nail polish remover for cleanup? Yes, but opt for a gentle, acetone‑free remover to keep nails from drying out. For stubborn polish, a small amount of acetone can be used sparingly.
- What should I do if my polish chips quickly? Ensure your base coat dries fully before applying polish, use thin coats, and apply a top coat immediately after the final polish layer. If chips persist, consider a stronger, chip‑resistant brand.
Leave a Reply