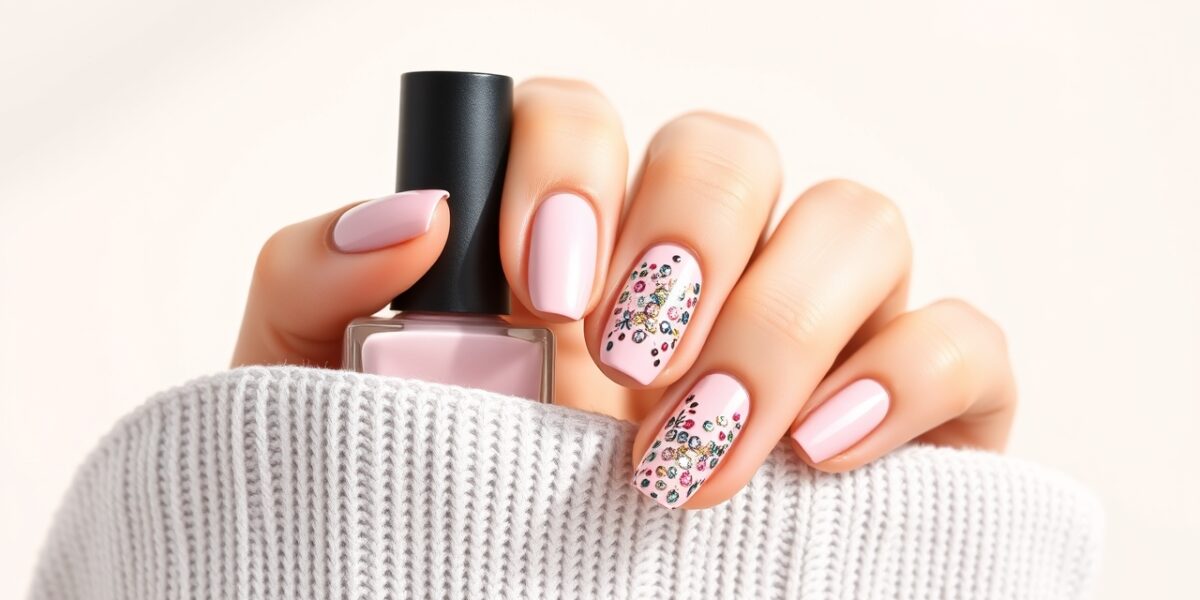
How to shape your nails at home is essential for a polished look that lasts. Whether you’re preparing for a big event or simply want to keep your nails neat, mastering the basics of nail shaping can save you time and money. In this guide, we’ll walk through the most common nail shapes, the tools you’ll need, step‑by‑step filing techniques, and pro tips for maintaining a perfect finish. By the end, you’ll feel confident in shaping your nails like a pro, right from the comfort of your own bathroom.
Why Nail Shape Matters
The shape of your nails can influence how your hands look, how comfortable you feel, and even how your nails grow. A well‑chosen shape can flatter your hand geometry, protect vulnerable nail beds, and make your manicure last longer. Additionally, certain shapes work better for specific activities—if you type a lot, a flat or oval shape might reduce friction, whereas a stiletto shape can add drama for a night out.
Tools You’ll Need Before You Start
- Quality nail file (usually a 240‑grit or 320‑grit silicone file)
- Nail buffer or metal buffer for smoothing edges
- Cuticle pusher or orange stick
- Optional: nail shaping tool or gentle nail clipper for quick trims
- Moisturizing hand lotion or cuticle oil to keep skin supple
Choosing the Right File
Silicone files are gentle and 나온 less dust than traditional sandpaper. A 240‑grit file removes material quickly, making it ideal for initial trimming. Once you’ve set the length, switch to a finer 320‑grit or even 400‑grit file to polish the edges and prevent micro‑splits. If you have a pre‑existing nail condition (e.g., fungal nails), start with a coarser file to avoid over‑filing.



Nail Buffers and Their Types
Buffers come in three main grades: coarse, medium, and fine. The coarse grade smooths uneven surfaces, the medium grade refines the shape, and the fine grade gives a subtle shine. Use the coarse buffer first to flatten ridges, then the medium to shape, and finish with the fine for a glossy finish.
Cuticle Care Essentials
Healthy cuticles protect the nail bed from bacteria. Gently push back cuticles with an orange stick after soaking your hands in warm water for 5 minutes. Avoid cutting cuticles with scissors or clippers, as this can cause infections. Apply cuticle oil after filing to keep the skin hydrated.
Choosing the Best Nail Shape for Your Hands
Here’s a quick rundown of the most popular nail shapes and what they’re best for:
1. Oval
Soft and rounded at the tips. Ideal for people with long fingers or those who want a classic look. It adds a gentle, feminine touch.
2. Round
Traditional shape that’s easy to maintain. Works well for everyday wear and for those who prefer a natural look.
3. Square
Flat top with sharp corners. Great for a modern, edgy vibe. It’s also sturdy, making it less prone to breakage.
4. Pointed (Stiletto)
Long, tapered tip that adds drama. Perfect for special occasions but requires careful maintenance to avoid cracking.
5. Almond
A blend of oval and square—longer on the sides and slightly tapered at the tip. It elongates the fingers and is versatile for many styles.
6. Coffin (Ballerina)
Flat top with a slightly rounded edge. A trendy shape that balances elegance and strength.
When selecting a shape, consider your finger length, nail growth rate, and the activities you engage in. If your nails tend to break easily, a more rounded shape may be safer.
Different Nail Types and How They Respond
Not all nails are created equal. Understanding the natural texture of your nails can help you choose the right filing method:
- Thin, fragile nails: Use a gentle, fine file and avoid aggressive filing. A light buffing block can help build strength.
- Thick, calloused nails: A coarser file will remove excess material quickly, but finish with a fine file to smooth the edge.
- Curly or ridged nails: Start with a coarse buffer to flatten ridges, then use a fine file for the final shape.
Common Nail Conditions and How Shaping Helps
- Onycholysis (nail separation): Gentle filing can reduce the risk of further separation by smoothing the edge.
- Onychomycosis (fungal infection): Avoid cutting the nail too short; instead, file to a comfortable length and keep the area dry.
- Ingrown toenails: File the nail in a straight line, not a curved path, to prevent the nail from digging into the skin.
Safety Tips for Kids and Teens
Children’s nails grow faster and are more delicate. Use a child‑friendly file (soft silicone) and keep the angle shallow. Encourage them to keep nails trimmed to prevent accidental scratches. If a teen is prone to nail biting, a short, rounded shape can reduce the urge to bite.
When to Seek Professional Help
While DIY shaping is convenient, some situations warrant a professional:
- Severe nail damage or infection that requires medical treatment.
- Complex nail art projects that need precise shaping.
- Persistent pain or swelling around the nail bed.
Step‑by‑Step: How to Shape Your Nails at Home
Step 1: Prep Your Nails
Start with clean, dry nails. Remove any old polish and gently push back cuticles with a cuticle pusher. Moisturize your hands to keep the skin soft—this reduces the risk of nails cracking during filing.
Step 2: Trim if Needed
Use a gentle nail clipper to trim any excessively long nails. Clip straight across, avoiding a rounded top if you’re aiming for a square or coffin shape. This initial trim sets the length for the rest of the shaping process.
Step 3: File in One Direction
Most experts recommend filing in a single direction—toward the tip of the nail—to prevent splitting. Hold the file at a 45‑degree angle and glide it along the nail surface, moving from the base to the tip. Repeat 10–12 strokes, then flip the file to file the opposite side. Finish with a gentle buffing motion for a smooth edge.
Step 4: Refine the Shape
Once the nail is roughly the desired shape, switch to a finer file (320‑grit) to smooth the edges. For a square or coffin shape, gently file the corners to a clean angle. For an oval or almond shape, soften the edges by filing along the side of the nail in a curved motion.
Step 5: Finish with a Buffer
Use a nail buffer to polish the surface. Buff in a back‑and‑forth motion, focusing on the tip and the sides. This step removes any ridges and gives your nails a subtle shine without the need for polish.
Step 6: Care After Shaping
Apply cuticle oil or hand lotion to keep the skin around the nails hydrated. Consider a light coat of clear topcoat for added protection if you plan to paint your nails. Store your nails in a cool, dry place to maintain the new shape.
Common Mistakes to Avoid When Shaping Nails
- Filing in both directions: this can cause splitting.
- Using a too‑coarse file: it may damage the nail surface.
- Over‑filing: too much material removal can weaken the nail.
- Neglecting cuticles: leaving cuticles exposed can lead to infections.
- Not cleaning tools: bacteria can grow on damp files and spread infections.
- Filing too aggressively: this can thin the nail and cause ridges.
Advanced Tips for Long‑Lasting Results
- Use a buffing block: it preps the nail bed for polish and reduces the need for heavy filing.
- Keep nails trimmed between manicures: a short top keeps the shape intact.
- Apply a strengthening base coat: it can reinforce the nail after filing.
- Rotate your filing direction monthly: this reduces the chance of nail splitting.
- Incorporate a weekly “nail‑health” routine: soak in warm water with apple cider vinegar to soften nails and then file lightly.
- Use a nail file with a built‑in buffer: this saves time and keeps the edge smooth.
FAQs About Nail Shaping
How to shape your nails at home for the best results?
Start with a clean, trimmed nail, file in one direction using a fine grit file, then refine the shape with a finer file and finish with a buffer. Moisturize after filing to keep nails healthy. Remember to file gently and avoid over‑filing, especially if you have fragile nails.
What is the best nail shape for everyday use?
A round or oval shape is usually the most comfortable for daily tasks and offers a natural look. These shapes protect the nail bed and reduce the risk of breakage during routine activities like typing or cooking.
Can I use a nail clipper to shape my nails?
Clippers are great for trimming length but not ideal for shaping. Use a file for precise shape control. If you prefer clippers, combine them with a gentle file to smooth the edges afterward.
How often should I file my nails to maintain shape?
File lightly every 1–2 weeks, focusing on any new growth or uneven edges. Avoid aggressive filing; instead, use a fine file to maintain the shape without thinning the nail.
Is it safe to file nails at home?
Yes—when done gently and with proper tools, filing at home can keep nails healthy and prevent breakage. Keep your tools clean, use the correct grit, and moisturize afterward to reduce the risk of infection.
Final Thoughts
Mastering how to shape your nails at home empowers you to keep a polished look without frequent salon visits. By selecting the right tools, understanding your nail type, and following a consistent routine, you can achieve salon‑quality results that last. Remember to treat your nails with care: keep them trimmed, moisturized, and protected with a clear topcoat if you plan to paint. With practice, shaping will become a quick, enjoyable part of your self‑care routine.
For more nail care inspiration, visit our community at Nail Made Simple where you’ll find plenty of DIY ideas and tutorials.
Learn more about the anatomy of nails on Wikipedia.
Leave a Reply