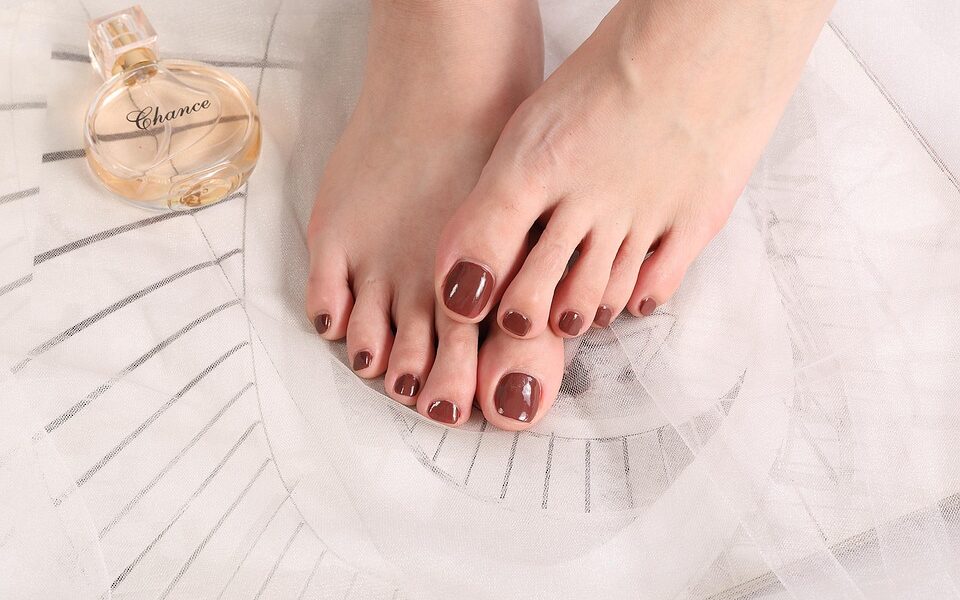
There is a specific kind of confidence that comes with a fresh, professional pedicure. However, frequent trips to the salon can become both time-consuming and expensive. Achieving that “glass-skin” smoothness and precision polish at home is not just about changing your nail color; it is about mastering the techniques, tools, and sequence used by professional nail technicians.
Whether you are looking to save money or simply enjoy the therapeutic process of self-care, this guide will walk you through a comprehensive, salon-grade pedicure. By following these expert-backed steps, you can transform your bathroom into a private spa and achieve results that last for weeks.



The Essential Professional Pedicure Kit
To get professional results, you need professional-grade tools. Using dull clippers or low-quality files can cause nail splitting and uneven edges. Before you begin, gather the following supplies:
| Tool/Product | Purpose |
|---|---|
| Acetone-free Remover | Gently removes old polish without drying the nail plate. |
| Epsom Salt or Foot Soak | Softens calluses and relaxes tired muscles. |
| Stainless Steel Nipper/Clippers | Ensures clean, straight cuts to prevent ingrown nails. |
| Glass or Fine-Grit Nail File | Shapes the nail smoothly without causing micro-tears. |
| Foot File or Pumice Stone | Exfoliates dead skin and smooths rough patches. |
| Cuticle Pusher (Metal or Orange Wood) | Gently clears the nail bed of excess cuticle growth. |
| Base Coat, Color, and Top Coat | The “sandwich” method for long-lasting, chip-free wear. |
Step-by-Step: The Salon-Quality Process
Following a logical order is the secret to a pedicure that looks polished rather than rushed. Experts always prioritize skin health and nail integrity before applying color.
1. Preparation and Polish Removal
Start with a clean slate. Even if you aren’t wearing polish, use a cotton pad with a bit of remover to strip away natural oils. This ensures that your new polish adheres better. Avoid soaking your feet before removing polish, as the water can cause the nail to expand, making the polish harder to remove cleanly.
2. The Therapeutic Soak
Fill a basin with warm water—not hot. Add half a cup of Epsom salts and a few drops of essential oil like lavender or eucalyptus. Soak your feet for 10 to 15 minutes. This isn’t just for relaxation; it softens the keratin in your nails and the dead skin on your heels, making the exfoliation step significantly more effective.
3. Exfoliation and Callus Care
Once the skin is soft, pat one foot dry. Use a foot file or pumice stone to work on your heels, the balls of your feet, and the sides of your big toes. Use firm but gentle circular motions. Pro Tip: Never use a “cheese grater” style scraper. These can remove too much skin, leading to pain or even infection. Stop when the skin feels smooth to the touch.
4. Trimming and Shaping
Dry your nails thoroughly. Use high-quality clippers to cut your nails straight across. Do not round the corners too deeply, as this is the primary cause of painful ingrown toenails. Use your nail file to smooth the edges, moving in one direction rather than a sawing motion to prevent splitting.
5. Detailed Cuticle Work
Apply a cuticle remover cream and let it sit for a minute. Using a cuticle pusher, gently push back the softened skin. Professionals recommend avoiding “cutting” the cuticles yourself, as they serve as a protective barrier against bacteria. Simply clear the “dead” tissue from the nail plate to create a clean surface for the polish.
6. Hydration and Massage
Rinse your feet to remove any debris and apply a thick, urea-based foot cream or a rich body butter. Massage your feet, focusing on the arches and the spaces between the toes. This stimulates blood flow and locks in the moisture from your soak.
7. The Perfect Polish Application
Before painting, wipe each nail with a bit of alcohol or polish remover to remove the oils from your lotion. This is the most skipped step, but it is why salon manicures last longer.
- Base Coat: Always use one. It prevents staining and gives the color something to grip.
- Color: Apply two thin coats rather than one thick one. This prevents bubbling and speeds up drying time.
- Top Coat: Seal the “free edge” (the very tip of the nail) to prevent chipping.
Expert Tips for a Longer-Lasting Finish
To keep your pedicure looking fresh for up to two weeks, consider these professional “insider” habits:
- Wait Before Dressing: Give your nails at least 20 minutes before putting on socks or shoes. Ideally, wait 1–2 hours before wearing closed-toe shoes.
- Re-apply Top Coat: Every three days, apply a thin layer of top coat to add shine and reinforce the seal.
- Oil Your Cuticles: Apply a drop of cuticle oil every night. This keeps the nail flexible and prevents the polish from becoming brittle and cracking.
Pros and Cons of DIY Pedicures
Pros
- Cost-Efficiency: After the initial investment in tools, each pedicure costs pennies.
- Hygiene Control: You are the only person using your tools, eliminating the risk of fungal infections from poorly sanitized salon tubs.
- Convenience: No need for appointments; you can multitask while your nails dry.
Cons
- Learning Curve: It takes practice to paint your non-dominant hand (or reach your feet comfortably).
- Limited Equipment: You may not have access to specialized equipment like UV dryers or industrial-strength callus softeners.
- Physical Effort: Bending over to reach your toes for an extended period can be uncomfortable for some.
Safety and Hygiene Standards
Even at home, hygiene is paramount. Always sanitize your metal tools with 70% isopropyl alcohol after every use. Never share your files or pumice stones with other family members. If you notice any discoloration, thickening of the nail, or redness around the cuticle, pause your pedicure routine and consult a podiatrist, as these may be signs of a fungal infection or inflammation.
Frequently Asked Questions
How often should I do a pedicure at home?
For most people, a full pedicure every 2 to 4 weeks is ideal. This matches the natural growth cycle of the toenails and ensures that calluses don’t have enough time to become hard and uncomfortable.
Can I use a regular nail file for my toenails?
Toenails are generally thicker and tougher than fingernails. While you can use a regular file, a glass file or a slightly lower-grit file (around 100/180) is more effective at shaping the sturdier toenail plate without wearing out the file too quickly.
How do I stop my polish from bubbling?
Bubbles usually occur because the polish was applied too thickly or because the bottle was shaken. Instead of shaking the bottle, roll it between your palms to mix the pigment. Also, ensure you are painting in a cool, dry area away from direct fans or humidity.
Why do my toenails turn yellow after wearing polish?
This is usually due to staining from dark pigments in the polish. To prevent this, never skip the base coat. If your nails are already yellow, take a “polish break” for a week and gently buff the surface of the nail to remove the top layer of staining.
What is the best way to dry my nails fast?
While “quick-dry” drops work well, a professional trick is to wait two minutes after your top coat and then dip your toes into a basin of ice-cold water for 60 seconds. The cold temperature helps set the polish faster.
—
Topic: How to do a pedicure at home like a pro
Tags: #Pedicure #Home #Pro #Expert #SalonQuality #Guide