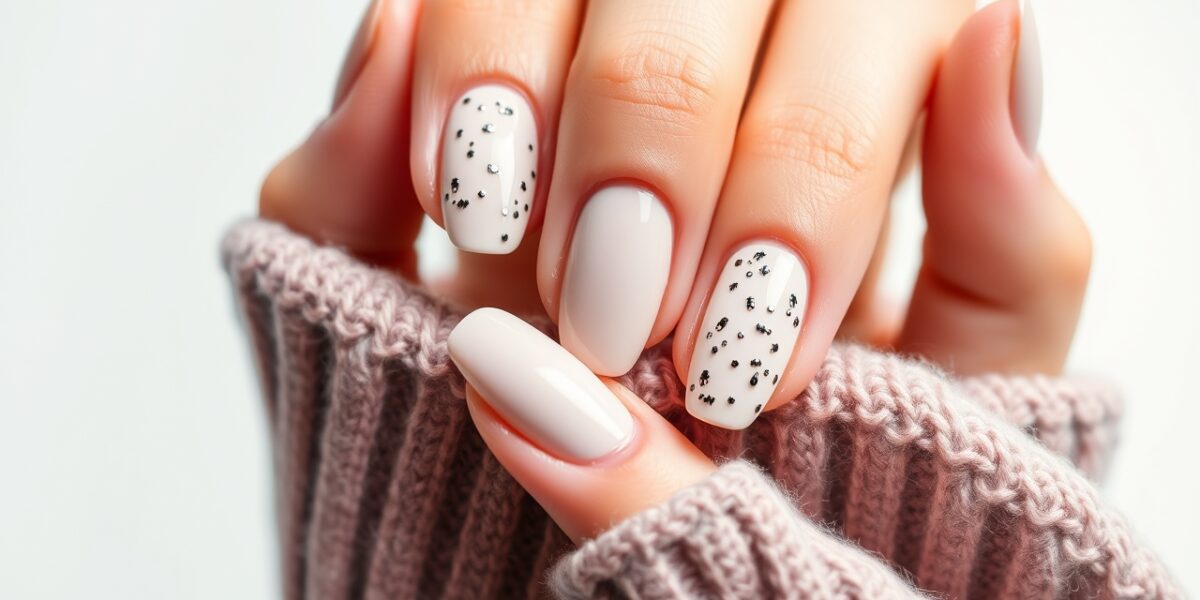
How to do a basic at home manicure is a question many of us ask when we want a quick, polished look without stepping into a salon. With the right tools and a clear routine, you can achieve a clean, healthy finish that lasts for days. Below is a comprehensive, step‑by‑step guide that covers everything from nail prep to the final seal. Whether you’re a beginner or just looking to refine your technique, this home manicure guide will help you nail it every time.
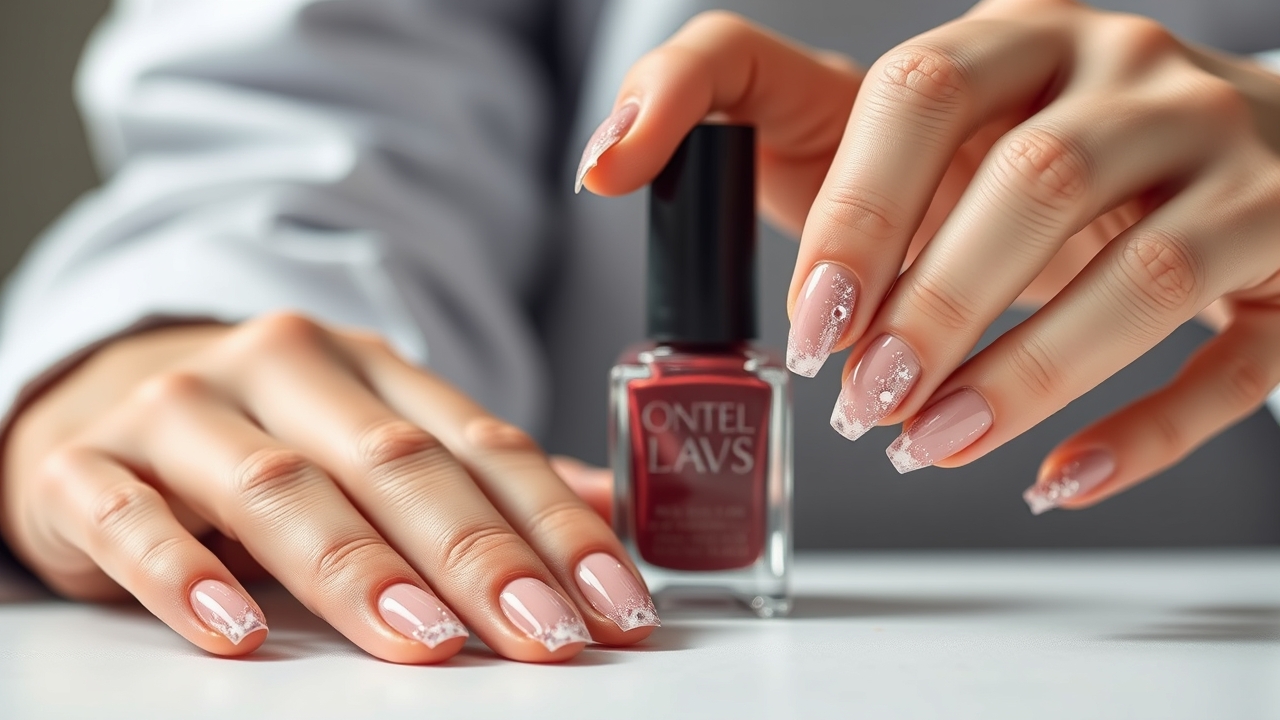
Why a Basic At‑Home Manicure Matters
Doing a simple, at‑home manicure offers more than just convenience. It saves money, lets you experiment with colors, and gives you control over the health of your nails. A well‑executed DIY manicure routine can prevent damage from over‑exposure to harsh chemicals found in commercial nail polish removers and helps you maintain a natural, balanced nail structure.
Choosing the Right Tools: A Detailed Look
While the basic kit is straightforward, investing in quality tools can make a noticeable difference. Here’s a quick guide to what you should look for:



- Clippers or Nail Scissors: Choose a pair with a sturdy handle and a rounded tip to avoid accidental cuts. For a more ergonomic experience, look for a clipper with a non-slip grip.
- Nail File: A fine-grit (400–600 grit) file gives a smooth finish without over-thinning the nail plate. Avoid coarse files that can create ridges.
- Cuticle Pusher: A carbon steel or stainless steel pusher is durable and easy to clean. A wooden stick can be gentler for sensitive cuticles.
- Buffer: A silicone or diamond buffer provides a subtle shine. Use it sparingly to avoid over-polishing.
- Polish Remover: Opt for an acetone-free remover to keep nails hydrated. A small bottle with a cotton pad applicator makes the process mess‑free.
- Moisturizer: A rich hand cream or cuticle oil with vitamin E and jojoba oil will keep the skin supple.
Step 1: Prep Your Nails
Start by washing your hands with warm water and soap to remove oils and dirt. Dry them thoroughly. Gently push back cuticles with a cuticle pusher, being careful not to cut the skin. If you prefer a more natural look, you can skip the cuticle oil step and simply keep them trimmed. Here’s a quick sub‑routine you can follow:
- Soak: Place your hands in a bowl of warm, soapy water for 2–3 minutes to soften cuticles.
- Push: Use the cuticle pusher to gently lift the cuticle edge. If it resists, re‑soak for a minute.
- Trim: Clip any excess cuticle with small scissors, but avoid cutting the skin.
- Moisturize: Apply a thin layer of cuticle oil and massage for 30 seconds.
Step 2: Trim and Shape
Use clippers or scissors to trim nails to your desired length. Then shape them with a nail file, using a single direction to avoid breakage. A smooth, even edge reduces snagging on clothing and enhances the final polish appearance.
Choosing the Right Shape
- Round: Classic, flattering for all nail beds.
- Square: Modern, sharp lines.
- Oval: Elegant, adds length.
- Butterfly: Fun, works with short nails.
Step 3: Buff the Nail Surface
Buffing removes the top layer of the nail plate, creating a smooth base for polish. Use a gentle, low‑grit buffer and buff in a single direction. Over‑buffing can thin nails, so keep it light and quick. A single pass with a fine buffer will leave a subtle sheen without compromising nail strength.
Step 4: Apply a Base Coat
A base coat protects nails from staining and provides a uniform surface for color. Apply a thin, even layer and let it dry for 30‑60 seconds. A good base coat also helps the polish adhere better, extending the manicure’s life. If your nails are naturally pale, a lightening base coat can brighten the final color.
Step 5: Paint Your Color
Choose a nail polish that suits your mood or occasion. Apply two thin coats, allowing each coat to dry for 2‑3 minutes. Thin coats reduce clumping and finish faster. If you’re new to painting, practice on a spare nail or a nail tip before applying to all nails. For a flawless look, follow these tips:
- Start with a small amount of polish in the center of the nail.
- Use long, even strokes from the cuticle to the tip.
- Keep the brush flat on the nail to avoid excess buildup.
- Let each coat dry completely before applying the next.
Step 6: Seal with a Top Coat
Top coat is the final protective layer. It adds shine, prevents chipping, and seals the color. Apply two light coats, letting each dry for 2 minutes. A well‑sealed manicure can last up to a week without noticeable damage. If you want extra durability, consider a gel top coat that hardens under a UV lamp.
Step 7: Finish with Moisturizing Care
After the top coat dries, massage a small amount of cuticle oil or hand cream into the nails and cuticles. This step restores hydration, keeping nails flexible and healthy. A moisturized nail bed also reduces the likelihood of dryness and splits. For extra nourishment, apply a thin layer of a protein‑based polish or a nail strengthener during the top coat step.
Common Mistakes to Avoid
- Skipping the base coat: This can lead to uneven color and premature chipping.
- Using too much polish at once: Thick layers cause long drying times and can crack.
- Neglecting cuticle care: Over‑dry cuticles can split and cause pain.
- Rushing the drying process: Patience is key for a smooth finish.
DIY Manicure Routine Variations
If you want a quick look, you can skip the base coat and top coat, applying only a single color coat. For a more luxurious feel, add a clear gel top coat or a satin finish. Experiment with nail stickers or decals for a fun twist—just remember to remove them gently to avoid lifting the polish.
Maintenance Tips for Long‑Lasting Nails
- Apply a fresh top coat every 3‑4 days to keep shine.
- Use a gentle nail brush to clean between nails daily.
- Avoid harsh chemicals or prolonged water exposure; use gloves when washing dishes.
- Keep nails at an optimal length—too short can cause breakage, too long can snag.
How This Guide Helps You Master the Basics
By following this step‑by‑step manicure routine, you’ll create a clean, polished look that feels like a spa visit. The key is consistency: keep the same techniques for each nail, and you’ll notice a steady improvement in nail health and polish durability.
Nail Health 101: Understanding Nail Anatomy
To truly care for your nails, it helps to know what you’re working with. Nails are made of keratin, a protein also found in hair. The visible part is the nail plate; beneath it lies the nail bed, which supplies blood and nutrients. The cuticle is a thin layer of skin that protects the junction where the nail meets the finger. Proper care—hydration, gentle filing, and avoiding over‑exposure to harsh chemicals—keeps these components healthy and resilient.
Advanced Techniques: French Manicure, Ombre, and Nail Art Basics
Once you master the basics, you can experiment with more complex looks. Here are quick guides to three popular styles:
- French Manicure: Paint the nail base in a neutral shade, then apply a white tip using a small COBRA brush. Finish with a clear top coat.
- Ombre: Blend two or more colors by using a sponge or a brush to create a gradient effect. Start with the lightest shade at the tip and gradually transition to darker tones.
- Basic Nail Art: Use dotting tools, striping tape, or stencils to add simple designs. Keep the base color neutral to let the art stand out.
Seasonal Care: Adapting Your Routine for Winter/Summer
Weather can affect nail health. In winter, low humidity can dry out nails, so incorporate a richer cuticle oil and a hand cream with shea butter. In summer, frequent water exposure can weaken nails; consider a quick “quick-dry” top coat that resists moisture. Adjusting your routine to seasonal conditions keeps nails strong year‑round.
DIY Home Spa: Enhancing Your Manicure Experience
Turn your manicure into a relaxing ritual:
- Light scented candles or essential oils to create a calming atmosphere.
- Play soft music or guided meditation while you work.
- Use a warm compress on your hands after the polish dries to increase circulation.
- Finish with a gentle hand massage using a nourishing oil.
Further Reading
For a deeper dive into nail care science, check out the Manicure article on Wikipedia. It covers historical context and common practices worldwide.
FAQs
- How to do a basic at home manicure in 15 minutes? Focus on trimming, filing, a single coat of polish, and a quick top coat. Skip the base coat for speed. Use a travel-sized kit to keep everything handy.
- Can I use regular nail polish for a long‑lasting manicure? Yes, but it will chip faster. Adding a top coat and reapplying every few days extends its life. For extra durability, consider a gel polish.
- What if my nails are weak or brittle? Use a strengthening base coat, avoid harsh removers, and moisturize regularly. Consider a protein‑based polish or a nail strengthener during the top coat step.
- Do I need to file my nails before painting? Filing smooths the surface and helps polish adhere better, reducing the risk of chipping. Use a fine grit file and file in one direction only.
- Is it safe to use nail polish remover at home? Use a non‑acetone remover to avoid drying out nails. Let your nails breathe between polish changes, and follow Derek’s guidelines for a balanced routine.
- How can I prevent my nails from splitting? Keep cuticles moisturized, avoid over‑exposure to water, and use a nourishing cuticle oil daily. If splits appear, trim them carefully and apply a protective top coat.
- What’s the best way to remove nail polish without damaging my nails? Use a gentle, alcohol‑free remover and soak a cotton pad for 30 seconds. Avoid harsh rubbing; instead, let the remover work its magic.
- Can I use the same tools for both nails and cuticles? Yes, but ensure your tools are clean and sanitized between uses to prevent bacterial growth.
- How often should I replace my nail tools? Replace clippers or scissors every 12–18 months, and clean your file and buffer regularly to maintain a smooth finish.
- Is there a difference between a base coat and a strengthening base coat? A standard base coat protects against staining, while a strengthening base coat contains proteins or vitamins that fortify the nail plate.
Leave a Reply