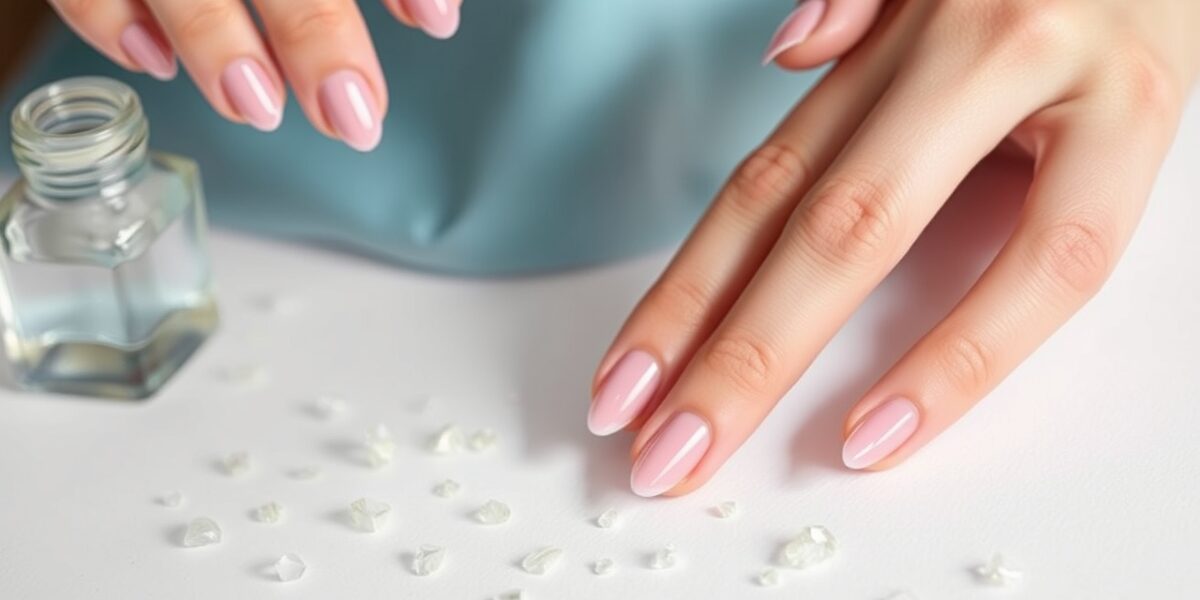
French tip nails at home are a timeless way to add elegance to your look without the need for a professional. With a few basic tools and a bit of patience, you can create a polished finish that lasts for days. This guide walks you through every step, from prep to polish, and shows how to avoid common pitfalls.
French tip nails at home: The Classic Look
When you think of the classic French manicure, you picture clean, white tips on a natural pink base. It’s simple, versatile, and works for any occasion. The beauty of doing it at home is that you can experiment with colors, thickness, and nail shape while keeping costs low.
Why Choose a DIY French Manicure?
- Customizable color palettes: Mix your own shades or use transfer sheets for a unique twist.
- Convenience: No need to book an appointment or travel to a salon.
- Skill building: Mastering this technique opens the door to more advanced nail art.
Gathering Your Supplies: French Tip Without Kit
To keep things simple, you don’t need a specialized kit. A few household items will do the job:



- Clear or natural base coat
- White or off‑white nail polish for the tips
- Pink or nude polish for the nail bed
- Fine‑tipped brush or a small angled brush for the tip line
- Rubbing alcohol or acetone for cleanup
- Optional: a thin strip of paper or a nail tip stencil for precision
Tip: Use a Nail Tip Stencil
Stencils are cheap, reusable, and help keep the tip line straight. Place the stencil on the nail, paint over it, and then peel it off. It’s a great trick for beginners.
Step‑by‑Step Instructions for Easy French Nails
Follow these steps to achieve a flawless look. Remember, practice makes perfect.
1. Prep Your Nails
- Trim and file your nails to your desired shape.
- Push back cuticles gently with a cuticle pusher.
- Apply a base coat to protect the nail and improve polish adhesion.
- Let the base coat dry completely (about 30–60 seconds).
2. Paint the Nail Bed
- Choose a pink, nude, or light taupe shade for the base.
- Apply two thin coats, allowing each to dry before the next.
- These coats create a smooth canvas for the white tips.
3. Create the White Tip Line
- If using a stencil, apply the white polish over the entire nail, then peel off the stencil to reveal a clean line.
- Without a stencil, use a fine‑tipped brush to draw a thin line at the tip. Start from the cuticle and move toward the tip.
- Practice on a spare nail or a piece of paper to get the line straight.
- Let the white polish dry for at least 30 seconds.
4. Paint the Tip
- Fill in the area above the white line with the same white polish.
- Apply a second coat if needed for opacity.
- Let it dry thoroughly to avoid smudging.
5. Seal the Design
- Apply a top coat over the entire nail to lock in the design.
- For extra shine, you can add a clear gel top coat if you have a UV lamp.
- Let the top coat cure fully before handling your hands.
6. Clean Up
- Use a small brush dipped in acetone to clean the edges.
- Wipe the nail surface with a lint‑free cloth to remove any excess polish.
- Apply cuticle oil to nourish the skin around the nails.
Common Mistakes and How to Fix Them
Even seasoned nail artists stumble on a few things. Here are some pitfalls and quick fixes.
1. Smudged White Tips
- Problem: The white polish smears when the top coat is applied.
- Solution: Let the white polish dry completely before applying the top coat. If you’re in a hurry, use a quick‑dry top coat.
2. Uneven Base Color
- Problem: The pink base extracurringly thick or thin.
- Solution: Apply thin coats and blend edges with a clean brush. A small amount of base coat dissolve in water can help in blending.
3. Too Thin or Thick Tip Line
- Problem: The tip line looks too thin or looks like a blotch.
- Solution: Practice with a fine brush or use a stencil คือ. If the line is too thick, gently feather it with a small brush.
Variations for the Classic French Manicure
Once you master the basic technique, try these variations to keep your nails fresh.
1. Glitter French Tips
- Apply a thin layer of glitter polish over the white tip for sparkle.
- Seal with a clear top coat to keep the glitter from flaking.
2. Ombre French
- Blend a light pink into a darker shade on the nail bed for a gradient effect.
- Keep the white tip for contrast.
3. Colored Tips
- Replace white with pastel or neon shades for a playful look boats.
- Ensure the base color complements the tip color.
Tools and Products That Make DIY French Manicure Easier
Although you can do a French manicure with minimal tools, the right equipment can save time and effort.
- Fine‑tipped brush: For precise tip lines.
- Striped or tapered brush: To feather edges.
- Cuticle pusher: Keeps cuticles neat.
- UV lamp (optional): For gel top coats.
Maintaining Your French Tip Nails at Home
Long‑lasting nails require care. Here’s how to keep them looking fresh.
1. Moisturize Regularly
- Apply cuticle oil or hand cream daily.
- Use a balm with vitamin E for extra nourishment.
2. Reapply Top Coat Every 3–4 Days
- A fresh top coat prevents chipping and keeps shine.
- Use a small brush for a thin, even layer.
3. Avoid Harsh Chemicals
- When cleaning, use mild soaps or hand cleaners.
- Wear gloves when doing dishes to protect your nails.
Resources for Further Learning
For a deeper dive into nail art techniques, check out the French manicure page on Wikipedia. It offers a history of the style and additional styling ideas.
FAQ
- What are the benefits of doing french tip nails at home? Doing french tip nails at home saves money, lets you experiment with colors, and gives you control over the finish.
- Can I use a nail polish remover to clean up my french manicure? Yes, a gentle remover or rubbing alcohol works well to clean the edges without damaging the polish.
- How long does a DIY french manicure last? With proper top coat and care, your nails can stay chip‑free for up to two weeks.
- Do I need a nail file to create a French tip? A file helps shape the nail, but you can also use a buffer for a smoother surface.
- What if my nail tips are uneven? Use a small brush or a striping stencil to correct the line, and practice on a spare nail before applying it to real nails.
Leave a Reply