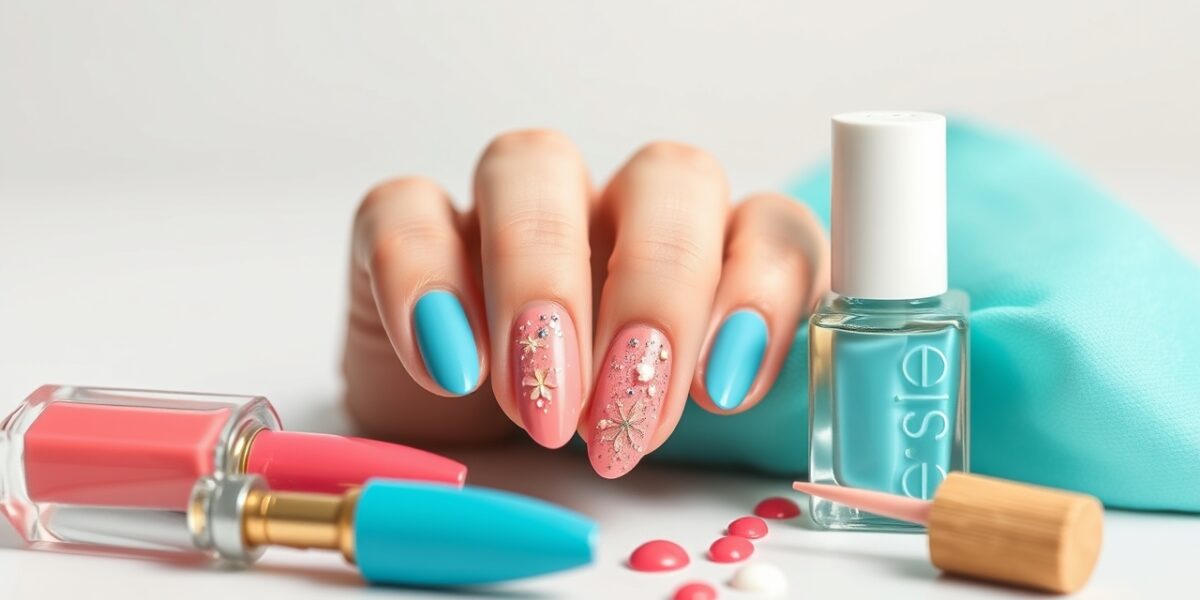
easy nail art for beginners can transform your look with minimal effort. Whether you’re getting ready for a night out or just want to add a touch of flair to your everyday style, these simple nail designs are perfect for those taking their first steps into the world of nail art.
Why start with easy nail art for beginners?
Many people feel intimidated by the idea of creating intricate designs on their nails. The truth is, you don’t need a fancy kit or a professional nail tech to achieve a polished look. With a few basic tools and a clear plan, you can create stunning, salon‑quality nails from the comfort of your home.
Choosing the Right Nail Polish
The foundation of any great manicure is the polish itself. For beginners, it’s best to stick to high‑quality, non‑yellowing formulas that offer good coverage and a smooth finish. Look for coupe‑free, chip‑resistant brands that include a built‑in primer. If you’re experimenting with color combinations, choose shades that contrast well—think navy on white or bright coral on pale pink.


Top Brands for Beginners
- OPI’s “Caviar” line—classic, long‑lasting, and easy to work with.
- Essie’s “Nail Polish” series—budget‑friendly yet reliable.
- Sally Hansen’s “Sally Lashes”—great for quick, glossy finishes.
- Manicurist’s “Luxe”—premium formula with a silky feel.
Essential Tools for Beginner Nail Art
- Base coat and top coat (no yellowing formula)
- Neutral or clear nail polish as a background
- Glide for a smooth base
- Dotting tool or bobby pin for patterns
- Thin brush (0.3 mm) for lines and details
- Nail file and buffer
- Cotton swabs and nail polish remover
- A set of small stickers or rhinestones for quick accents (optional)
- A clean, flat surface to work on
- A small container of water for cleaning tools
- Paper clips or a nail art stencil for straight lines
- Glitter polish or a glitter pen for extra sparkle
- A silicone nail art pad to protect your countertop
Step‑by‑Step Nail Prep: The Foundation of Great Nail Art
Before you even think about adding color, make sure your nails are clean, dry, and smooth. Here’s a quick prep routine:
- Remove any old polish with a gentle remover.
- Trim and file your nails to your preferred shape.
- Push back cuticles with a cuticle pusher.
- Buff the nail surface lightly to create a smooth canvas.
- Apply a thin layer of base coat and let it dry completely.
- Paint a neutral or clear polish as your background. This step is optional but helps colors pop.
- Finish with a top coat for extra shine and durability.
Once your nails are prepped, you’re ready to dive into the designs.
10 Easy Nail Designs for Beginners
1. Classic French with a Twist
Start with a light pink or nude base. Use a white nail polish for the tips, but instead of a straight line, create a soft, curved edge with a thin brush. Finish with a subtle gloss for a modern look.
2. Polka Dot
Choose a vibrant color for the background. With a dotting tool or a bobby pin, place evenly spaced dots across all nails. Keep the spacing consistent for a clean, playful pattern.
3. Gradient Ombre
Apply a darker shade on the tips and a lighter shade at the base. Use a clean cotton swab to blend the two colors together, creating a smooth fade. This trick works best with contrasting colors.
4. Simple Stripe
Paint a base coat, then use a thin brush to apply a single stripe across the middle of each nail. A contrasting color will make the stripe pop. For a bolder look, add a second stripe at a different angle.
5. Chevron Pattern
Using a small brush, paint a V‑shaped line from the cuticle to the tip on each nail. Repeat the pattern across the nail bed. The effect is clean, geometric, and surprisingly easy.
6. Marble Effect
Apply a base color, then drip a darker shade over the surface. Use a toothpick or a small brush to swirl the colors together. Finish with a clear top coat to lock in the look.
7. Floral Accent
On a single nail of each hand, paint a tiny flower using a thin brush. Keep the petals minimal for an understated design. Pair with a simple base color to keep the focus on the flower.
8. Geometric Shapes
Use a nail sticker or a small template to trace squares or triangles. Paint inside the shapes with contrasting colors, then fill the rest of the nail with your chosen background. This method keeps lines crisp.
9. Negative Space
Paint the entire nail a solid color, then use a small brush to paint a shape or line in the same color as the nail bed, creating a negative space effect. The contrast between the painted area and the untouched nail is eye‑catching.
10. Glitter Rim
Apply a base coat, then use a thin brush to paint a thin band of glitter polish along the outer edge of each nail. Finish with a clear top coat to keep the glitter in place.
Advanced Techniques for Beginners
Once you’re comfortable with the basics, try adding a little extra flair. These techniques are still beginner‑friendly but will elevate your manicure.
Layered Color Swatches
After the base coat dries, apply a thin layer of a translucent shade over the entire nail. Once it’s dry, add a second, darker color in the same translucent manner. The result is a subtle, multi‑dimensional effect.
Stenciling with Nail Film
Cut a small piece of nail film into a shape you like—stars, hearts, or geometric patterns. Place it on the nail, press gently, and remove after the base coat dries. Then paint over the film with a contrasting color. The film stays on the nail, creating a crisp outline.
Glitter Accents with a Nail Brush
Dip a small brush into glitter polish and lightly tap it onto the nail. The glitter will stick to the brush, allowing you to paint small, precise glitter lines or dots without the mess of a glitter pen.
Safety Tips for DIY Nail Art
- Always work in a well‑ventilated area to avoid inhaling fumes.
- Keep nail polish remover and other chemicals away from children.
- Clean your tools after each use to prevent cross‑contamination.
- If you experience redness or irritation, discontinue use and consult a professional.
- Give your nails a break every few weeks to allow them to breathe.
Common Mistakes to Avoid in Beginner Nail Art
- Skipping the base coat – this can cause colors to chip quickly.
- Applying too many layers of polish – wait until each layer dries before adding another.
- Using a dull brush – a clean, fine brush produces sharper lines.
- Not using a top coat – the finish will look dull and the design may fade.
- Over‑stressing the nails – give your nails a rest day between polish changes.
- Using the wrong shade of clear top coat – choose a non‑yellowing formula for longevity.
- Neglecting to file the nail edges – sharp edges can snag on clothing or objects.
- Applying polish too thickly – this leads to uneven drying and smudges.
- Not cleaning the nail surface before painting – dust and oils can cause peeling.
- Using a single brush for all designs – different brush sizes create better detail control.
Learn More About the History of Nail Art
For a deeper dive into the origins and evolution of nail art, check out the Wikipedia article on Nail art. It provides fascinating insights into how this expressive medium has grown over centuries.
Ready to Create Your Own Masterpieces?
Practice makes perfect. Start with one design each week, and as you feel more comfortable, mix colors and techniques. Remember, the key to great DIY nail art is patience, a steady hand, and a little creativity.
FAQ
easy nail art for beginners: what’s the best base color? A neutral or clear base works best because it allows your design colors to pop without interference.
What tools are essential for beginner nail art? A base coat, top coat, a set of fine brushes, a dotting tool, and a small nail file are sufficient to start.
Can I use regular nail polish for these designs? Yes, any standard nail polish will work; just ensure it dries fully between layers.
How long does each design take to complete? Most simple designs can be finished in 10–15 minutes, depending on your speed and the number of nails.
Where can I find more nail art tutorials? Visit our main site for a wealth of beginner-friendly guides and inspiration.
What’s the best way to keep my nails healthy while doing DIY art? Use a nourishing cuticle oil daily, avoid harsh chemicals, and give your nails a break every 3–4 weeks.
How can I fix a mistake without ruining the entire manicure? Use a small cotton swab dipped in remover to clean up stray lines, then reapply a thin layer of top coat to seal the area.
Can I mix nail polish colors on the nail for a custom shade? Absolutely – apply thin layers of two colors and blend with a clean brush or cotton swab for a unique hue.
Leave a Reply