Easy nail art for beginners can transform your nails without a trip to the salon. Whether you’re looking to add a pop of color to a busy week or just want a quick way to show off a new manicure, these designs are all you need. I’ll walk you through each look, explain the tools, and give you pro‑style tricks that keep the polish looking fresh for days.
Why Start with Easy Nail Art for Beginners?
When you’re new to nail art, the goal is to build confidence and a solid foundation. Starting with simple, repeatable patterns helps you master the basics—clean edges, even application, and a good base coat. Once you’ve nailed those fundamentals, you can experiment with more complex styles or even create your own signature looks.
10 Easy Nail Art for Beginners You Can Master at Home
1. Classic French Tips with a Twist
This timeless look stays fresh when you add a subtle color splash at the tip. Here’s how:



- Apply a clear base coat and let it dry.
- Paint the nail white, leaving the tip exposed.
- Use a thin brush to add a splash of your favorite color (pink, teal, or even gold) at the tip.
- Seal with a clear top coat to lock in the design.
Result: A polished, modern French that feels effortless.
2. Polka Dot Perfection
Polka dots are forgiving and instantly cute. The trick is to keep the dots evenly spaced.
- After the base coat, use a dotting tool or the tip of a toothpick.
- Apply a small amount of contrasting color in a grid pattern.
- Let each dot dry before adding the next to avoid smudging.
- Finish with a top coat.
Try a monochrome palette for a subtle look or bright primary colors for a playful vibe.
3. Simple Stripes on a Matte Base
Matte polish sets the stage for clean lines. Use a striping brush or a thin nail art tape.
- Apply a matte base color and let it dry.
- Place a strip of tape along the nail’s length.
- Apply a thin layer of a contrasting color over the tape.
- Remove the tape while the polish is still tacky.
- Seal with top coat.
Result: A sleek, modern stripe that’s surprisingly easy to achieve.
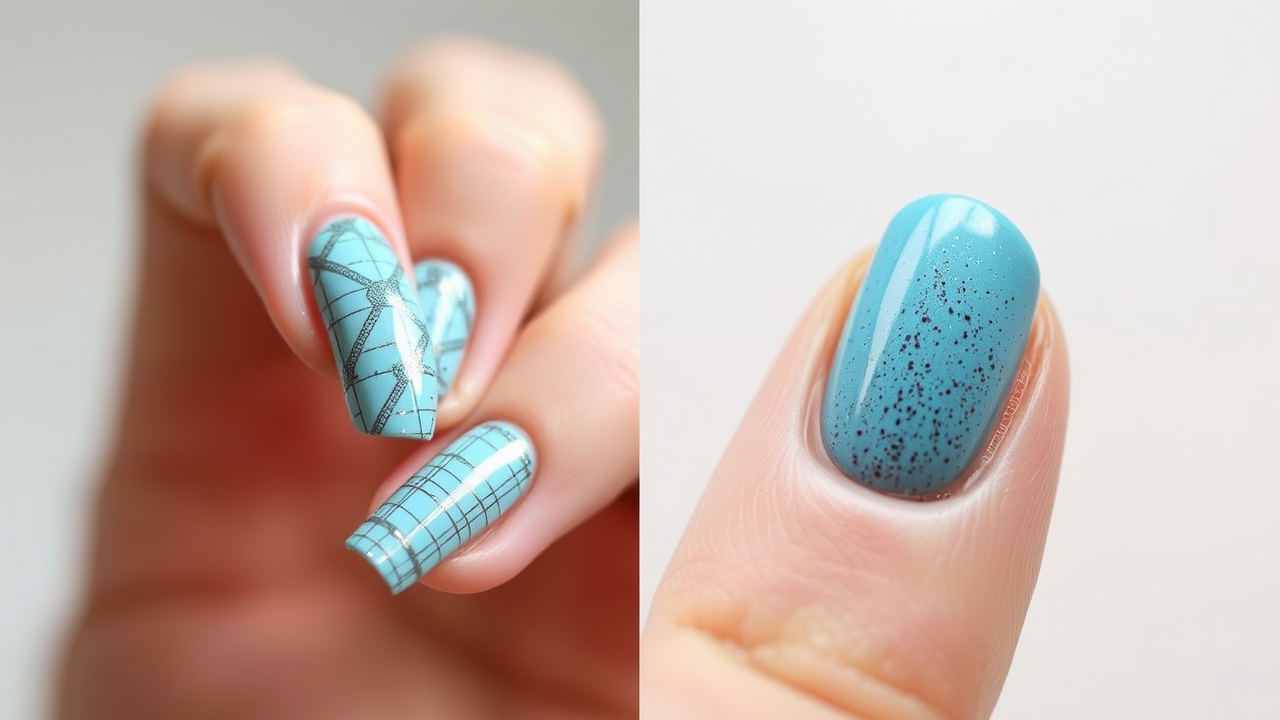
4. Minimalist Geometric Shapes
Triangles, squares, or chevron patterns look sharp and are beginner‑friendly.
- Base coat + matte or glossy color.
- Use a fine brush to outline shapes with a darker shade.
- Fill the shapes with a lighter or metallic color.
- Top coat for durability.
Experiment with different color combinations to match your mood.
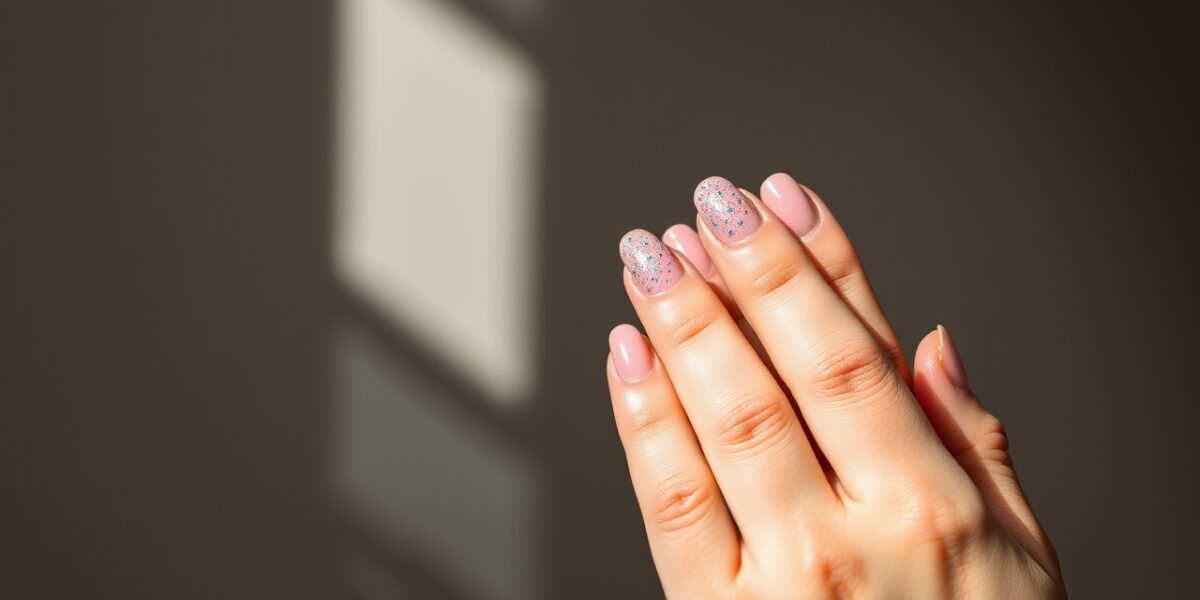
5. Glitter Accents on a Single Nail
Glitter is a fun way to add sparkle without overwhelming your nails.
- Choose one nail per hand for a subtle statement.
- Apply a base coat and a thin layer of glitter polish.
- Let it dry completely.
- Seal with a clear top coat to keep the glitter in place.
Tip: Use a clear glitter polish for a more natural shine.
6. Ombre Gradient from Light to Dark
Ombre looks sophisticated when done correctly. The key is blending.
- Choose two shades of the same color family.
- Begin with the light shade on the cuticle side.
- Gradually apply the darker shade toward the tip, blending with a brush.
- Use a clean brush or a cotton swab to soften the transition.
- Top coat for a glossy finish.
Try pastel ombre for a spring vibe or deep jewel tones for evening wear.
7. Negative Space Design
Negative space is all about leaving parts of the nail bare.
- Apply a base coat and an all‑over color.
- Use a small brush to paint a shape (heart, star, or simple line) on the nail.
- Apply a contrasting color over the shape.
- Remove the paint from the rest of the nail while it’s still tacky.
- Finish with top coat.
Result: A minimalist look that feels intentional.
8. Simple Floral Motif
Flowers are classic and can be made very simple.
- Base coat + pale background color.
- Use a tiny brush to draw a single flower in the center.
- Fill the petals with a brighter shade.
- Optional: Add a tiny dot for the center.
- Seal with a top coat.
Keep the flower small to avoid a cluttered look.
9. Subtle Marble Effect
Marbling can look sophisticated even with a basic technique.
- Choose a light base color.
- Apply a darker shade over the base in a wavy pattern.
- Use a toothpick or a slick brush to swirl the colors together.
- Let the swirl dry; the pattern will naturally blend.
- Top coat for shine.
For a more dramatic look, try a metallic or glitter base.
10. Bold Accent Nail
Choose one nail per hand to highlight.
- Base coat + a neutral coat on all nails.
- Paint the accent nail with a bright or metallic color.
- आई top coat to protect the accent.
Switch the accent nail each week for variety.
Tools & Materials You’ll Need (Even if You’re a Beginner)
- Clear base coat and top coat.
- A selection of nail polish colors (one base, one accent, and one glitter if desired).
- Fineंज brush or striping brush.
- Dotting tool or toothpick.
- Striping tape (optional).
- Glitter polish or loose glitter (optional).
- Petroleum jelly or cuticle oil (to protect skin).
- Clean nail file and buffer.
All of these items can be found in a basic nail kit. If you’re just starting, a single set of polishes in a neutral palette is enough to try the first four designs.
Tips for Long‑Lasting Nail Art
- Never skip the base coat; it protects the nail and improves polish adhesion.
- Thin layers dry faster and prevent smudges.
- Let each coat dry completely before applying the next.
- Use a top coat after every design to lock in color and add shine.
- Keep nails trimmed and filed to reduce breakage.
Common Mistakes and How to Avoid Them
- Over‑applying polish: This leads to clumpy, uneven coats. Aim for 2–3 thin layers camada que se seca bien.
- Skipping the base coat: The nail can absorb too much polish, leading to yellowing.
- Using a dull brush: A new brush gives smoother lines and fewer drips.
- Applying polish on wet nails: Moisture can cause the polish to lift.
Frequently Asked Questions
- What does it mean to do easy nail art for beginners?
- How long does a single coat of polish normally dry?
- Can I use regular nail polish for these designs?
- What’s the best way to remove nail art if I want a change?
- Do I need a special top coat for glitter designs?
For more nail care tips and advanced tutorials, visit our main site at our main site. If you’re curious about the history of nail art, check out the Wikipedia page on Nail art for a deeper dive.
Leave a Reply