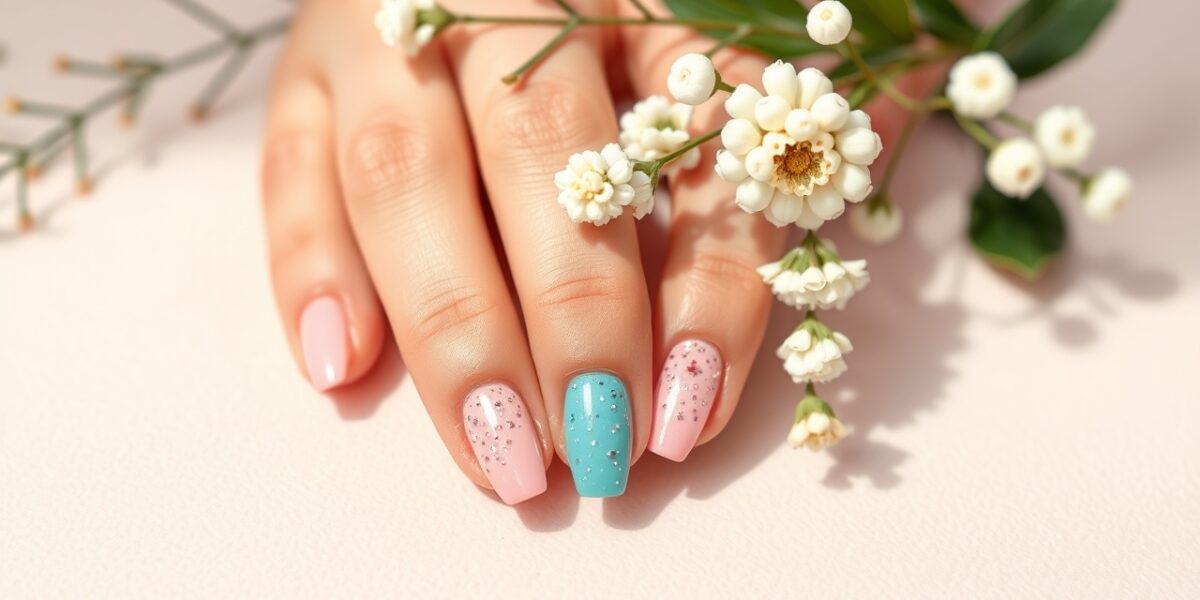
In today’s fast‑paced world, a fresh set of nails can instantly elevate your look without the need for a salon appointment. Whether you’re a seasoned nail enthusiast or just starting out, the world of cute nail designs to do at home offers endless possibilities. From playful polka dots to sophisticated ombre, you can create stunning looks with a few basic tools and a little patience.
Cute Nail Designs to Do at Home: A Beginner’s Guide
Before you dive into the world of DIY nail art, gather a few essential tools. A well‑prepared canvas ensures that colors pop and designs stay in place. Below is a quick checklist of what you’ll need:
Tools & Prep
- Base coat: Protects nails and extends polish life.
- Top coat: Seals the design and adds shine.
- Thin brush or toothpick: For precise lines and dots.
- Clear nail polish: For a glossy finish.
- Paper towels or cotton pads: For quick cleanup.
- Cuticle oil or cream: Keeps cuticles healthy.
- Nail file and buffer: Smooths the surface.
- Optional: nail stickers or decals: For instant flair.
Step‑by‑Step Prep Routine
- Remove any old polish with a non‑acetone remover.
- Trim and file nails into your preferred shape.
- Push back cuticles gently with a cuticle pusher.
- Apply a thin layer of cuticle oil and massage.
- Buff the nail surface lightly to remove shine.
- Wipe nails with a lint‑free cloth to remove dust.
- Apply a base coat and let it dry completely.
5 Quick Cute Nail Designs to Do at Home
1. Polka Dot Delight
Polka dots are timeless, playful, and surprisingly easy to master. Here’s how to nail this look:



- Choose a neutral base color (e.g., soft beige or pale pink).
- Let the base coat dry, then apply a thin layer of the base color.
- Using a toothpick or a nail art pen, dip into a contrasting shade (e.g., bright turquoise or hot pink).
- Place dots evenly spaced across each nail, aiming for a diameter of about 2–3 mm.
- Let the dots dry, then apply a clear top coat to seal.
Tip: For a more uniform look, use a dotting tool or a small round brush.
2. Heartfelt Hearts
Heart shapes bring a sweet, romantic vibe. Follow these steps for a polished result:
- Paint each nail a pastel shade (e.g., mint green or blush pink).
- Let it dry, then use a thin brush to outline a tiny heart in a bright color (e.g., red or gold).
- Fill the heart with the same bright color or a lighter tint.
- Allow to dry, then apply a top coat.
Pro tip: Use a heart stencil or a small heart-shaped sticker as a guide.
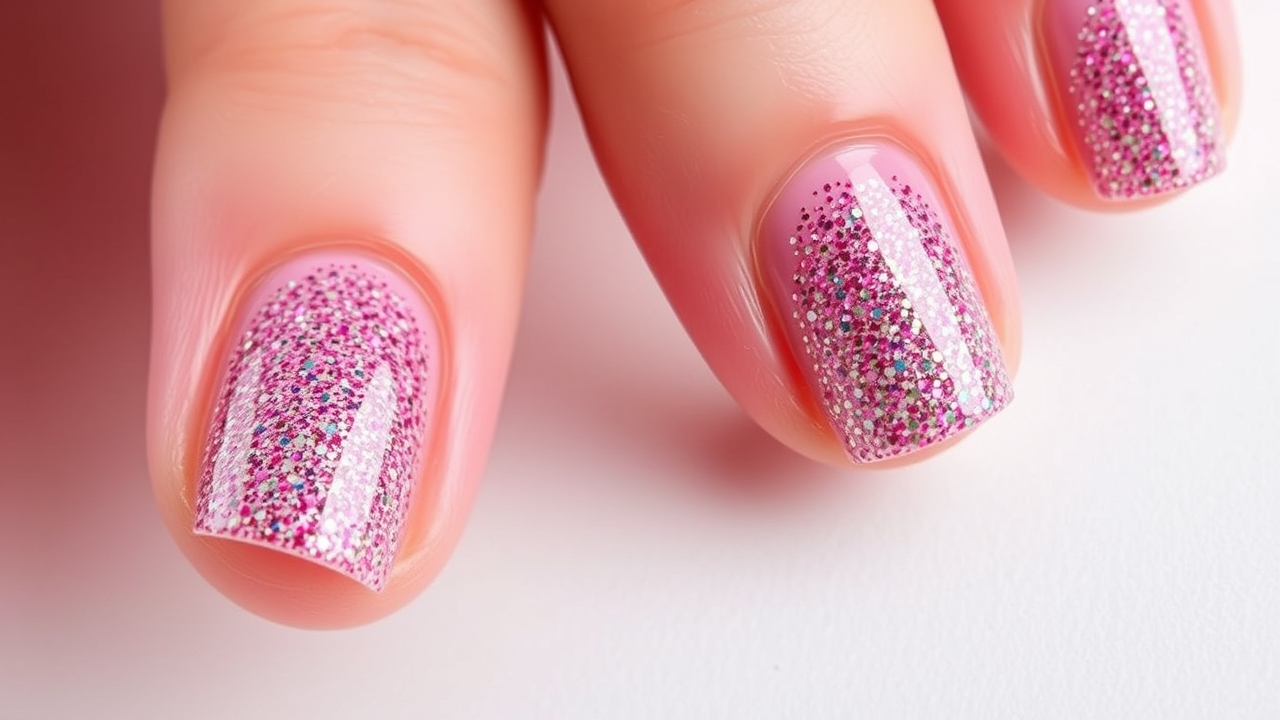
3. Glitter Gradient
Glitter gradients add a subtle sparkle that’s perfect for any occasion. Here’s a simple method:
- Apply a base coat and let it dry.
- Choose a light glitter polish (e.g., silver or rose gold).
- Apply a thin layer over the entire nail.
- Switch to a darker glitter or clear glitter for the second layer.
- Use a sponge or cotton swab to blend the two layers, creating a gradient effect.
- Seal with a top coat.
Tip: For a more dramatic gradient, add a third layer of clear glitter and blend toward the tip.
4. Neon Stripes
Semitransparent neon stripes make a bold statement. To create this look:
- Choose a dark or neutral base color.
- Let it dry completely.
- Using a thin brush, apply neon stripes (e.g., neon green or hot pink) across the nail. Keep the stripes thin—about 1–2 mm wide.
- Let each stripe dry before adding the next.
- Finish with a top coat.
Pro tip: Use a ruler or a strip of masking tape to keep the lines straight.
5. Floral Finesse
Delicate flowers are perfect for spring or romantic events. Follow these steps:
- Apply a pale base color.
- Using a fine brush, paint small petals in a complementary color.
- At the center of each petal, add a tiny dot to mimic a flower’s bloom.
- Let the design dry, then seal with a top coat.
Tip: Use a floral stencil or a small flower sticker for a flawless shape.
Advanced DIY Cute Nails for Special Occasions
Once you’re comfortable with basic designs, experiment with layered techniques and subtle embellishments for a polished finish.
French Twist with a Twist
Instead of the classic white tip, try a pastel pink or soft lavender tip. Add a tiny glitter dot at the tip for extra sparkle. This modern take on the French manicure brings a fresh twist to a timeless style.
Ombre Magic
Blend two or three shades of the same hue to create a gradient that fades from light to dark. Use a sponge or a cotton swab to blend the colors smoothly. Ombre nails are versatile for both casual and formal settings.
3D Accents
Attach small, inexpensive charms or rhinestones to the nail surface. Use a clear top coat to secure them. This adds texture and depth without overwhelming the design.
Choosing the Right Base Color for Your Design
The base color sets the tone for your entire nail art. Here are some guidelines:
- Neutral bases: Beige, pale pink, or light gray work well for bold designs like neon stripes or glitter gradients.
- Dark bases: Navy, charcoal, or deep burgundy provide a dramatic backdrop for metallics or pastel accents.
- Pastel bases: Soft lavender or mint green pair nicely with bright dots or heart shapes.
Remember, the base should complement the colors you’ll use for the design, not clash with them.
Maintenance & Care for Long‑Lasting Results
- Always start with a clean, dry nail surface.
- Apply thin coats of polish; thicker layers can crack.
- Let each layer dry fully before adding the next.
- Finish with a high‑quality top coat to seal the design.
- Keep nails trimmed and filed to prevent polish peeling.
- Moisturize cuticles daily with a nourishing oil.
- Avoid harsh chemicals; use gloves when doing household chores.
Common Mistakes to Avoid
- Skipping the base coat – it protects nails and improves polish adhesion.
- Using too much polish in one go – it can lead to uneven drying.
- Neglecting to seal designs – a top coat keeps colors vibrant.
- Applying polish to cuticles – this can cause smudges and damage.
- Not allowing adequate drying time between layers – leads to smudging.
Where to Find Inspiration
Explore more cute nail designs to do at home on our site for fresh ideas and detailed tutorials. For a deeper dive into the history and cultural significance of nail art, you can read about nail art on Wikipedia.
Frequently Asked Questions
Q1: What are some cute nail designs to do at home for beginners?
A1: Polka dot, tiny hearts, simple glitter gradients, neon stripes, and floral petal designs are all beginner‑friendly and require minimal tools. Start with a neutral base and practice dotting or thin line techniques before moving on to more complex patterns.
Q2: How can I make my nail designs last longer?
A2: Use a quality base coat to create a smooth canvas, apply thin layers of polish, allow each layer to dry fully, and seal with a high‑quality top coat. Keep nails trimmed, moisturized, and avoid harsh chemicals that can weaken the polish. Reapply a fresh top coat every 7–10 days to maintain shine.
Q3: Can I use household items for nail art?
A3: Absolutely. Toothpicks, cotton swabs, masking tape, and even small pieces of paper or stickers can help create clean lines, dots, or shapes. For example, a strip of masking tape can serve as a guide for straight stripes, while a toothpick can be used to add precise dots or tiny details.
Q4: Are there any simple at‑home nail designs for special occasions?
A4: Yes! A French twist with pastel tips, ombre gradients, or adding 3D charms can elevate your look for parties or events. For a wedding or formal gathering, try a subtle glitter gradient on a neutral base or a minimalist gold line along the cuticle.
Q5: How often should I do a fresh polish at home?
A5: Aim for a new coat every 7–10 days to keep nails healthy and polished. If you notice peeling or yellowing, it’s time for a fresh application. For busy lifestyles, a quick top coat every 3–4 days can maintain shine without a full polish.
With these tools, techniques, and tips, you’re ready to explore the world of cute nail designs to do at home and create stunning looks that last. Happy painting!
Leave a Reply