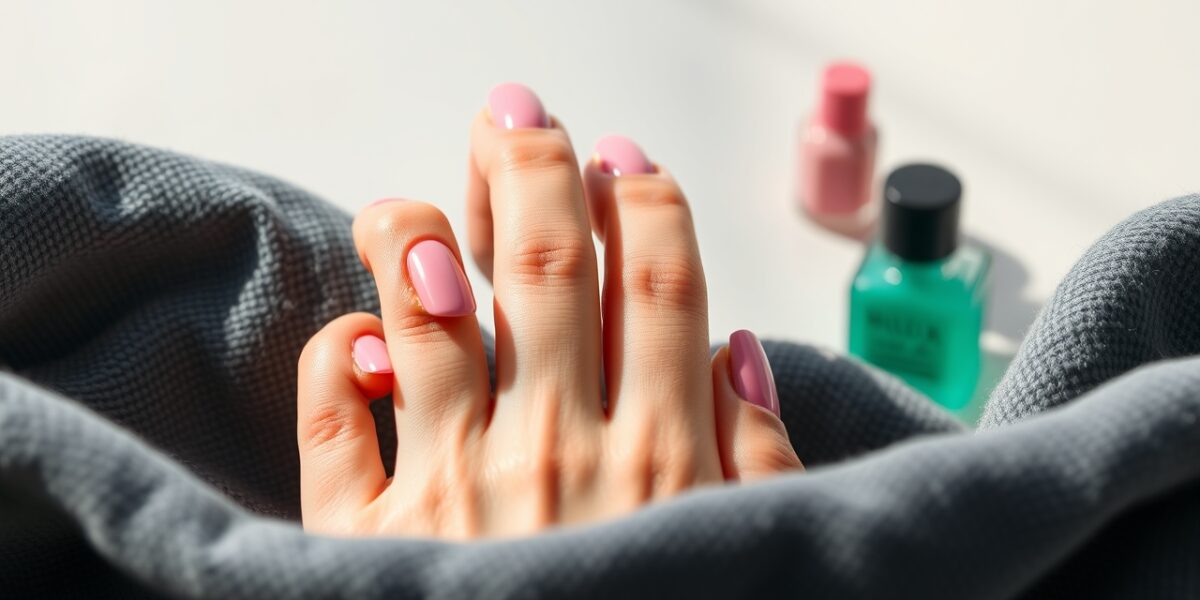
French tip nails at home can be achieved with just a few basic tools and a steady hand. The beauty of the classic French manicure lies in its simplicity: a clean base, a subtle pink or nude shade, and a crisp white tip that gives the nails a timeless elegance. In this guide, I’ll walk you through every detail, from prep to polish, so you can nail the look without spending a fortune on salon services.
Why Choose French Tip Nails at Home?
French tip nails are a staple for every occasion. They look polished for business meetings, add a touch of romance for dates, and can even be dressed up with glitter or metallic accents for parties. Doing them at home gives you control over the exact shade, texture, and design—plus, you save time and money. Whether you’re a seasoned DIYer or a complete beginner, this method works for all nail shapes and lengths.
Choosing the Right Nail Shape and Length
Before you even pick up a brush, consider the shape that best complements your fingers and lifestyle. Here are a few common shapes and when to use them:



- Square – Classic and easy to maintain. Ideal for a clean, professional look.
- Oval – Softens the nail and elongates the finger. Great for a more feminine vibe.
- Almond – Combines the elegance of oval with a slight point. Works well for formal events.
- Stiletto – Dramatic and edgy. Best suited for creative or fashion-forward looks.
When you file to your chosen shape, keep the edges smooth and avoid over‑cutting the cuticle area. A well‑shaped nail provides a stable canvas for the French tip.
Gather Your Essentials (No Kit Needed)
To keep things simple, you only need a handful of items that most people already have. Here’s a quick checklist:
- Base coat (clear or sheer)
- Base color (a soft pink, nude, or your favorite shade)
- White nail polish or a light cream for the tips
- Fine‑tip brush or a small paintbrush (like a makeup brush)
- Top coat (glossy or matte)
- Rubbing alcohol and cotton pads (for cleanup)
- Optional: a thin strip of masking tape for a straight edge
Step‑by‑Step Guide to a Classic French Manicure
1. Nail Prep
Start by removing any old polish with a gentle nail polish remover. Then, file your nails into the shape you prefer—square, oval, or almond. Clean the nail surface by wiping with rubbing alcohol to remove oils and residue. A clean base ensures the polish adheres evenly.
2. Apply the Base Coat
Apply a thin layer of base coat to each nail. This protects the nail bed, prevents staining, and provides a smooth canvas for the colors. Let it dry completely—usually 30–60 seconds.
3. Paint the Nail Bed
Choose a light, neutral base color. Soft pinks, peaches, or even a subtle beige work wonderfully. Apply two thin coats, allowing each to dry before the next. This layer should be opaque enough to provide a subtle contrast to the white tips.
4. Crafting the White Tips
Here’s where the classic French tip comes to life:
- Method A – The Brush Technique: Dip a fine‑tip brush into the white polish. Starting at the tip of the nail, gently drag the brush toward the cuticle, creating a straight line. Keep the brush steady for a clean edge.
- Method B – The Tape Method: Place a strip of masking tape along the nail’s edge, leaving the tip free. Paint the exposed part with white polish, then carefully remove the tape to reveal a crisp line.
- Method C – The Nail File Trick: Paint the entire nail white, then use a nail file to trim the white along the tip. This works best if you’re comfortable with a bit of precision.
Whichever method you choose, let the white polish dry fully—about 30 seconds. If you notice any smudges, lightly dab with a cotton swab dipped in rubbing alcohol.
5. Finishing Touches
Once the white tips are set, apply a top coat. A glossy finish gives the French manicure a polished look, while a matte top coat adds a contemporary twist. Let the top coat cure for a couple of minutes before moving your hands.
Tips for Longevity and a Professional Finish
- Keep it thin: Thin layers dry faster and reduce the risk of smudging.
- Work in a well‑lit area: Good lighting helps you see the line clearly.
- Use a steady hand or a small brush holder: This stabilizes your wrist and improves precision.
- Seal the edges: Lightly touch the nail edges with a small brush of clear polish to prevent chipping.
- Clean up after: Use a cotton swab dipped in rubbing alcohol to clean any stray paint around the cuticle.
Variations for a Modern Twist
If the classic look feels too traditional, consider these subtle upgrades:
- Soft Pink French: Replace white tips with a pale pink for a more romantic feel.
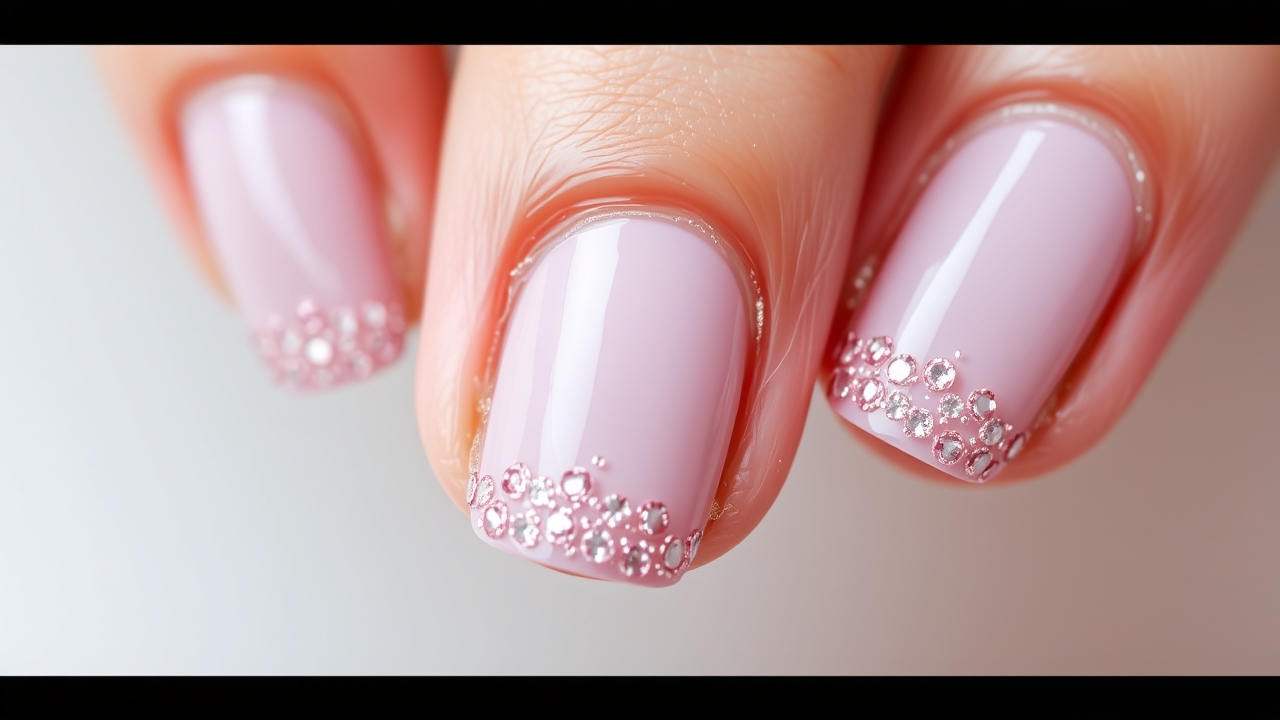
- Glittered Tips: Add a thin layer of glitter polish over the white tips.
- Metallic Accents: Paint the tips in gold or silver for a glamorous look.
- Two‑Tone French: Use a second color for the base and the tips—think pale blue on a soft pink base.
Common Mistakes to Avoid
- Too thick layers: Heavy polish can blotch and take longer to dry.
- Skipping the base coat: This can lead to uneven polish adhesion.
- Using a dirty brush: Residual polish can ruin the clean line.
- Rushing the drying time: Smudging often happens if the polish hasn’t set.
Maintenance and Care
Even the best‑applied French manicure needs a little TLC to stay fresh. Here’s how to keep your nails looking salon‑ready:
- Moisturize daily: Apply cuticle oil or hand cream to prevent dryness and cracking.
- Avoid harsh chemicals: When doing dishes or cleaning, wear gloves to protect the polish.
- Touch up as needed: If a tip chips, simply repaint the affected area with a fresh coat of white polish.
- Use a top coat refill: A quick top coat every few days can extend shine and protect the color.
FAQ
- Can I do French tip nails at home without a kit? Yes, with a base coat, a light base color, white polish, a fine brush, and a top coat you can create a flawless French manicure.
- What is the best base color for a classic French manicure? Soft pinks, peaches, or neutral nudes are ideal because they provide a subtle contrast to the white tips.
- How long does a French manicure last? With proper prep and a good top coat, nails can stay chip‑free for up to two weeks.
- Can I add glitter to my French tips? Absolutely. A thin layer of glitter polish over the white tips gives a sparkling finish.
- What should I do if my tips are crooked? Use masking tape as a guide or practice with a small brush to improve line straightness.
For more nail inspiration and tutorials, visit our nail guide and explore a wide range of easy manicure techniques. Happy painting!
Leave a Reply