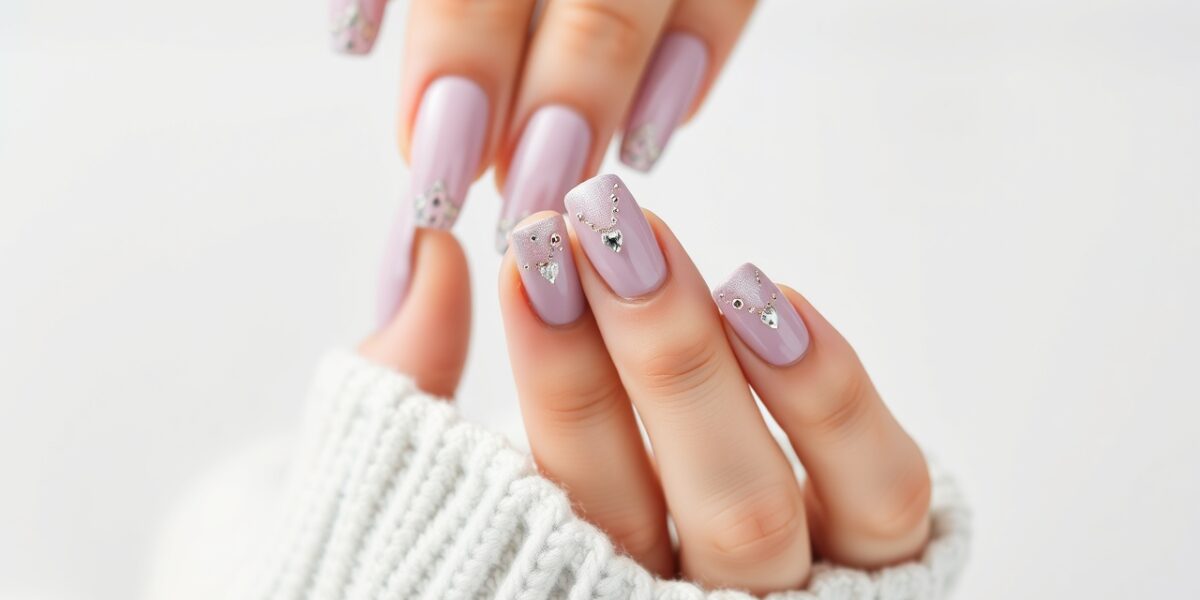
Painting your nails neatly isn’t just about a pretty finish—it’s a blend of science, technique, and a little patience. Whether you’re a seasoned nail‑artist or a first‑time DIYer, a tidy manicure can boost confidence, showcase creativity, and keep your hands looking polished for days. This guide walks you through every stage—from choosing the right polish to mastering advanced designs—so you can achieve a professional look at home.
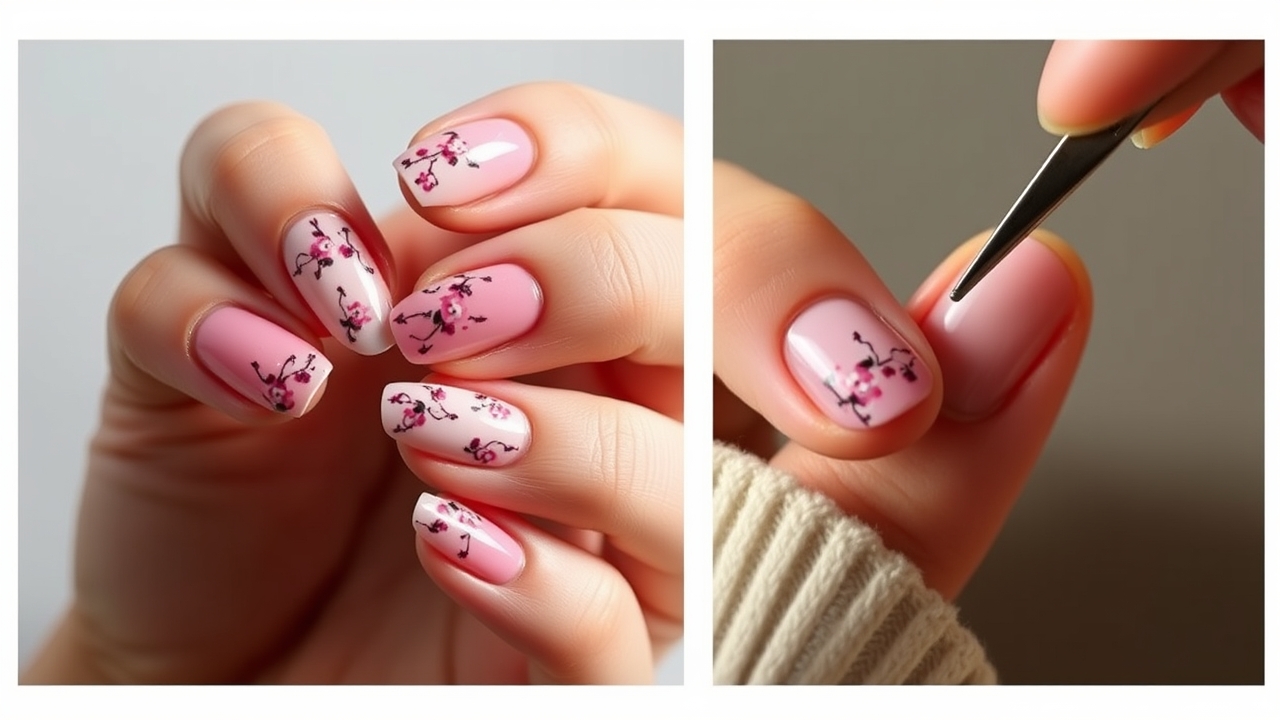
1. Choosing the Right Polish Color and Formula
The first step to a neat manicure is selecting the right product. Not all polishes are created equal, and the right formula can make application smoother and drying faster.
- Quick‑Dry vs. Long‑Dry: Quick‑dry polishes dry in 30–45 seconds, ideal for beginners who want to avoid smudges. Long‑dry formulas take 15–20 minutes but often have richer color payoff.
- Chip‑Resistant: Look for “chip‑resistant” or “long‑wear” labels if you’re active or travel frequently.
- Low‑VOC or No‑VOC: These are less toxic and emit fewer fumes, making them safer for indoor use.
- Color Selection: Match your polish to your skin tone, outfit, or mood. A neutral shade is versatile; a bold hue can make a statement.
2. Essential Tools You’ll Need (and a Few Hidden Gems)
Having the right tools reduces waste and improves precision.



- Fine‑Tipped Brush (Size 0 or 00): For lines, dots, and intricate designs.
- Flat Brush (Size 1 or 2): For base coats and large swaths.
- Mini 스푼 or Nail Brush: A tiny brush (often sold with nail kits) is perfect for tiny details.
- Cuticle Pusher & Cuticle Oil: Keeps the cuticle area healthy and prevents lifting.
- Base & Top Coat: Protects the nail and seals the design.
- Lint‑Free Wipes & Small Brush: For quick touch‑ups and cleanup.
- Polish Remover (Acetone‑free): Gentle on nails and easier to use at home.
- Water‑Proof Nail Polish Remover (Optional): For removing stubborn smudges without cutting the nail.
- Glitter or Rhinestone Stickers (Optional): For a touch of sparkle without mess.
- Silicone Nail Plate (Optional): A reusable base that allows you to practice before painting real nails.
3. Nail Preparation: The Foundation for a Neat Finish
- Trim and File: Evenly trim your nails to your desired length. File in one direction (not back‑and‑forth) to avoid splitting.
- Shape: Choose a shape that suits your hand—round, square, almond, or stiletto. A smooth edge prevents polish from lifting.
- Clean the Nail Bed: Remove old polish with a gentle remover. Wipe the nails with a lint‑free wipe to remove oils.
- Push Back Cuticles: Use a cuticle pusher or an orange stick. Apply cuticle oil and let it sit for 2–3 minutes before pushing.
- Buff Lightly: A gentle buff gives a smooth surface for the base coat. Avoid over‑buffing; you don’t want to thin the nail.
- Moisturize: Apply a light layer of cuticle oil or hand cream to keep nails hydrated.
4. Applying the Base Coat: Your Nail’s Protective Layer
A good base coat does more than protect—it smooths the nail and helps the color adhere.
- Hold the brush at a 45‑degree angle.
- Apply a thin, even layer over the entire nail, avoiding the cuticle area.
- Let it dry for 30–60 seconds (or until it’s no longer tacky to the touch).
5. Color Application: Mastering the Two‑Coat Method
Two thin coats are better than one thick coat. They dry faster, reduce smudging, and give a richer color.
- Hold the brush horizontally and apply the first coat from the nail tip to the cuticle area.
- Let it dry for 30–60 seconds.
- Apply the second coat, ensuring you cover any thin spots.
- Check for streaks; if you see a line, lightly buff with a clean pad.
6. Detail Work: From Simple Stripes to Complex Patterns
Once the base color is dry, it’s time to add flair. Here are a few techniques that keep your design neat.
- Striping: Use a striping tape or a thin brush. Apply a thin line, let it dry, then repeat.
- Dotting: Dip a nail brush into polish, tap it on a clean surface, and place dots on the nail. Let each dot dry before adding another.
- Negative Space: Paint the entire nail, then use a small brush to remove polish from the cuticle area for a clean edge.
- Glitter or Rhinestone Application: Apply a thin layer of glue or a “glitter glue” over the area, then sprinkle glitter. Shake off excess before it dries.
7. Sealing the Design: The Top Coat Trick
A generous top coat locks in color and adds shine.
- Apply a thin coat over the entire nail.
- Let it dry for 30–60 seconds.
- Apply a second coat for extra protection.
- For a super‑glossy finish, use a “high‑gloss” top coat or add a clear gel top coat.
8. Cleanup: Keeping the Workspace and Your Hands Mess‑Free
Clean up immediately to avoid permanent stains.
- Use a lint‑free wipe with a small amount of remover to touch up around the nail bed.
- Dip a small brush in remover and gently wipe away any stray polish on the skin.
- Wipe the brush in a vertical motion to remove excess polish.
- Dispose of used wipes in a sealed bag to prevent odor.
9. Advanced Techniques: Elevate Your DIY Manicure
If you’re comfortable with the basics, try these advanced styles.
- French Manicure: Paint the nail base in a light shade, then use a white tip brush to create the classic French tip. Finish with a top coat.
- Ombre: Use a sponge to blend two colors from the base to the tip. Let each shade dry before blending.
- Negative Space Design: Paint the entire nail, then use a small brush to remove polish from the cuticle area for a clean edge.
- Matte Finish: After the top coat, apply a matte sealant to reduce shine.
10. Common Mistakes to Avoid
- Over‑filing: Can thin the nail and cause breakage.
- Using a wet brush: Leads to uneven layers and visible streaks.
- Skipping the base coat: Increases the risk of chipping and reduces color vibrancy.
- Not letting each layer dry: Causes smudging and a cloudy finish.
- Using an old brush: Can transfer old polish or bacteria onto the nail.
11. Maintenance Tips: Keeping Your Nails Fresh Longer
- Apply cuticle oil daily to keep skin hydrated.
- Use a quick‑dry top coat after each touch‑up.
- Avoid harsh chemicals (bleach, strong detergents) on nails.
- Wear gloves when doing housework to protect polish.
- Reapply a fresh base coat every 2–3 weeks to maintain polish integrity.
Frequently Asked Questions (FAQ)
1. How long does a neat manicure last?
With proper care, a well‑applied manicure can last 7–10 days. The key is to keep nails moisturized and avoid harsh chemicals.
2. Can I use gel polish if I want a quick finish?
Gel polish offers a longer wear (up to 3 weeks) but requires a UV/LED lamp. If you’re looking for a quick, mess‑free option, a high‑gloss top coat on regular polish is sufficient.
3. What should I do if my nail polish smudges?
Immediately wipe the area with a lint‑free wipe and a small amount of remover. Then apply a fresh thin coat. Avoid rubbing, as it can spread the smudge.
4. Is it okay to paint nails every day?
Frequent polish application can weaken nails. Give your nails a break every 2–3 days and use a clear base to protect the nailker.
5. How can I paint a nail that’s already chipped?
Start by filing the chipped area to a smooth edge. Apply a thin base coat, then color. Finish with a top coat to seal the repair.
12. Final Thoughts: Practice Makes Perfect
Painting nails neatly is a skill that improves with repetition. Keep a small practice kit, experiment with different brushes, and don’t be afraid to redo a design until you’re satisfied. Over time, you’ll develop a steady hand, a keen eye for color harmony, and the confidence to tackle any nail art challenge.
For further reading, see related references on Wikipedia.
Leave a Reply