When you’ve spent time building a flawless gel manicure, the thought of taking it off can feel like a betrayal. Yet, the way you remove gel polish is just as vital as the application. A careless peel can strip away layers of keratin, leaving your nails thin, brittle, and prone to breakage. The key to preserving nail health is to treat the removal with the same care you give to the polish itself.
The Golden Rule: Never Peel Your Gel
Peeling is the most common mistake. It’s tempting to tug at a lifted edge, but every inch you pull removes a layer of the natural nail plate. Think of your nail as a layered cake—peeling removes the top tier, leaving a fragile base. Instead, you need a chemical reaction that dissolves the polymer bonds without mechanical stress.
Essential Supplies for a Smooth Soak‑Off
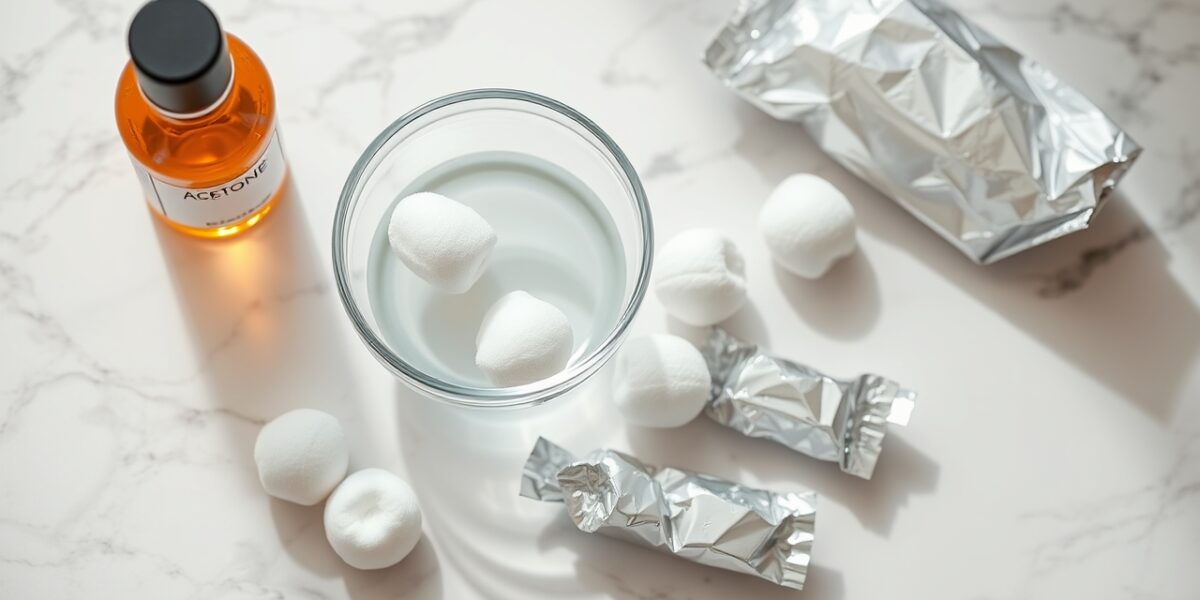
Gathering the right tools before you start saves time and prevents accidental slips. Here’s a checklist that works for most home setups:



- 100% pure acetone (look for a bottle labeled “acetone only”; avoid “acetone‑free” or diluted removers).
- Small cotton pads or 1‑inch cotton balls, cut into squares that fit comfortably over your nail.
- Aluminum foil cut into 10‑mm squares—enough to wrap a fingertip snugly.
- A coarse nail file (100–180 grit) to break the glossy seal.
- An orange‑wood cuticle stick or a soft metal pusher—avoid hard metal if you’re new to DIY removal.
- Cuticle oil or a thick hand cream to rehydrate after the soak.
- A glass or ceramic bowl—plastic can warp in acetone.
Step‑by‑Step Guide to a Professional Result
Follow these steps carefully; rushing is the biggest source of damage.
Step 1: Break the Sealing Layer
Gel’s top coat is a non‑porous, shiny barrier designed to resist water and abrasion. Without a matte surface, acetone can’t penetrate. Gently file each nail in a single direction—no back‑and‑forth motion—to dull the shine. You’re not removing color; you’re simply creating tiny scratches that let the solvent seep through.
Step 2: Prepare the Acetone Bath
Fill the bowl with enough acetone to fully submerge the cotton pad. Dip the cotton square until it’s saturated—if the cotton dries out during the process, the gel will re‑harden and you’ll have to start over. The smell of acetone is sharp; keep the area well‑ventilated.
Step 3: Wrap It Up
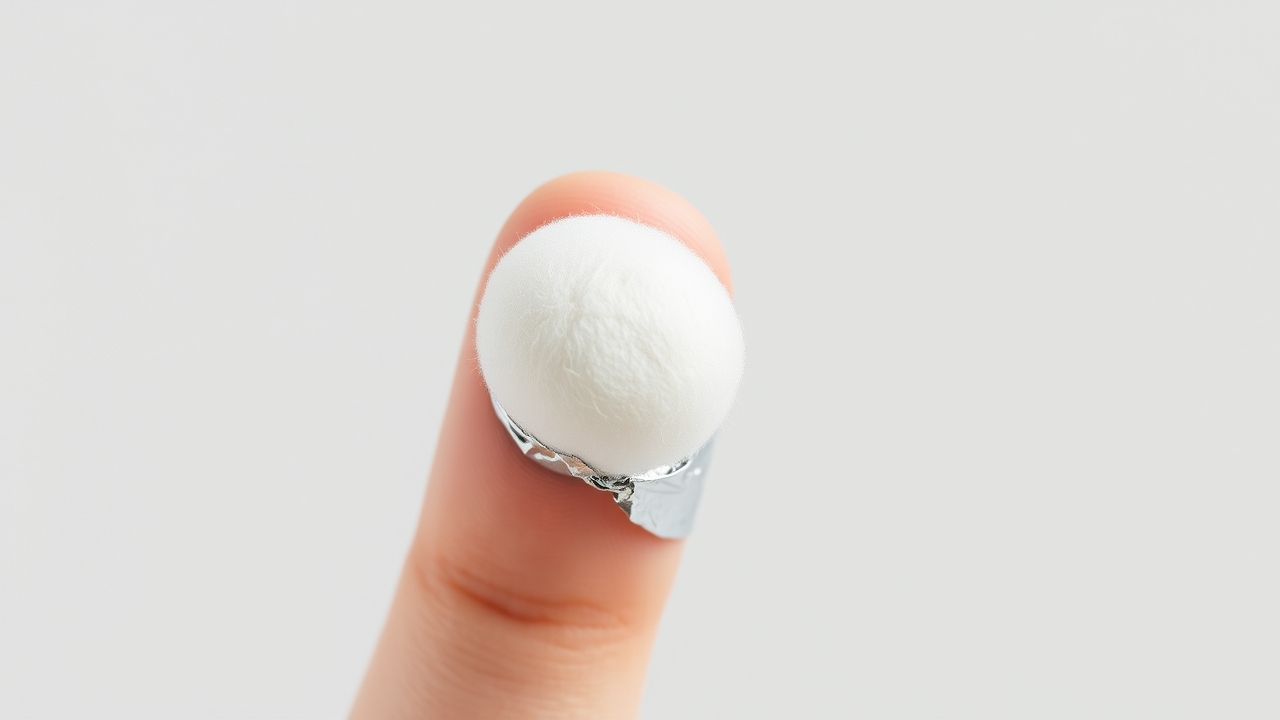
Place the soaked cotton directly on the nail, then wrap a foil square around the fingertip. The foil traps body heat, accelerating the solvent’s action. Tightness matters: the foil should be snug but not so tight that it cuts circulation. If you’re working one hand at a time, you can use the other hand to secure the wrap.
Step 4: Patience is Key
Leave the wrap on for 15–20 minutes. Set a timer—peeking too early lets acetone evaporate, slowing the process. For thicker gel or builder layers, extend the soak to 25 minutes. You’ll notice the gel turning a translucent, flaky texture as it softens.
Step 5: Gently Slide It Off
Remove the foil. If the gel appears lifted, use the cuticle stick to lift the edge. Slide it away from the nail; it should peel like a wet blanket. If resistance remains, re‑wrap and wait another 5 minutes. Never force or scrape—doing so risks gouging the nail plate.
Step 6: Final Cleanup
After all polish is removed, you may see tiny shards of gel. Lightly buff the nail with a soft buffer to smooth the surface. Avoid over‑filing; your nail is already softened by acetone.
Aftercare: Rehydrate and Rebuild
Acetone strips natural oils, leaving nails feeling chalky. Wash your hands with warm, soapy water to remove residual solvent. Then apply a generous layer of cuticle oil—jojoba, almond, or a blend of both works well. Massage into the nail bed and surrounding skin. For extra protection, follow with a clear strengthener or a nourishing hand cream.
Give Your Nails a Break
Even with the best technique, an acetone soak is a chemical shock. Allow your nails to rest for 7–14 days before applying new gel. During this period, use a clear top coat or a simple natural polish to keep the nails moisturized and protected. This “breathing room” helps the keratin layers rebuild and prevents cumulative thinning.
Common Pitfalls and How to Dodge Them
- Aggressive metal tools: A metal pusher can gouge the nail if pressed too hard. Start with a wooden stick and use light pressure.
- Using diluted acetone: Many removers labeled “acetone‑free” contain only 30–50% acetone. Stick to 100% pure acetone for effective dissolution.
- Loose foil: A loose wrap lets acetone evaporate, prolonging the soak. Tight but comfortable is the sweet spot.
- Neglecting cuticles: Gel can seep into the cuticle line. Work gently around this area to avoid irritation or infection.
Alternative Removal Methods
While the foil soak is the gold standard, other options exist. Knowing their pros and cons helps you choose the right method for your nails.
Acetone Clips
These plastic clips hold the cotton in place without the need for foil. They’re quick to apply but can be too tight, causing discomfort. Ideal for those who find foil cumbersome.
Acetone Soak Bowls
Some people dunk their entire fingertips in acetone, then rinse in a second bowl of water to cool the hand. This method uses more acetone and can be harsher on the skin, but it’s effective for stubborn gel.
Electric Files (E‑Files)
Professional nail techs sometimes use an electric file to grind down the gel. For home users, this is risky—without proper training you can file through the natural nail plate, creating permanent thinning and pain. Stick to the soak‑off method unless you’re comfortable with an e‑file.
Understanding Gel Chemistry
Gel polish is a polymer that cures under UV or LED light, forming a cross‑linked network of molecules—essentially a thin plastic shell. This structure is why it’s impervious to water and why standard nail polish remover won’t work. Only a strong solvent like acetone can break those chemical bonds. For a deeper dive, check out the Wikipedia page on polymers
Leave a Reply