How to do a gel manicure at home can be mastered with the right technique and patience. Gel polish offers a high‑gloss finish that resists chips, making it a favorite for busy lifestyles. This guide walks you through every step, from prepping the nail bed to the final curing stage, ensuring you achieve salon‑quality results without leaving the house.
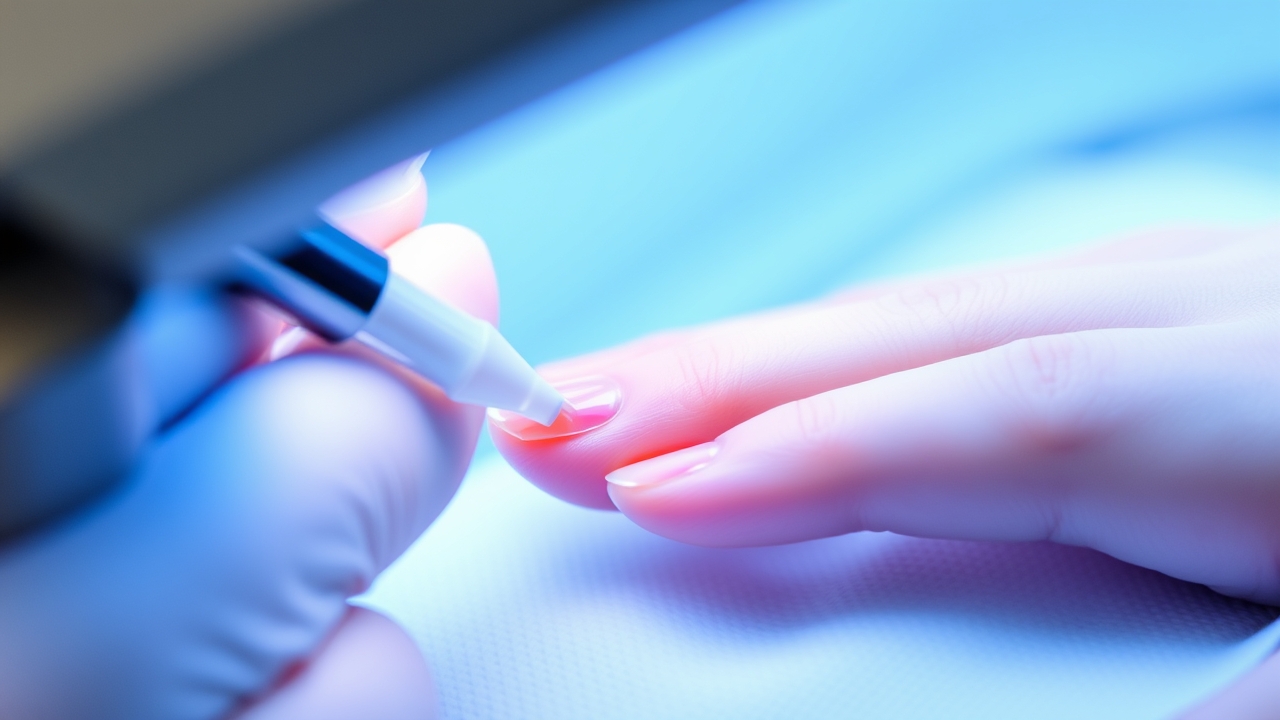
What You’ll Need: Equipment & Supplies
Before you start, gather the essential tools and materials. A clean workspace, a UV or LED lamp, a base coat, a color coat, a top coat, a nail buffer, a cuticle pusher, and a gentle nail cleanser are all you need. Remember, cleanliness is key—any residue can compromise the gel’s adhesion.
- UV or LED lamp: LED lamps cure faster (30–60 seconds) and emit less UV radiation, while UV lamps take 90–120 seconds. Choose one that matches your gel brand’s instructions.
- Base coat: Seals the nail and prevents staining.
- Color coat(s): Most gels require two thin layers for full opacity.
- Top coat: Adds shine and protects the color.
- Nail buffer & file: Smooths the nail surface.
- Cuticle pusher & remover: Keeps cuticles neat.
- Acetone or gel remover: For safe removal.
- Lint‑free wipes & cleanser: Keeps nails free of oils.
- Cuticle oil: Hydrates skin.
Choosing the Right Gel Polish
Not all gels are created equal. Look for brands with a good reputation for durability and a wide color range. Popular options include OPI GelColor, CND Vinylux, and Gelish. Read reviews and try sample swatches to find a shade that complements your skin tone.



Step‑by‑Step: How to Do a Gel Manicure at Home
Step 1: Nail Preparation
- Trim and shape: Use nail clippers to cut to the desired length, then file to a subtle taper or square. Avoid aggressive filing; a gentle shape prevents breakage.
- Push back cuticles: Warm a small amount of cuticle oil or remover, then use a cuticle pusher to lift. Be gentle—over‑pushing can damage the nail bed.
- Buff the surface: Lightly buff the nail plate to remove shine. Aim for a matte finish; this roughness improves gel adhesion.
- Clean the nails: Wipe each nail with a lint‑free pad soaked in isopropyl alcohol or a gentle cleanser. This step removes oils, dust, and any previous polish residue.
Step 2: Applying the Base Coat
Apply a thin layer (no more than 1–2 mm) of base coat. Spread evenly from the cuticle to the tip, avoiding the skin. Let it dry for 10–15 seconds, then cure under the lamp: 30–60 seconds for LED, 90–120 seconds for UV. A properly cured base coat prevents lifting and provides a smooth canvas.
Step 3: Adding the Color Coat
Choose a gel polish shade that suits your mood. Apply the first thin coat, ensuring full coverage. Allow it to dry for 10–15 seconds before curing. Most gels need a second coat for full opacity—apply another thin layer and cure again. Keep each coat thin to maintain nail flexibility.
Step 4: Sealing with the Top Coat
Apply a thin top coat over the color. Cure as per lamp instructions. A final short “cure” (15–30 seconds) ensures the top coat hardens fully, preventing scratches and chips. This step gives that signature high‑gloss shine.
Step 5: Finishing Touches
- Clean the nail surface: Use a lint‑free pad with a mild cleanser to remove any sticky residue.
- Moisturize cuticles: Apply a nourishing cuticle oil to keep the skin soft.
- Optional nail art: If you want to add designs, use a fine brush or stamping plates after the top coat cures. For beginners, simple dot patterns or a single stripe are easy to master.
Step 6: Aftercare and Longevity Tips
To extend the life of your gel manicure:
- Wear gloves while doing dishes or cleaning to protect the polish.
- Reapply cuticle oil daily to keep the skin hydrated.
- Avoid harsh chemicals; use mild dish soap instead of acetone for removal.
- Schedule a removal session every 10–12 days to prevent nail damage.
- Keep the lamp in a well‑ventilated area and replace it every 12–18 months to maintain optimal curing.
Common Mistakes & How to Avoid Them
- Thick layers: Gel polishes thicken when layered; keep each coat thin.
- Inadequate curing: A short lamp time can leave the gel soft, leading to chips.
- Neglecting nail bed health: Failing to prep properly can cause lifting or unevenness.
- Improper removal: Forcing off gel nails can damage the natural nail. Use a gentle soak method.
- Over‑cure: Curing for too long can cause the gel to become brittle.
Safety Note: Using UV/LED Lamps Safely
While UV and LED lamps are generally safe, prolonged exposure may increase skin sensitivity. Consider using a protective sleeve or limiting sessions to one or two per week. For more detailed information, see Ultraviolet light.
Need More Inspiration?
Explore our home manicure guide for additional tips on nail health, trends, and creative designs that pair well with gel polish.
Frequently Asked Questions
- Can I use any lamp for a gel manicure at home? Yes, both UV and LED lamps work, but LED cures faster and is gentler on the skin.
- Can I apply nail art over gel polish? Absolutely—once the top coat is fully cured, you can add designs with fine brushes or château stickers.
- How long does a gel manicure last before removal? Typically, gel nails last 10–12 days when properly maintained.
- What is the best way to remove gel polish at home? Soak nails in acetone or a gel remover for 10–15 minutes, then gently lift the polish with a wooden stick.
- Will gel polish damage my natural nails? If applied correctly and removed gently, gel polish is safe. Over‑curing or frequent removal can weaken nails.
Leave a Reply