Mastering a flawless at‑home manicure is less about fancy tools and more about a disciplined routine. Below is a step‑by‑step playbook that turns a simple bathroom counter into a professional salon, complete with tips that keep your nails looking fresh for weeks.
1. Assemble a Minimalist Kit
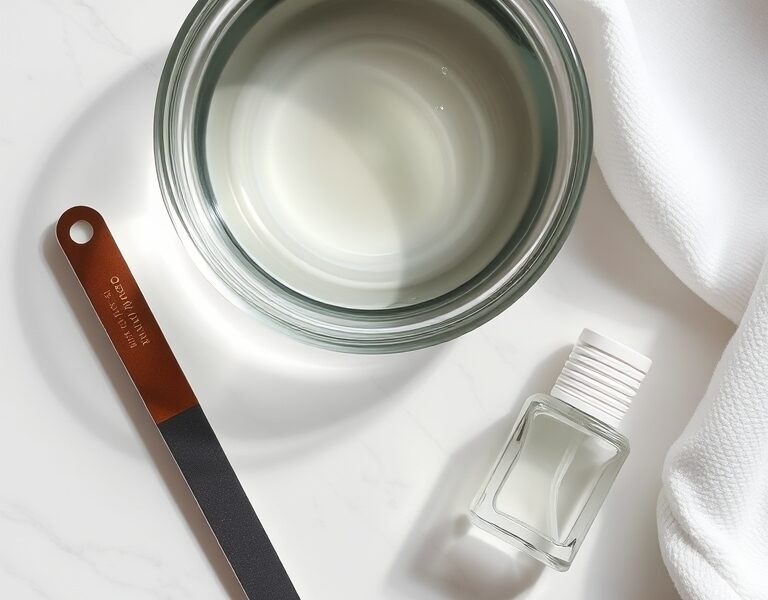
Start with a single set of high‑quality tools. The fewer items you have, the less room there is for error.
- Nail Clippers: A stainless‑steel pair with a rounded tip prevents accidental cuts.
- Nail File: Choose a 180/240 grit file. The coarse side smooths the nail, while the finer side polishes.
- Cuticle Pusher: An orange wood stick or a silicone‑coated metal pusher offers a balance of firmness and gentleness.
- Buffing Block: A 100‑grit block for the base and 200‑grit for the top coat.
- Acetone Remover: Opt for a non‑acetone version if you have sensitive skin.
- Cotton Pads: Lint‑free, pre‑moistened pads reduce the risk of stray fibers.
- Base Coat, Color, Top Coat: Three separate bottles—one for each stage—allow you to control thickness and drying time.
- Cuticle Oil: A nourishing blend of jojoba and vitamin E keeps the skin supple.
2. Prep the Canvas
Clean nails are the foundation of a lasting manicure. Follow these steps to remove old polish, shape, and soften cuticles.


2.1 Remove Old Polish
Even if the polish looks invisible, residues can block new layers. Soak a cotton pad in remover, press it onto the nail for 5–10 seconds, then wipe in a single motion. This method prevents smudging on the skin.
2.2 Shape the Nails
Decide on a shape that complements your hand: square for a classic look, oval for a gentle curve, almond for a touch of elegance, or squoval for a modern hybrid. File each nail in one direction—either from the cuticle to the tip or vice versa—to avoid micro‑tears. A 45‑degree angle between file and nail surface keeps the file from slipping.
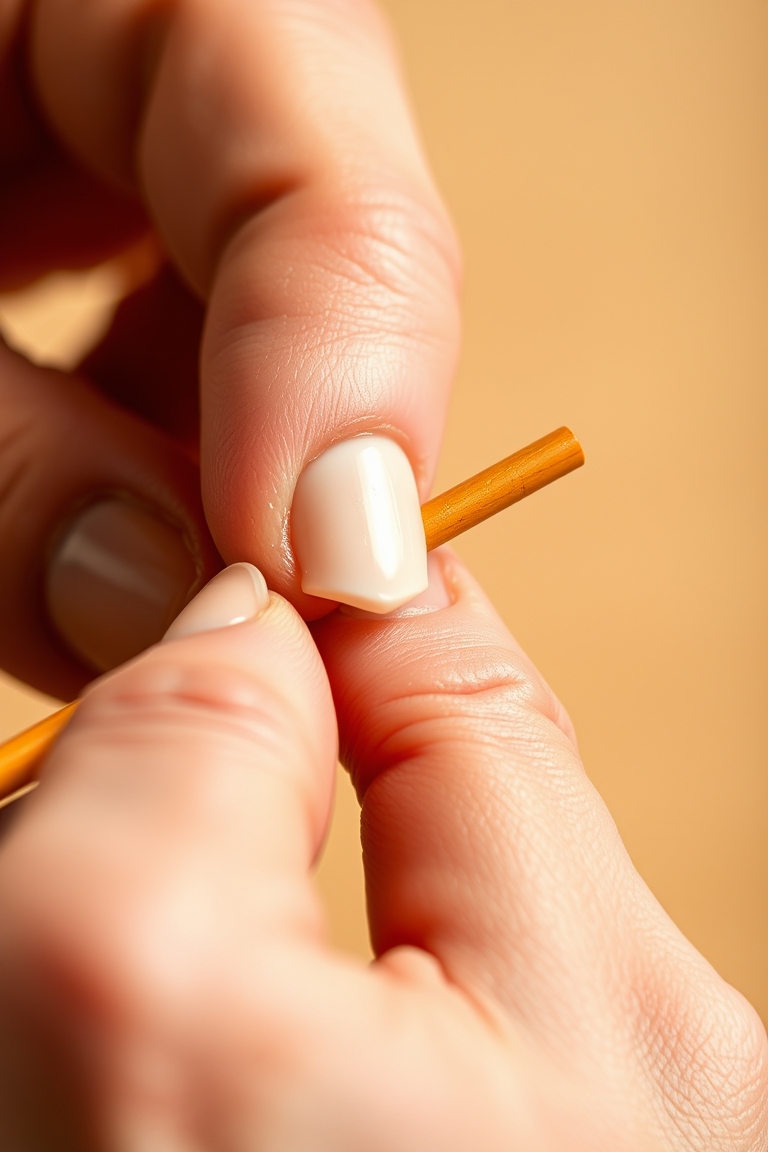
2.3 Cuticle Care
Cuticles are a natural barrier, not a flaw. Soak your fingertips in warm, soapy water for 2–3 minutes. Then apply a generous drop of cuticle oil, let it sit for a minute, and gently push the cuticles back with a pusher. Avoid cutting; this can expose the nail bed to infection.
3. The Core Process: Layering for Longevity
Each layer builds on the previous one. Thin, even coats are key to a smooth finish and quick drying.
3.1 Buff & Clean
Use the buffing block to lightly smooth ridges. Over‑buffing thins the nail plate, so keep the strokes short. Wipe the nail with a damp cotton pad to remove dust and oils. This step ensures the base coat adheres properly.
3.2 Base Coat
Apply a single, thin coat of base coat. It seals the nail, prevents staining, and creates a uniform surface for the color. Let it dry for 2 minutes—listen for the faint click of the bottle opening, a reliable indicator that the coat has set.
3.3 Color Application
Use the “three‑stroke” technique: place a small dot of polish in the center, swipe toward the cuticle, then down the center to the tip, and finally across the side. Repeat on the opposite side. Two thin coats beat one thick coat—bubbles, drips, and long drying times all disappear when you keep the layers light. Allow 3–4 minutes between coats.
3.4 Top Coat & Edge Cap
The top coat is the sealant. Apply it in the same three‑stroke pattern, then finish by “capping” the edges—running the brush along the very tip of the nail. This prevents the polish from lifting at the corners. Let the top coat dry for 5 minutes before touching anything.
4. Advanced Tips for a Salon‑Quality Finish
Once the basics are in place, a few extra steps can elevate the look and durability.
4.1 Spot Corrections
If you get polish on the skin, wait until the top coat has set. Use a small angled brush dipped in remover to clean the line around the cuticle. This precise method avoids smudging the nail itself.
4.2 Quick Drying Trick
After the top coat, dip your fingertips in ice‑cold water for 30 seconds. The sudden temperature drop contracts the nail surface, speeding up the hardening process.
4.3 Post‑Manicure Care
Apply cuticle oil before bed to keep the skin hydrated. A moisturizing hand cream with shea butter or almond oil also helps maintain flexibility, reducing the risk of chips.
5. Common Mistakes and How to Fix Them
- Too Much Polish: Thin layers prevent pooling and bubbles.
- Shaking the Bottle: Roll the bottle between palms to mix pigment evenly.
- Touching Nails Too Soon: Wait at least 20 minutes before using your hands for tasks that involve force.
- Skipping the Base Coat: This leads to yellowing and quicker chipping.
6. Customizing Your Manicure
Once you’re comfortable with the routine, experiment with styles that reflect your personality.
6.1 Gradient Ombre
Apply the base color, then dab a lighter shade on the tips with a makeup sponge. Blend gently for a soft fade.
6.2 Minimalist Dot
Place a single, tiny dot of a contrasting color near the cuticle with a bobby pin. The subtle pop adds sophistication.
6.3 Matte vs. Glossy
Swap the glossy top coat for a matte finish to give even bright hues a muted, contemporary look.
7. Maintaining Your Manicure
Longevity depends on protection and daily habits.
- Wear gloves when washing dishes or handling chemicals.
- Avoid using nails as tools—open cans or peel stickers with a fingernail.
- Nightly cuticle oil keeps the polish flexible.
8. FAQ: Mastering Your Home Manicure
How to do a basic at home manicure if I have very short nails?
The process is identical, but focus on shaping and cuticle work. Short nails expose more cuticle area, so pushing them back carefully creates the illusion of length. When applying polish, keep it away from the skin to avoid visible streaks.
How long should I wait between coats of polish?
Ideally 2–5 minutes. The polish should feel slightly tacky but not wet. Waiting too long can cause the next coat to peel; rushing can trap bubbles.
Why does my polish always peel at the tips?
Common causes are a missed edge cap or oily nails. Wipe the nail with remover before the base coat and ensure the top coat brush runs along the very tip of each nail.
Can I do a manicure on damaged or peeling nails?
Yes. Use a strengthening base coat, avoid heavy buffing, and focus on hydration with oils and creams. A gentle manicure can still look polished while the nail recovers.
What is the best way to remove a manicure without damaging nails?
Soak a cotton ball in remover, press it onto the nail for a few seconds, then wipe in one smooth motion. Follow with a moisturizer or cuticle oil to replace lost hydration.
For more in‑depth tips on nail health and everyday care, visit our easy manicure guides page. And if you’re curious about the history behind manicure techniques, check out the Wikipedia entry on manicure.
Leave a Reply