When I first tried dip powder nails, I was convinced the glossy, chip‑free finish was only for salons. The reality was far different: with the right tools, a little patience, and a clear understanding of the process, you can achieve a flawless manicure from the comfort of your own kitchen table. This guide walks you through every step—no fluff, just concrete, actionable advice.
What Exactly Is a Dip Manicure?
A dip manicure is a hybrid between acrylic and gel. It relies on a two‑step reaction: a liquid resin (the base coat) reacts with a powdered polymer to form a hard, durable shell. Unlike gel, it doesn’t need a UV lamp; unlike traditional acrylic, it’s a powder‑based system that’s easier to apply for beginners.
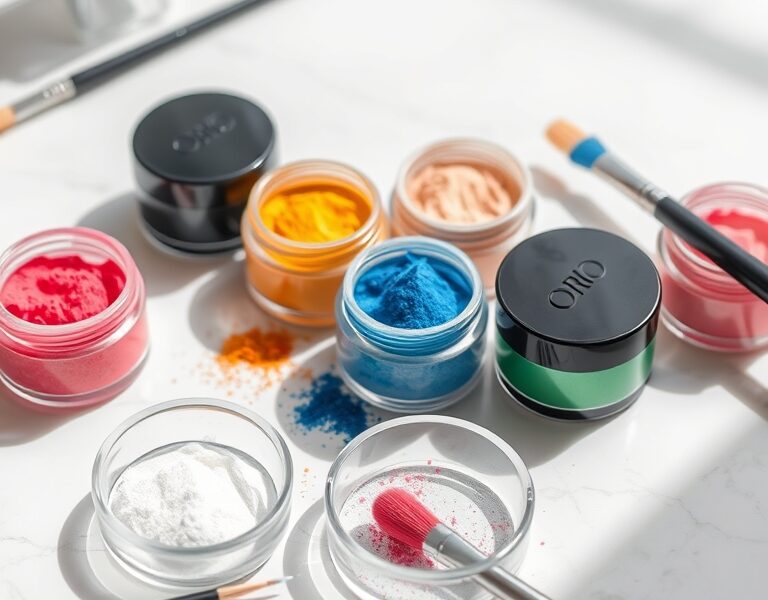
Essential Supplies for Your At‑Home Dip Manicure
Below is a curated list of tools that will give you a professional result without breaking the bank. While many kits bundle everything, knowing what each component does helps you troubleshoot and customize your routine.


- Nail File & Buffer: A 180‑grit file for shaping and a 320‑grit buffer for a matte surface.
- Cuticle Pusher: A sturdy orange‑wood stick or a silicone tool for gentle cuticle lift.
- Isopropyl Alcohol (≥91%): The cleaner that removes oils and moisture, ensuring the resin bonds properly.
- Lint‑Free Wipes: Avoid cotton swabs; they leave fibers that create bumps.
- Base Coat/Resin: The glue that holds the powder to the nail.
- Dip Powder: Choose a clear base, a color of choice, and a clear top powder.
- Activator Liquid: The catalyst that hardens the resin‑powder mixture.
- Top Coat: A high‑gloss sealer to protect the finish.
- Brush: A dedicated nylon or silicone brush for removing excess powder.
Step‑by‑Step Guide: How to Apply Dip Powder Nails at Home
Consistency is key. Thin layers, patient drying, and precise technique will give you a natural‑looking, chip‑free manicure that lasts weeks.
Step 1: Nail Preparation
Start by trimming and shaping your nails to your preferred style—square, oval, almond. Use a gentle file to smooth the free edge. Then, lift the cuticles with a push‑stick; do not cut them, as this can cause infection. Lightly buff the nail plate to remove the natural shine—think of it as sandpaper for a better grip.
Step 2: Dehydrating the Nail
Wipe each nail with a 91% isopropyl alcohol pad. This step removes residual oils and dust. If you have particularly oily nails, repeat the wipe. A dry, matte surface is essential for a strong bond.
Step 3: Applying the Base Coat
Using a clean brush, apply a thin, even layer of resin over the entire nail, avoiding the cuticle area. The resin should be translucent, not opaque. If you see a bead of resin, wipe it away immediately with an alcohol‑dipped brush to prevent a ridge.
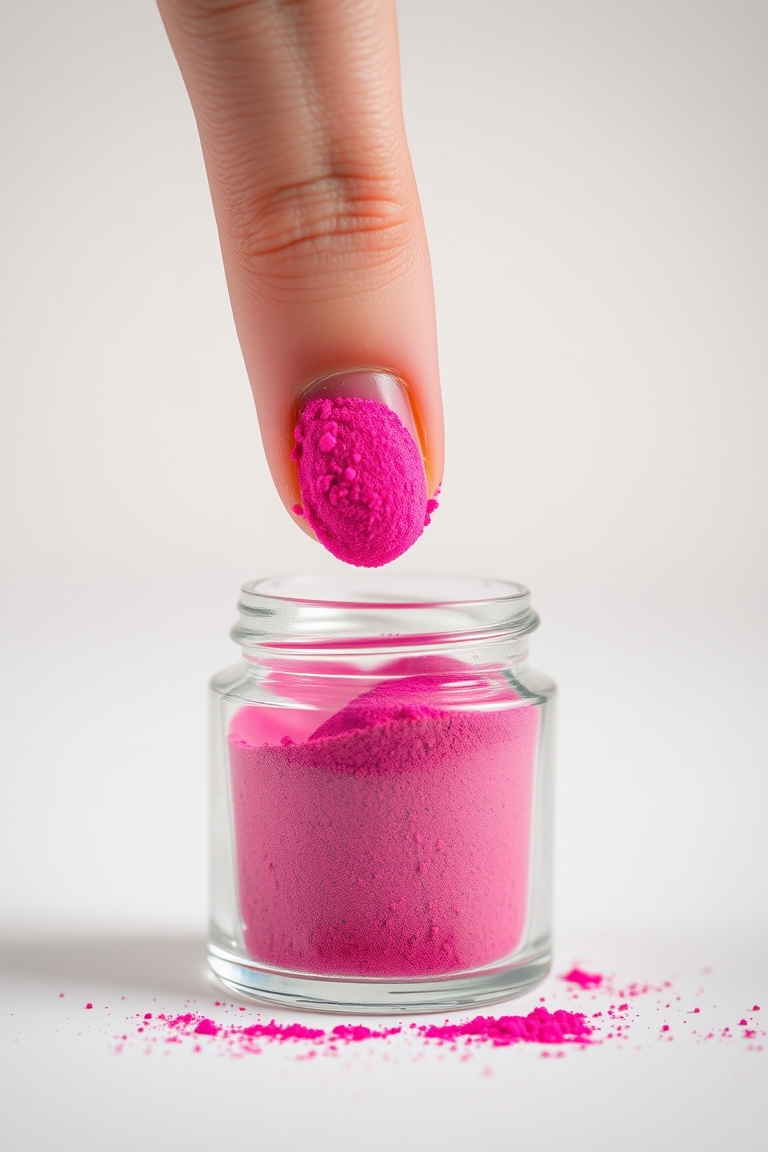
Step 4: The First Dip – Clear Base Powder
Dip the nail into the clear base powder at a 45‑degree angle. Roll the nail gently to coat the entire surface. Shake off excess powder. This layer adds strength and creates a neutral canvas for the color.
Step 5: Adding Color
Apply a second thin layer of resin, then dip into your chosen color powder. For vibrant hues, two layers may be necessary. After each dip, shake off the excess and let the powder set for 30‑60 seconds before the next layer.
Step 6: Activating the Powder
Spray or dab the activator onto the nail, covering the entire surface. The liquid triggers a chemical reaction that hardens the resin and powder. Allow it to dry for 2‑3 minutes; it should feel completely dry to the touch.
Step 7: Filing and Shaping
Once the activator has cured, file the nail in one direction to smooth the surface. Use a fine buffer to remove any ridges. Shape the tip to your desired style, ensuring the edge is clean and even.
Step 8: Final Top Coat
Apply two thin coats of top coat, allowing each to dry for 30 seconds. The top coat seals the color and adds a high‑gloss shine. Let the final coat cure for 10‑15 minutes before using your hands for heavy tasks.
Common Mistakes and How to Avoid Them
Even seasoned nail techs slip up. Here are the most frequent pitfalls and the quick fixes you can use.
Cuticle Contact
Resin touching the skin creates a bridge that pulls away as the nail grows, leading to lifting. Keep a small gap between the resin and cuticle.
Too Much Base Coat
A thick resin layer leads to bulky nails. If you notice a bead, wipe it off with an alcohol‑dipped brush before dipping.
Skipping Buffing
Without a rough surface, the resin has nothing to grip. Lightly buff the nail plate before applying the base coat.
Low‑Percentage Alcohol
Using 70% alcohol leaves residue and slows drying. Stick to 91% or higher for a clean bond.
How to Safely Remove Dip Powder at Home
Unlike polish, dip powder requires a deliberate removal process to protect your natural nails.
- File the Top Coat: Use a coarse file to break the seal.
- Soak in Acetone: Place nails in 100% acetone or use the foil method for faster penetration.
- Wait: Let them soak for 15‑20 minutes; do not peel early.
- Gently Push Off: Use a cuticle pusher to slide the powder away. If it resists, soak longer.
- Hydrate: Wash hands and apply cuticle oil and hand cream to counteract acetone’s drying effect.
Advanced Tips for a Professional Finish
Gradient (Ombre) Effect
Apply the base color to the entire nail, then dip only the tip into a second color. Blend the line with a brush before applying the activator.
Glitter and Shimmer
Glitter powders require a slightly thicker base coat for adhesion. Finish with a clear powder layer to smooth the texture.
Maintenance
Reapply top coat every 7‑10 days to fill micro‑scratches and restore shine. Wear gloves when cleaning with harsh chemicals to protect the finish.
Comparing Dip Powder to Other Nail Techniques
- Dip vs. Gel: Dip is harder and more durable; gel needs a UV lamp.
- Dip vs. Hard Gel: Hard gel is great for extensions; dip is easier for beginners.
- Dip vs. Traditional Polish: Traditional polish chips in days; dip lasts weeks.
FAQ: Everything You Need to Know
How do I keep my dip nails from looking thick?
Use the thinnest possible resin layer, wipe off any beads, and file lightly between layers.
How long do DIY dip nails last?
With proper prep, a dip manicure typically lasts 2‑4 weeks, depending on nail growth and daily wear.
Can I use dip powder on damaged nails?
It’s best to wait until nails are healthy. The acetone soak can further dry out compromised nails.
Do I really need the activator?
Yes—without it the resin stays sticky and the top coat won’t adhere, causing the manicure to peel.
Is dip powder better than acrylics?
For home users, dip powder is easier to apply, less messy, and provides similar strength to acrylics.
For further reading, see related references on Wikipedia.
Leave a Reply