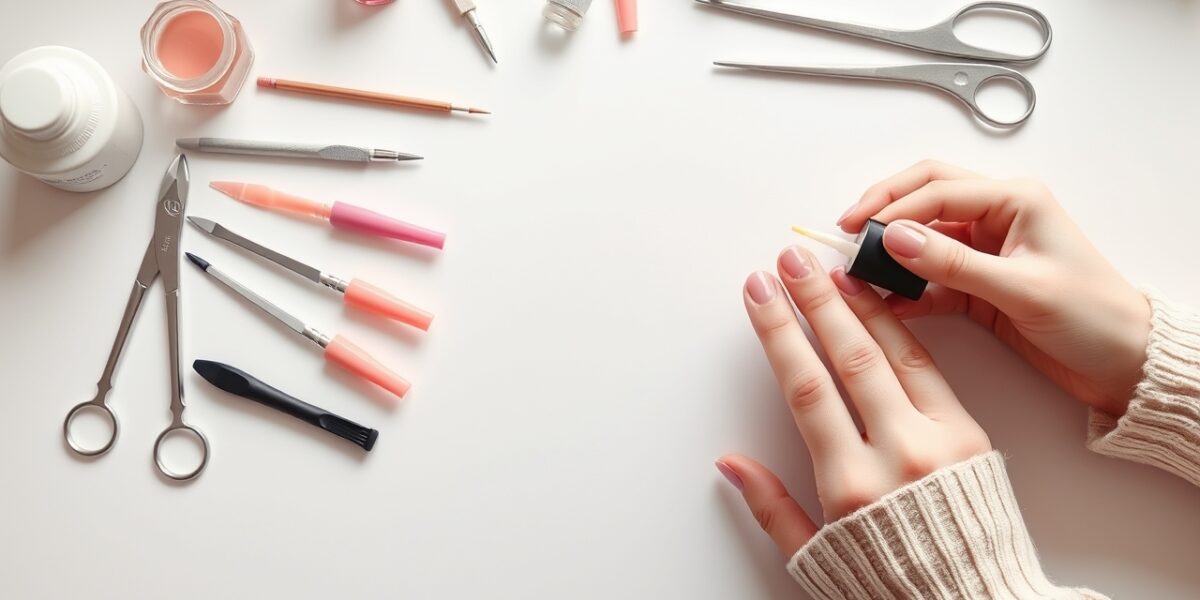
nail art tools for beginners are essential for anyone looking to create stunning designs without spending a fortune.
What Makes Nail Art Tools for Beginners Special?
Unlike professional salons that stock dozens of specialized devices, a beginner only needs a handful of reliable pieces that can handle multiple techniques. The goal is to build a versatile, budget‑friendly kit that grows with your confidence and skill level.
The Core Components of a Basic Nail Art Kit
Start with a sturdy cuticle pusher, a set of nail files, and a clean nail buffer. These three items form the backbone of any basic nail art kit. They’re the tools you’ll use every time you prep your nails, shape them, and finish the base layer before you even think about adding color.



Must Have Nail Tools for Quick and Clean Results
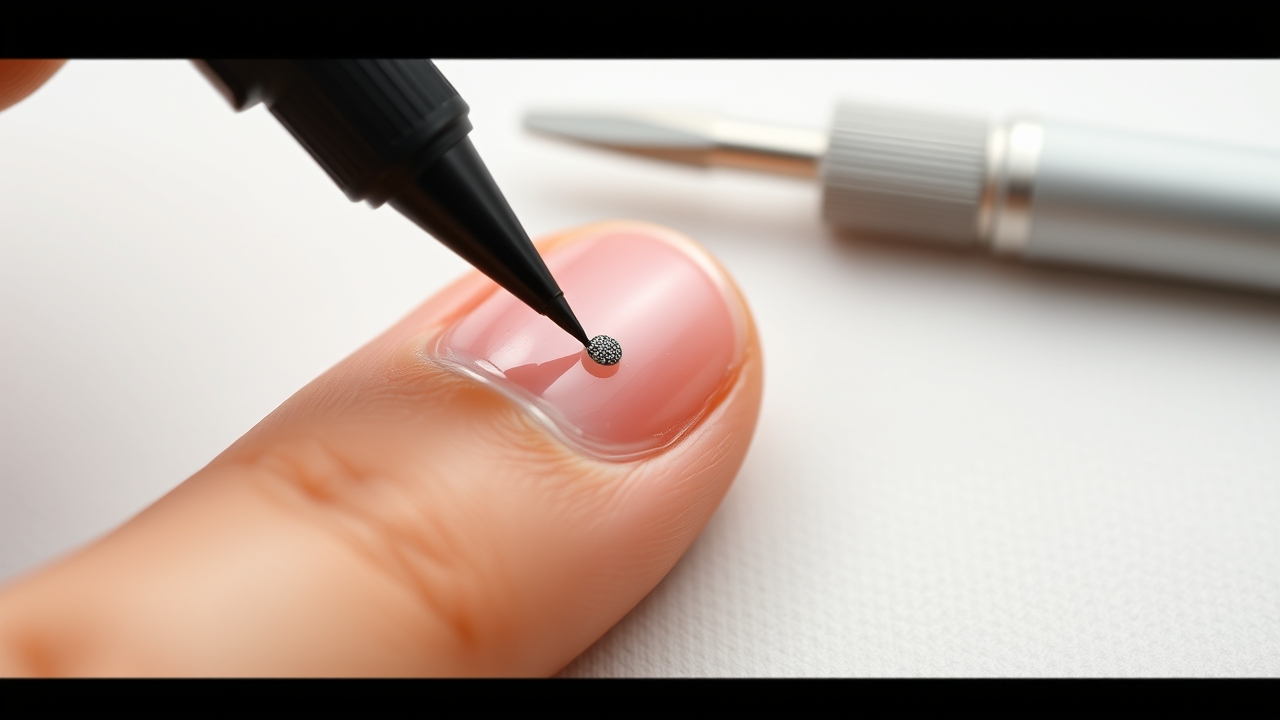
A good nail art pen, a dotting tool, and a set of stencils are the must‑have nail tools that let you add detail with precision. These tools are inexpensive, easy to use, and can produce professional‑looking designs in minutes.
Beginner Nail Supplies That Save Time and Money
Choose a two‑tone base and top coat that work together, and keep a small bottle of nail polish remover on hand. These supplies keep your nails healthy while you experiment.
Building Your Nail Art Starter Kit: Step‑by‑Step
When you assemble your kit, think of it as a toolbox that grows with you. Below is a practical checklist that ensures you have everything you need for a wide range of looks.
- Cuticle pusher and nail clippers
- Nail files (coarse, medium, fine) and buffer
- Nail art pens, dotting tools, and stencils
- Base coat, top coat, and a two‑tone polish set
- Mini bottle of remover and cotton pads
- Small storage container or drawer organizer
The nail art tools for beginners you choose should be versatile and durable. Opt for a set of files with a smooth grit that won’t scratch the nail plate, and choose a pen with a fine tip for detailed line work.
Choosing the Right Nail Art Pens
Not all pens are created equal. When selecting a nail art pen, consider the following:
- Tip size: A 0.3mm tip is perfect for fine lines, while a 0.5mm tip works well for thicker strokes.
- Ink type: Water‑based inks dry faster and are less likely to smudge, but oil‑based inks tend to be more vibrant.
- Color variety: Look for a pen that offers at least 12 colors, including metallics and pastels, so you can experiment without buying more.
- Reusability: Some pens can be refilled with a small ink cartridge, saving money in the long run.
Understanding Nail Shapes and How Tools Affect Them
The shape of your nails can dramatically change how a design looks. Here’s a quick guide to common nail shapes and the tools you’ll need to shape them correctly:
- Square: Use a medium file to create a straight edge, then a fine file to smooth the corners.
- Round: File the nails in a gentle circular motion, then use a buffer to soften the edges.
- Almond: Start with a square shape, then file the tip down to a point.
- Stiletto: Requires a very sharp tip; use a fine file and a nail tip cutter for precision.
Layering Techniques: From Base to Finish
Layering is the secret to a long‑lasting, high‑gloss finish. Follow these steps to ensure each layer adheres properly:
- Prep: Clean the nails with a lint‑free wipe and apply a Tiny amount of cuticle oil to keep the skin hydrated.
- Base coat: Apply a thin, even coat. Let it dry for 30 seconds before applying the next layer.
- Color: Apply two thin coats of your chosen polish, allowing each to dry for 30-45 seconds.
- Detail: Use your pen or stencils to add designs. Allow the ink to dry completely before moving on.
- Top coat: Finish with a generous coat of top coat, applying it in two directions to avoid streaks.
- Drying time: Let your nails sit for at least 10 minutes before touching anything.
Using Nail Art Tools for Beginners: Tips for Success
The first rule is to keep your workspace clean. A cluttered surface can ruin even the most polished design.
Remember that nail art tools for beginners work best when you practice regularly.
Mastering the Basics Before Adding Complexity
Start with simple striping or stamping before moving on to glitter or 3D embellishments. nail art tools for beginners are most effective when you master the fundamentals.
Cleaning and Maintaining Your Tools
After each session, wipe down your tools with a damp cloth and store them in a small container. Proper care extends the life of your nail art tools for beginners.
Storing Your Kit for Easy Access
Use a drawer organizer or a clear tote to keep every tool in its place. When you’re ready to create, you’ll find the right tool right where you left it.
Common Mistakes to Avoid with Nail Art Tools for Beginners
One of the biggest pitfalls is using a single file for both shaping and smoothing. nail art tools for beginners should be designated for specific tasks to prevent damage.
When using nail art tools for beginners, keep the tip clean to avoid smudges.
Don’t Over‑Polish or Over‑Buff
Excessive buffing can thin your nail plate. Keep the buffer light and use a gentle motion.
Avoid Mixing Too Many Colors at Once
Mixing dozens of hues can lead to a muddy result. Stick to one or two colors per design.
Where to Find Reliable Nail Art Tools for Beginners
You can source quality tools from local beauty supply stores, online marketplaces, or specialty nail shops. Look for items that have clear, user‑friendly instructions.
Checking for Quality and Safety
Make sure the plastic parts are BPA‑free and the metal pieces are rust‑resistant. A safe set of nail art tools for beginners protects both your nails and your hands.
Budgeting for Your Starter Kit
Set a realistic budget. A basic set of tools can cost as little as $30, while a more comprehensive kit may reach $80. Decide where you want to invest based on the techniques you plan to try.
Advanced Techniques After Mastering the Basics
Once you’re comfortable with simple patterns, you can experiment with foiling, even‑hand glitter, or translucent overlays. Each new skill adds depth to your nail art toolbox.
Even with advanced techniques, start with nail art tools for beginners before adding extra accessories.
Safety Tips for Nail Art at Home
While most nail art is non‑invasive, it’s still wise to follow safety practices to protect your skin and nails:
- Ventilate your workspace to avoid inhaling fumes from polish or remover.
- Keep a small bowl of warm water nearby to soften cuticles before pushing.
- Avoid using sharp tools on the nail bed; opt for blunt cutters to prevent accidental cuts.
- Store all chemicals out of reach of children.
FAQ: Nail Art Tools for Beginners
What are the essential nail art tools for beginners?
The core items are a cuticle pusher, nail files, a buffer, a nail art pen, a dotting tool, stencils, base/top coats, and a remover.
How often should I replace my nail art tools for beginners?
Replace files and pads when they become dull or worn. Pens and stencils last longer but should be cleaned regularly.
Can I use regular nail polish for my designs?
Yes, but choose a polish with good coverage and a smooth finish. For more complex designs, consider a semi‑permanent polish that lasts longer.
Do I need a special buffer for nail art?
A simple, fine‑grit buffer is sufficient for most beginners. It smooths the surface without removing too much of the nail’s natural shine.
How can I keep my nail art from chipping?
Apply a strong top coat and avoid heavy manual labor on the hands. Additionally, keep the nails hydrated with cuticle oil to prevent brittleness.
For further reading, see related references on Wikipedia.
Leave a Reply