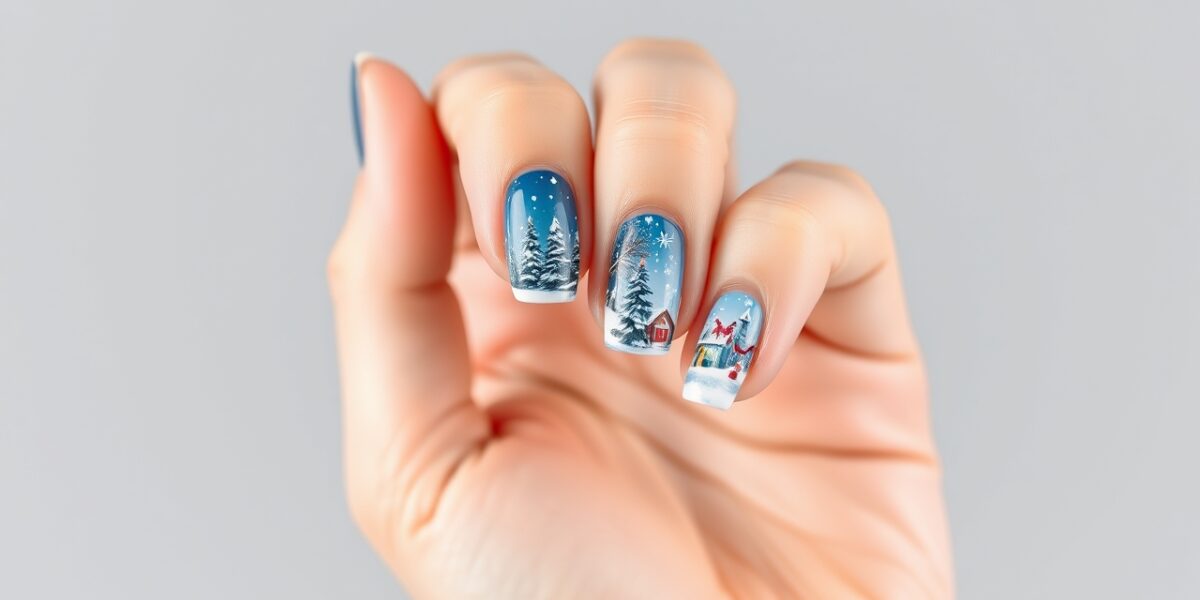
Christmas nail art for beginners is a perfect way to add sparkle to your holiday look. Whether you’re heading to a family gathering or a holiday party, a festive manicure can elevate your style without a trip to the salon.
Christmas Nail Art for Beginners: Where to Start
When you’re new to the world of otherwise dazzling designs, the first step is to keep it simple. A clean, well‑maintained base is the foundation of every great Christmas nail art project. Begin by filing your nails to the desired shape, then apply a light coat of your favorite base color. A neutral shade such as soft taupe, pale pink, or even a subtle champagne can serve as a versatile canvas that lets your holiday accents shine.
Choosing the Right Nail Shape
- Round: Classic and easy to work with, perfect for beginners.
- Square: Offers a modern edge, great for symmetrical designs.
- Stiletto: Requires a steady hand, best for those who want a dramatic look.
For most starters, a gentle round or square shape keeps the focus on the art itself rather than the nail’s silhouette.



Choosing the Right Colors for Christmas Nail Art for Beginners
The holiday season is synonymous with reds, greens, golds, and silvers. Pick a palette that feels personal to you—perhaps a classic red‑green combo or something more whimsical like glittery gold on a midnight blue background. If you’re unsure, start with a single bold color and build from there.
Color Combinations That Work
- Red & Green: The quintessential Christmas duo.
- Gold & Silver: Adds a touch of elegance.
- Purple & Green: A fun twist that’s still festive.
- White & Black: A modern, minimalistic vibe.
Tools and Materials: What You Need to Get Started
Before you dive into the creative process, gather the following items. This list is intentionally simple so you won’t feel overwhelmed:
- Base coat and top coat (both clear)
- Primary nail polish colors (red, green, gold, silver)
- Fine brush or dotting tool
- Thin nail art brush or sponge for gradients
- Optional: nail stickers or decals for beginners
- Glitter or rhinestones for extra sparkle
- Cuticle oil and hand cream for aftercare
Step‑by‑Step Guide to a Simple Christmas Design
Below is a beginner‑friendly routine that balances ease with visual impact. Feel free to adapt it to your own preferences.
1. Prep Your Nails
File, shape, and buff the surface. Clean with a lint‑free wipe to remove dust. Apply a thin base coat and let it dry completely.
2. Apply the Base Color
Choose a neutral or dark shade that will make your accents pop. Two coats usually work best; let each coat dry for a minute or two.
3. Create a Simple Pattern
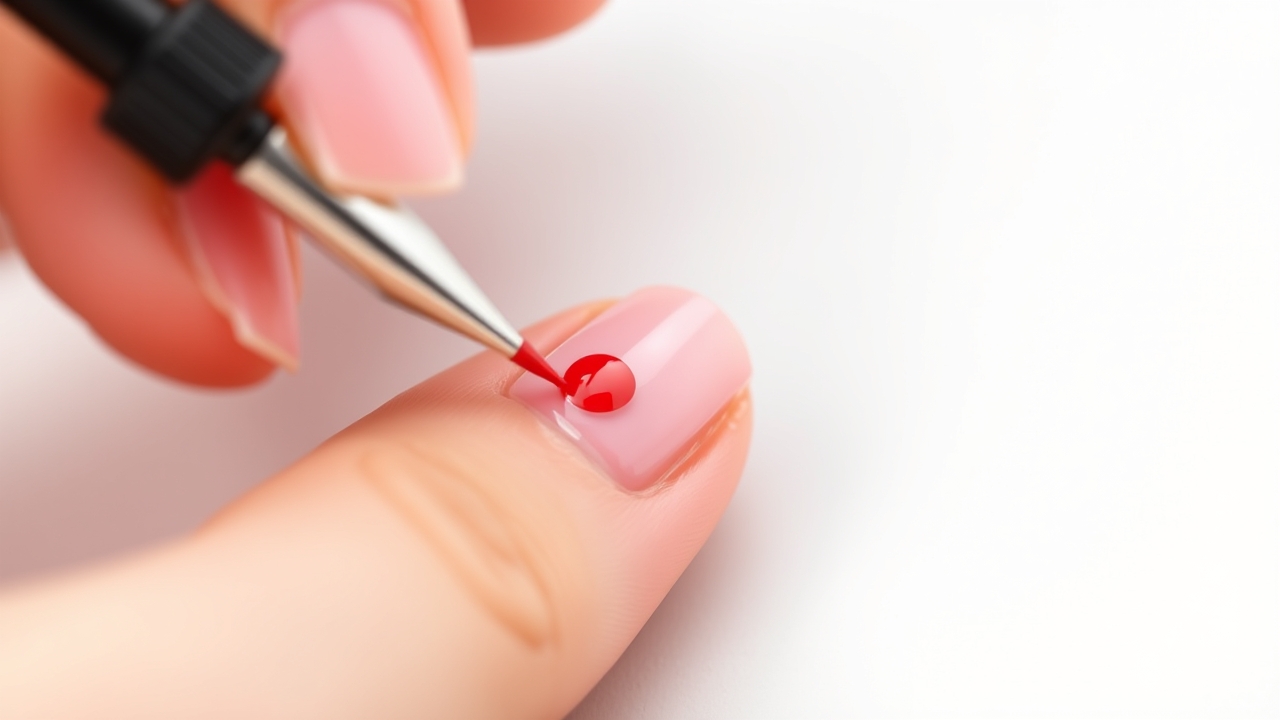
Use a dotting tool or a fine brush to add a single red dot in the center of each nail. If you’re feeling adventurous, add a small green triangle to one side for a subtle contrast. For a more playful look, use a sponge to dab on a light silver glitter background.
4. Add Finishing Touches
Once your design is dry, apply a top coat to seal everything in place. This step ensures your manicure stays bright and chip‑resistant for days.
5. Care and Maintenance
Keep your nails hydrated by applying cuticle oil daily. If you notice any early signs of peeling, a quick touch‑up with a fresh top coat can extend the life of your design.
Alternative Easy Holiday Nails for Beginners
Not every beginner wants to commit to a full design. Below are quick hacks that still give you that festive flair.
• Frosted Tips
Paint your nails a pale white. Using a black marker, draw a thin frosted line at the tip. Finish with a clear top coat.
• Snowflake Swirls
With a thin brush, dab a silver or white glitter onto a pale blue background. The result looks like a winter sky.
• Mini Christmas Trees
Apply a green shade to the base. Use a small dotting tool to place a red dot at the top, mimicking a Christmas tree. Add tiny gold dots for ornaments.
Common Mistakes to Avoid – Tips for Longevity
- Skipping the base coat: This can cause uneven polish and quicker chipping.
- Using too much glitter: Excess glitter can lift off. Use a light hand and a top coat to secure it.
- Not allowing each layer to dry: Patience is key. Rushing can lead to smudges.
- Ignoring cuticle health: Over‑care can damage nails. Keep cuticles moisturized without pushing them back aggressively.
Inspiration from the Season – A Quick Look at Christmas History
Understanding why certain colors and symbols are iconic can deepen your appreciation for the art. For example, the color red has long been associated with holiday cheer, while green symbolizes the evergreenంభ. If you’d like to explore more about the cultural roots of Christmas, the Wikipedia page on Christmas offers a concise overview.
Putting It All Together: A Full Holiday Look
Once you’re comfortable with a single nail design, consider creating a matching outfit. For instance, pair a pair of red‑and‑green‑accented nails with a cozy sweater or a glittery dress. The key is to let your nails complement the rest of your look without overwhelming it.
FAQs
- Christmas nail art for beginners: What tools do I absolutely need? A base coat, top coat, primary colors, a fine brush or dotting tool, and optional glitter or rhinestones are all you’ll need.
- How long does a DIY Christmas nail manicure last? With proper care, a well‑finished design can last up to two weeks before needing a touch‑up.
- Can I use nail stickers if I’m a beginner? Absolutely! Stickers are a quick way to add festive flair without intricate painting.
- What if my design starts to chip? Apply a fresh top coat over the chipped area and let it dry. Regular touch‑ups can keep the look pristine.
- Where can I find more inspiration for holiday nails? Check out our main page for a variety of tutorials and seasonal ideas.
Leave a Reply