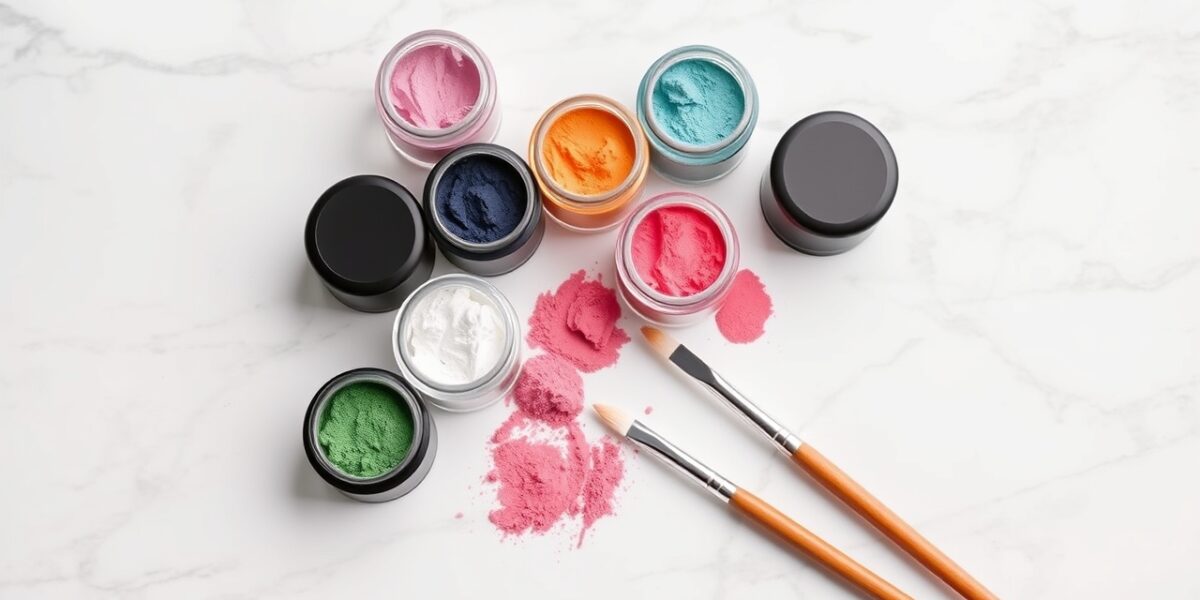
When I first licked my nails with a dip powder kit, the result was a clunky, uneven shell that peeled after a week. After a handful of attempts, I discovered the rhythm that turns a messy DIY into a polished, salon‑grade manicure. This guide distills that rhythm into clear, actionable steps, so you can apply dip powder nails at home with confidence.
What Exactly Is Dip Powder?
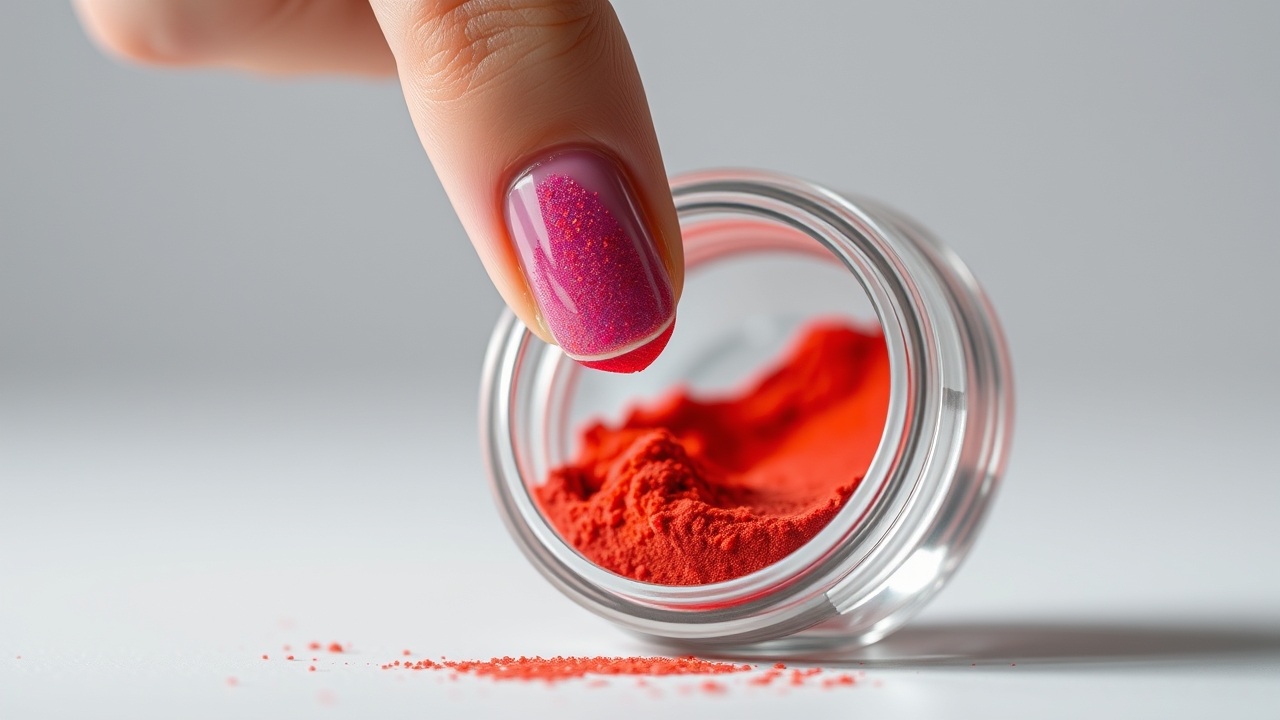
Dip powder is a hybrid of acrylic and gel. It uses a powdered acrylic polymer that bonds to the nail through a cyanoacrylate resin—essentially a high‑strength, quick‑setting glue. Unlike gel, no UV lamp is required; the powder hardens instantly when the activator is applied.
The result is a hard, glossy shell that can last 3–4 weeks when applied correctly. It’s thicker than gel but thinner than traditional acrylics, offering a balance between durability and natural look.



Essential Tools for Your At‑Home Kit
Success hinges on the right equipment. Gather these items before you begin:
- Nail File: A 0.8 mm glass or crystal file for shaping.
- Buffer: A 2‑stage buffer to smooth the surface.
- Cuticle Pusher: A wooden or silicone stick to push back cuticles.
- Dehydrator: 91% isopropyl alcohol or a dedicated nail dehydrator.
- Base Coat (Resin): The adhesive that bonds powder to the nail.
- Colored Dip Powders: Choose a pigment that matches your style.
- Activator: A liquid that hardens the powder.
- Top Coat: High‑shine sealer for a glassy finish.
- Cleanup Brush: A lint‑free brush soaked in acetone.
- Cotton Pads & Acetone: For cleaning and removal.
Step‑by‑Step Guide: How to Apply Dip Powder Nails at Home
Precision is the secret to a lift‑free set. Follow these steps, and you’ll see the difference.
1. Nail Preparation
Start by trimming and filing each nail to your desired shape—almond, square, or coffin. File in one direction to prevent splitting. Then, use the buffer to gently dull the shine; you’re creating a rough texture for the resin to grip.
Push back cuticles with the pusher. If you have overgrown cuticles, a small amount of cuticle oil can soften them before pushing. A clean, oil‑free surface is critical; wipe the nail with alcohol to remove any residual oils.
2. Apply the Base Coat
Apply a thin, even layer of resin to one nail at a time. Avoid saturating the nail; a translucent film is enough. Keep the resin a few millimeters away from the cuticle to prevent a ridge. A thin‑to‑thick approach—start thin at the cuticle, slightly thicker toward the tip—works best.
3. Dipping the Powder
Hold the nail at a 45° angle and dip it into the powder jar. Roll the nail gently as you lift to ensure even coverage. After each dip, flick off excess powder with a soft brush. If you need more opacity, repeat the base coat and dip once more.
4. Activate the Powder
Brush the activator over the entire nail, from cuticle to tip. The nail will feel hard within seconds. Let it sit for 2–3 minutes to ensure full polymerization. A quick test: press the nail against a smooth surface; it should not flex.
5. File and Polish
Use the file to smooth any bumps, especially around the cuticle and edges. File in the direction of nail growth to avoid jaggedness. A final buffer round gives the surface a subtle sheen without adding shine.
6. Seal with Top Coat
Apply a thin top coat, making sure to cap the free edge. A second coat can be applied if the first appears streaky. Let the top coat dry naturally for 5–10 minutes; no UV light is needed.
Pro Tips for a Flawless At‑Home Dip Manicure
- Keep a cleanup brush handy. If powder touches the skin, wipe it off immediately before applying the activator.
- Thin layers beat thick ones. Three thin coats of resin produce a stronger, more flexible shell than one thick coat.
- Protect your cuticles. Apply a thin layer of cuticle oil nightly; this prevents cracking caused by the drying resin.
- Ventilation matters. Work in a well‑ventilated area to reduce fumes from resin and activator.
- Use a 2% isopropyl alcohol pad. It removes oils without over‑drying the nail.
Common Mistakes and How to Fix Them
Peeling after a week? Likely a prep issue. Ensure the nail is fully dehydrated and the base coat is thin. Grainy powder often indicates excess base or insufficient brushing off of excess powder.
The dreaded white edge—an air pocket between the powder and cuticle—occurs when the base coat is too far from the skin. Use a fine brush to apply resin close to the cuticle, then file the powder back toward the skin once the activator has set.
Safety and Health Considerations
Cyanoacrylate resins emit strong fumes. Keep windows open or use a fan. If you have sensitive skin, test a small area before full application. Avoid peeling or picking at the nails; this damages the natural nail bed.
For a deeper dive into the chemistry of nail adhesives, visit Wikipedia.
How to Remove Dip Powder Nails Safely
Removal is a delicate process. File off the top coat first to break the seal. Then soak the nails in pure acetone for 15–20 minutes. The powder should crumble and lift. Use a wooden stick to gently scrape away residue. If it resists, soak a few more minutes. After removal, wash hands thoroughly and apply a nourishing cuticle oil.
Comparing Dip Powder to Other Methods
- Dip vs. Gel: Dip is harder and lasts longer, but gel offers a thinner, more natural look and requires a UV/LED lamp.
- Dip vs. Acrylic: Dip eliminates the need to mix liquid monomer and powder; it’s less smelly and easier to apply at home.
Final Thoughts on DIY Manicures
Mastering how to apply dip powder nails at home takes practice, but the payoff is a durable, glossy finish that can survive dishwashing and typing. Focus on proper prep, thin coats, and gentle filing, and your nails will look salon‑ready in no time.
Frequently Asked Questions
How to apply dip powder nails at home for the first time?
Begin with a clean, de‑oiled nail. Apply a thin layer of resin, dip into powder, activate, file, and seal. Work on one nail at a time to keep the resin from drying prematurely.
How long do DIY dip nails actually last?
With proper prep and care, a home dip manicure can last 2–4 weeks. Avoid using nails as tools for opening cans or peeling stickers to extend longevity.
Can I use regular nail polish as a top coat?
Regular polish is softer and will chip quickly. Stick to a dedicated dip top coat for a consistent finish.
Is dip powder damaging to natural nails?
Dip powder itself isn’t inherently harmful. Damage occurs when nails are peeled off. Gentle soaking in acetone and post‑removal moisturizing keeps nails healthy.
Why is my dip powder lifting at the edges?
Lifting usually stems from inadequate dehydration or base coat touching the skin. Ensure the nail surface is dry and the resin stays a few millimeters from the cuticle.
Leave a Reply