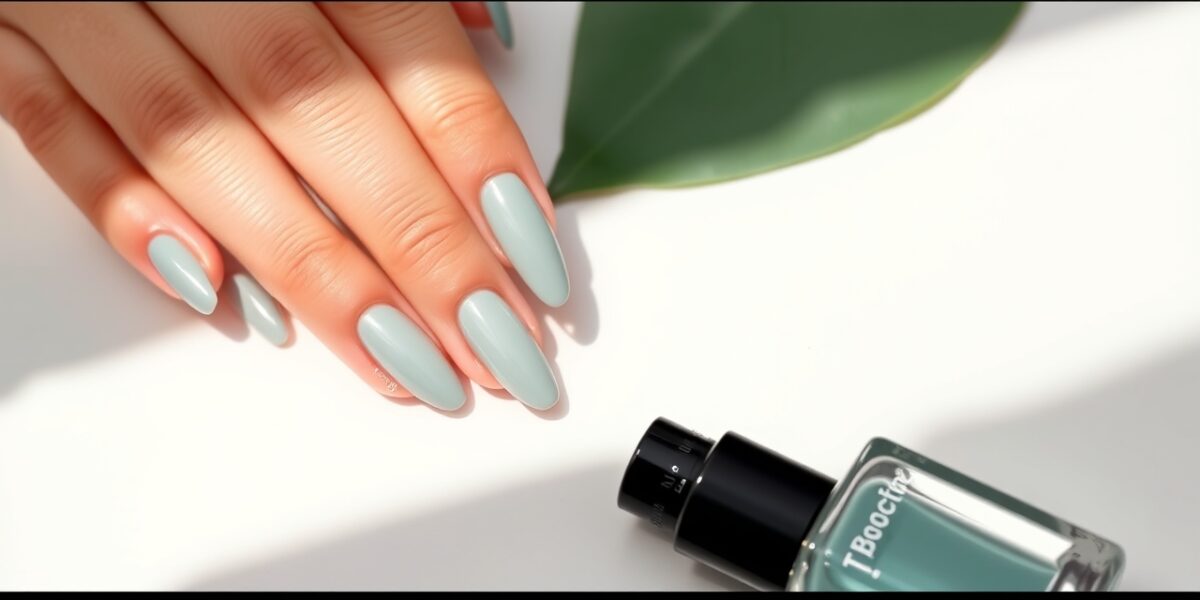
Easy nail art for beginners is the perfect way to start exploring creative nail designs without feeling overwhelmed. Whether you’re new to the world of manicure or just looking for a quick way to add some flair to your fingertips, this guide breaks down ten simple, step‑by‑step designs that you can create at home with just a few basic tools.
Step‑by‑Step Workflow: From Prep to Finish
Before we dive into the designs, let’s make sure you have a solid foundation. A clean base, a good topcoat, and a steady hand are the cornerstones of any great DIY manicure. Here’s a quick prep checklist that works for every nail art:
- Clean your nails with a gentle cleanser or nail polish remover to remove oils and old polish.
- Push back cuticles with a cuticle pusher; this gives your nails a neat edge.
- File your nails to your preferred shape—round, square, or almond.
- Apply a base coat to protect the nail and help the polish adhere better.
- Let the base dry for at least 30 seconds before applying color.
Once your nails are prepped, pick a color that will serve as the backdrop for your design. A neutral shade (like pale pink or clear) works great for beginners because it lets the patterns stand out. If you prefer a more vibrant look, choose a single bold color for the entire nail and use contrasting accents.



Choosing the Right Nail Polish Base Color
While a neutral base is a safe bet, you can also experiment with color gradients or subtle shimmers. Here are a few tips to help you choose:
- Match the season—soft pastels for spring, jewel tones for winter.
- Consider your outfit—neutral bases pair well with all colors, while bold bases can make a statement.
- Test a small area—apply a thin coat to a single nail to see how the color looks dry.
Essential Tools for Beginners
While you can get by with everyday items, a few specialized tools can elevate your manicure:
- Striping brush – keeps lines clean.
- Dotting tool – perfect for polka dots.
- Marbleizing wand – creates marble veins.
- Thin brush or toothpick – for fine details.
- Clear topcoat – protects and adds shine.
- Glitter glue or glitter polish – for sparkling accents.
- Ruler or stencil – helps maintain symmetry.
10 Easy Nail Art Designs for Beginners
1. Classic Polka Dots
This timeless pattern is easy to execute and looks polished. All you need is a dotting tool or a clean toothpick.
- Apply a solid base color.
- Using a dotting tool, place dots evenly across the nail. Vary the size for a playful look.
- Fill in the spaces with a contrasting color for a pop.
- Seal with a clear topcoat.
Pro tip: For a subtle effect, use a semi‑opaque dotting tool and a light dusting of glitter on the dots.
2. Striped Simplicity
Stripes need a steady hand but are forgiving. A ruler or a striping brush keeps lines clean.
- Paint the nail with a base color.
- Using a striping brush, create horizontal lines with thin or thick strokes.
- Let each layer dry before adding the next.
- Finish with a topcoat.
Variation: Try a diagonal stripe for a modern twist or a “faux French” by painting a thin line at the cuticle edge.
3. Ombre Fade
Ombre is a favorite because it looks dramatic yet is simple to create with a sponge.
- Apply the lightest shade first.
- Using a clean sponge, dab the next darker shade, blending where the colors meet.
- Repeat until you reach the darkest tone at the nail tip.
- Seal with a topcoat.
Tip: Use a cotton swab instead of a sponge for a sharper gradient if you’re new to blending.
4. Negative Space Vignette
Negative space designs give a modern twist. Start with a glossy base and use a thin brush to create shapes.
- Paint the nail with a glossy base coat.
- With a fine brush, outline a simple shape (like a triangle or circle) on the nail.
- Fill the shape with a contrasting color.
- Leave the rest of the nail clear for a clean look.
- Topcoat to lock in the design.
Idea: Combine a negative space triangle with a subtle glitter border for a chic look.
5. Floral Accent
Miniature flowers add elegance without complexity. Use a small brush or a dotting tool.
- Base coat with a pale color.
- Using a small brush, paint tiny petals on one or two nails.
- Add a dot in the center for the flower’s core.
- Optional: add a subtle glitter in the petal edges.
- Topcoat to finish.
Pro tip: Paint the flower on the middle finger for a subtle statement, or on all nails for a full bouquet look.
6. Marble Effect
Marble looks high‑end yet is surprisingly easy with a marbleizing wand or a stick of clear.
- Apply a base color.
- Drop a few drops of a darker shade on top.
- Use a stick to swirl the colors together, creating veins.
- Let dry, then topcoat.
Tip: For a more realistic marble, use a base of light gray and dark gray drops for a subtle contrast.
7. Glitter Accents
Glitter adds sparkle. Use a thin brush to apply glitter over a small area.
- Paint the nail with a solid color.
- Spray or dab glitter onto the nail in a pattern.
- Press a clear topcoat over the glitter to lock it in.
Variation: Use a glitter glue to keep glitter in place if you’re prone to smudging.
8. Checkerboard Pattern
Checkerboards are fun and symmetrical. A ruler helps keep the squares even.
- Apply a base coat.
- Using a striping brush, paint alternating squares in two colors.
- Let each layer dry before adding the next.
- Seal with a clear topcoat.
Idea: Use a neon color on one side and a pastel on the other for a playful contrast.
9. Finger Paint Swirls
Let your creativity flow with finger paint swirls. Use a small brush or your fingertip.
- Base coat with a neutral shade.
- Dip your brush in a bright color and swirl it across the nail.
- Repeat with a second color for depth.
- Topcoat to set the swirls.
Tip: Keep the brush wet with a drop of water to avoid drying out between swirls.
10. Simple Border Line
A thin line around the edge gives a polished finish.
- Paint the nail with a base color.
- Using a thin brush, outline a line around the nail edge.
- Fill the line with a contrasting color.
- Topcoat to protect.
Variation: Add a tiny dot or star inside the line for a subtle embellishment.
Common Beginner Mistakes & How to Fix Them
- Skipping a base coat – can lead to chipping. Always apply a base coat before color.
- Applying too much polish – causes cracking. Use thin layers and let each dry.
- Not letting layers dry – leads to smudges. Patience is key; wait 30‑60 seconds between coats.
- Using a dull brush – results in uneven lines. Replace brushes every few months.
- Over‑glittering – creates a heavy look. Use glitter sparingly and seal with a topcoat.
Cleaning Up and Maintenance
After finishing your nail art, keep your nails healthy:
- Apply cuticle oil to keep skin soft.
- Use a nail buffer to smooth the surface before the topcoat.
- Reapply topcoat every 3‑4 days to maintain shine.
- When removing polish, use a gentle, acetone‑free remover to prevent dryness.
Creative Variations & Combining Designs
Once you master the basics, try mixing two or more designs:
- Polka dot + glitter border.
- Ombre + negative space triangle.
- Checkerboard + floral accents on the center nail.
- Marble + subtle foil strip along the cuticle.
Play with color combinations and textures to create a personalized look that reflects your style.
Safety & Nail Health Tips
Happy nails start with healthy ones. Keep these in mind:
- Never let polish dry on your nails; it can MARK the nail plate.
- Give your nails a break every 2‑3 weeks to avoid over‑coating.
- Use a nail strengthener if you notice thinning or peeling.
- Stay hydrated; water keeps skin and nails supple.
Frequently Asked Questions
- What are the best easy nail art for beginners? The best easy nail art for beginners includes designs such as polka dots, stripes, ombre, and simple borders. These patterns require minimal tools and offer clean, polished results.
- How long does a DIY manicure take for a beginner? A basic manicure with a simple design can take 20–30 minutes, depending on drying time and the complexity of the pattern.
- Can I use regular nail polish for these designs? Yes, regular nail polish works well. Just ensure you use a clear topcoat to protect the design.
- Do I need a special brush for nail art? While a fine brush helps, many beginners start with a small stick or a toothpick. As you progress, a dedicated striping brush is a worthwhile investment.
- Where can I find more beginner nail art tutorials? Visit Nail Made Simple for additional tutorials, product tips, and inspiration.
Final Thoughts
With practice and patience, you’ll soon find that creating beautiful nail art is both fun and rewarding. Start with these ten easy designs, experiment with colors and textures, and don’t be afraid to combine patterns. Your nails will become a canvas that showcases your creativity and confidence—one polish at a time.
Leave a Reply