How to seal nail art so it lasts is a question that many nail enthusiasts ask after spending hours on a fresh design. The secret to a long‑lasting manicure lies not just in the polish itself, but in the finishing steps that lock in color, shine, and detail. In this comprehensive guide, I walk you through every step—from choosing the right top coat to protecting your nails during everyday activities—so you can enjoy flawless nails for days, not just a day.
Understanding Nail Anatomy
Before you can seal a design, you need to know what you’re sealing. A nail is made up of three layers: the nail plate (the visible part), the nail bed (the skin underneath), and the cuticle (the protective skin at the base). Each layer reacts differently to polish and sealants.
Nail Plate
The hard, translucent part of the nail is where most polish adheres. Its surface can be smooth or textured, depending on your natural nail shape and any prior treatments. A slightly roughened plate can improve adhesion, but over‑buffing can thin the nail and cause breakage.



Nail Bed
Healthy, pink skin under the nail plate provides a stable base for polish. If the bed is discolored or has visible ridges, a primer or base coat can help even out the surface and create a more uniform seal.
Cuticle
Trimmed and moisturized cuticles reduce the chance of polish chipping at the nail’s edge. A gentle cuticle oil or balm applied before sealing keeps the skin supple, preventing cracks that can compromise the seal.
Choosing the Right Top Coat
Not all top coats are created equal. Your choice depends on the design, lifestyle, and desired finish.
Quick‑Dry vs. Long‑Lasting
- Quick‑Dry: Sets in 30–45 seconds, ideal for busy mornings or touch‑ups. It’s great for single‑coat designs but may need a second layer for heavy‑glitter or intricate patterns.
- Long‑Lasting (Ultra‑Durable): Contains a higher polymer content, giving a thicker film that resists chips and scratches for up to a week. It’s the best choice for high‑traffic nails, weddings, or travel.
Finish Patrol
- Glossy: Adds a high‑shine look that enhances color depth. Works well with metallics, holographics, and classic French tips.
- Matte: Provides a subtle, modern vibe. Matte top coats are great for pastel palettes or minimalist designs but may require a clear base coat to prevent dullness.
- Shimmer/Glitter: Some brands offer a “shimmer” top coat that adds a light sparkle without extra glitter. It’s perfect for a subtle glow.
Vegan & Non‑Toxic
Look for formulas free of formaldehyde, toluene, and DBP. Many brands now label their products as “3‑free” or “5‑free,” ensuring a safer experience for sensitive users and the environment.
Preparing Your Nails for Sealing
Preparation is the key to a durable seal. Follow these steps to ensure your top coat bonds perfectly:
- Clean the Surface: Use a lint‑free pad soaked in isopropyl alcohol to wipe away oils, old polish, and residue. A clean plate prevents peeling.
- Buff Lightly: With a fine‑grit buffer (600–800 grit), gently buff the nail plate to create a subtle texture. Avoid over‑buffing; a thin film of micro‑abrasion increases adhesion.
- Apply a Base Coat: Even if you’re using a quick‑dry top coat, a thin base coat helps the top coat set. For bright or dark designs, choose a clear or matching base coat to prevent discoloration.
- Trim & Shape: Finish with a clean nail shape. A sharp edge reduces friction and helps the top coat stay intact.
- Moisturize Cuticles: Apply a cuticle oil or balm. This step reduces the risk of cracks that can break the seal.
Applying the Top Coat: Step‑by‑Step
Now that your nails are ready, it’s time to seal. Here’s a proven method that works for most nail art styles:
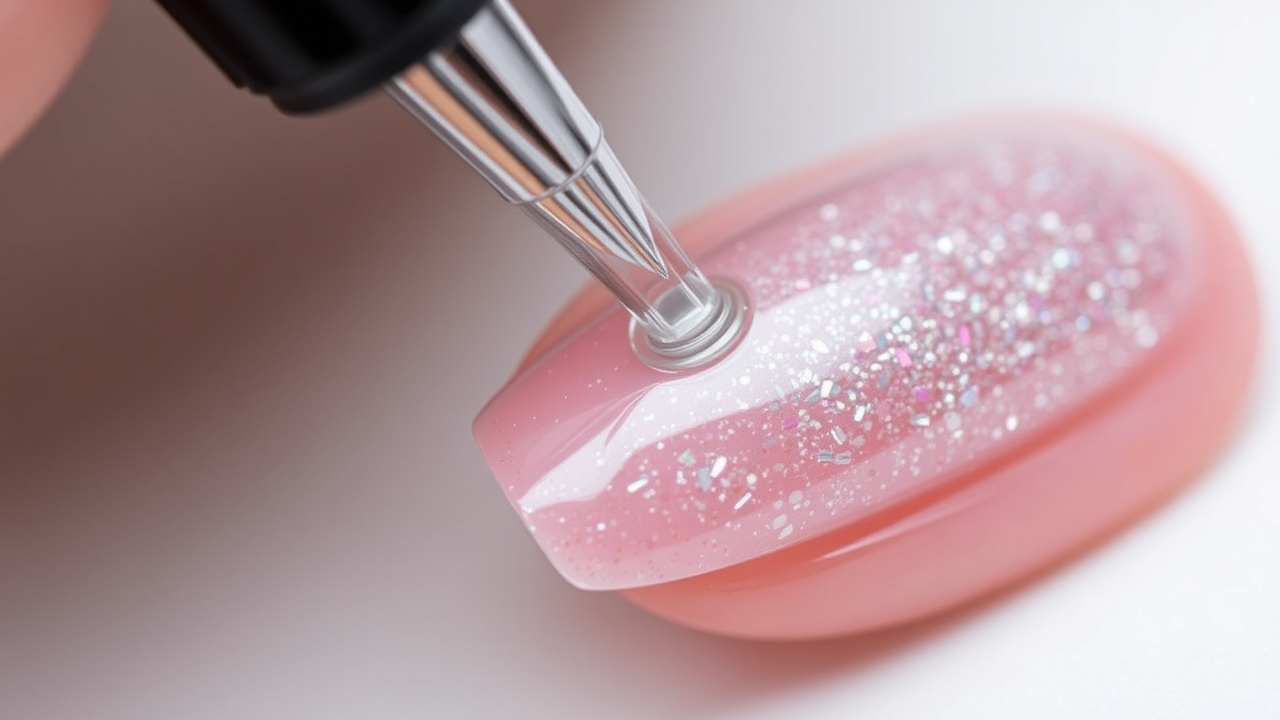
- First Layer: Dip the brush into the top coat, tap off excess, and apply a thin coat from the cuticle to the tip. Let it dry for 30–45 seconds.
- Second Layer: Add a second thin coat, ensuring you cover all edges and the nail bed. This double layer prevents chipping.
- Targeted Lock‑In: If your design has fine lines, glitter, or decals, apply a third coat over those areas. This extra layer locks in detail and prevents flaking.
- Final Curing: Allow the final coat to cure fully—usually 5–10 minutes. Avoid touching the nails during this period to prevent smudges.
- Optional UV/LED Finish: If you have a UV or LED lamp, you can cure the top coat for an extra 30–60 seconds. This step is optional but adds a hard, glossy finish that lasts longer.
Advanced Sealing Techniques
For those who want to push the boundaries of durability, there are advanced approaches you can try. These methods are especially useful for high‑traffic nails or special occasions.
Dual‑Action Sealants
Some brands offer a two‑in‑one product: a clear top coat combined with a sealant. The sealant layer is thicker and more resistant to scratches. Apply the top coat first, let it dry, then apply a thin layer of sealant. This technique is ideal for nail art with heavy embellishments like rhinestones or crystals.
Waterproof Sprays
For outdoor events, a waterproof spray can be applied over the top coat. Look for a nail‑safe formula that won’t yellow or crack. Spray in a well‑ventilated area and let it dry for 2–3 minutes before handling.
Heat‑Setting with a Nail Dryer
A nail dryer (mini‑heater) can Jackson the top coat, increasing polymer cross‑linking and creating a thicker film. This is a professional trick but can be done at home with a hair dryer set to low heat and held 3–4 inches away.
Common Mistakes and How to Avoid Them
- Skipping the Cuticle: Leaving cuticles exposed can lead to quick chipping. Keep them trimmed and moisturized.
- Using Too Much Product: Thick layers take longer to dry and can crack. Always apply thin, even coats.
- Not Allowing Full Drying Time: Touching nails before the top coat is fully set can smear the finish. Aim for at least 5 minutes of drying between coats.
- Ignoring Nail Health: Over‑buffing or frequent use of harsh chemicals weakens the nail plate. Give nails a break every 2–3 weeks.
- Using Old or Expired Top Coat: Expired products can lose polymer integrity, leading to poor adhesion. Check the expiration date before use.
Daily Maintenance Routine
Once your nails are sealed, maintaining them is easier than you think. Here are everyday wear tips to keep your manicure looking fresh.
Protective Gloves
When doing dishes, cleaning, or handling harsh chemicals, wear cotton gloves. This prevents water damage and reduces the risk of the top coat lifting.
Moisturize Cuticles Daily
A 1–2 ml bottle of cuticle oil applied twice a day keeps the skin supple and prevents cracks that could break the seal.
Avoid Harsh Scrubbing
When cleaning your nails, use a soft brush or a nail file with a gentle grit. Aggressive scrubbing can remove the top coat’s protective layer.
Regular Touch‑Ups
Within 4–5 days, apply a fresh top coat over the existing layers. This re‑energizes the film and extends the life of the design.
When to Reapply
Watch for signs of wear: dullness, peeling at the edges, or visible scratches. A quick reapplication of a single top coat can bring your nails back to life. For those who love bold designs, a quick top coat over a fresh color can preserve vibrancy.
DIY Sealants
Sometimes you want a quick fix without buying a new top coat. Try these DIY sealants:
- Pure Beeswax: Melt beeswax and brush a thin layer over your nails. It dries into a protective film that is safe for most people.
- Olive Oil + Coconut Oil: Mix a 1:1 ratio and apply a thin coat. It moisturizes and adds a subtle sheen.
- Clear Nail Polish (No Color): If you’re out of top coat, a clear nail polish can serve as a temporary seal. It’s less durable but works for a quick touch‑up.
Professional vs. DIY
Professional salons often use high‑polymer, UV‑curable top coats that provide the toughest barrier. For DIY, choose a reputable brand with a 3‑free or 5‑free formula. If you’re doing a high‑impact design—think glitter, rhinestones, or decals—consider a dual‑action sealant or a spray sealant for extra protection.
Real Life Examples
Here are a few scenarios that illustrate the importance of proper sealing:
- Wedding Guest: A bride’s guests wore glittery, metallic designs. By applying a long‑lasting top coat and a waterproof spray, the nails stayed intact throughout the ceremony, reception, and the next day’s brunch.
- Travel Enthusiast: A traveler who frequently used a laptop and smartphone applied a quick‑dry top coat and a UV‑cured sealant. The design lasted a full week on the plane, without chipping from frequent touch‑ups.
- Office Professional: An office worker who cleans dishes and uses cleaning sprays applied a matte top coat and a thin beeswax layer. The nails remained chip‑free for 10 days, even after daily exposure to water.
Top 5 Top Coats for 2024
- OPI Top Coat Ultra‑Durable – Long‑lasting, high‑gloss finish, 5‑free.
- Seche Vite Quick‑Dry – Sets in 30 seconds, great for busy mornings.
- Essie 3‑Free Top Coat – Vegan, non‑toxic, excellent for all designs.
- ILNP Clear Coat (UV/LED) – Dual‑action, UV‑curable, provides a hard, glossy finish.
- Garnier Color Gel.!** – Gel‑like, long‑lasting, no UV lamp needed.
Frequently Asked Questions
- What is the best top coat for sealing nail art? A quick‑dry, high‑gloss top coat works well for most designs, but a long‑lasting formula offers extra protection for high‑traffic nails.
- What is the difference between a top coat and a sealant? A top coat is a clear polish that adds shine, while a sealant is a thicker, often more protective layer that can be applied over the top coat.
- How long does a sealed nail art last? With proper sealing, most nail art can last 5–7 days before fading or chipping.
- Can I use a clear nail polish as a sealant? Yes, a clear nail polish can act as a temporary seal, but it may not provide the same durability as a dedicated top coat.
- Is it safe to use homemade sealants like beeswax? Beeswax is safe for most people, but if you have a sensitivity to bees, avoid it.
By following these steps and tips, you’ll master the art of sealing nail art so it lasts, ensuring your designs stay vibrant, glossy, and chip‑free for days on end. For more DIY manicure inspiration, visit Nail Made Simple. And if you’d like to learn more about the science behind nail health, check out Nail for a detailed overview.
Leave a Reply