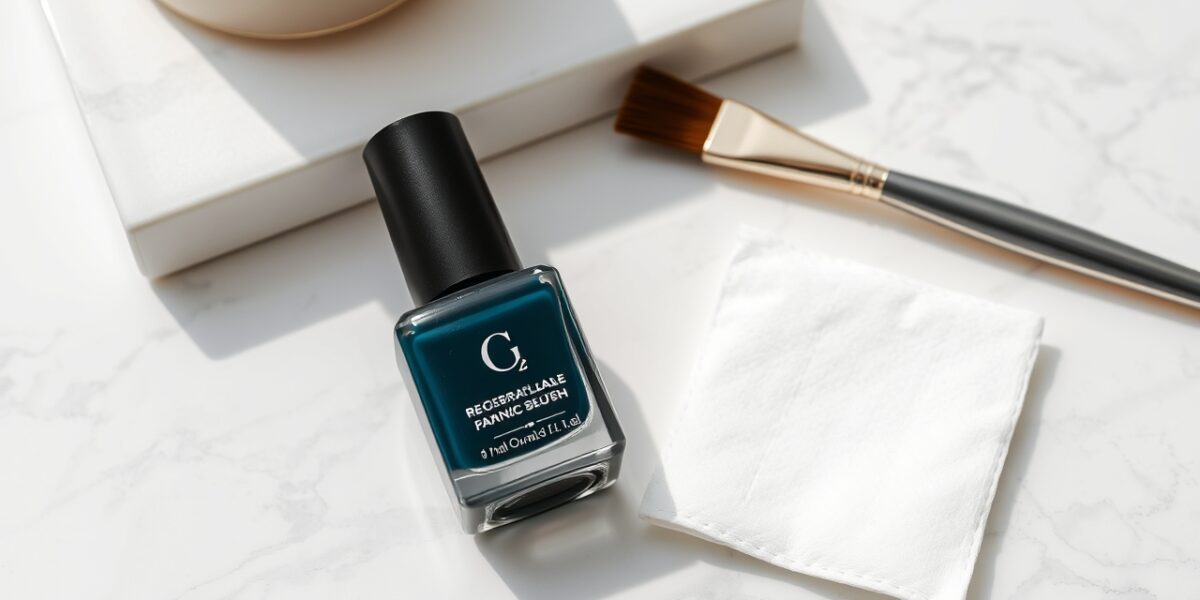
Mastering the art of cleaning up nail polish mistakes is the secret that separates a polished, salon‑grade manicure from a clumsy DIY job. I remember the first time I tried a navy polish on my own ring finger: twenty minutes of careful strokes, a stray splash, and a streak that looked like a paint splatter. Instead of scrubbing the whole nail, I used a 0.3mm angled brush and a drop of acetone to carve the mistake away. That small act turned a disaster into a professional finish.
The Essential Toolkit for Polish Correction
Before you even open the bottle, you need the right gear. A salon would never use a cotton ball for cleanup; that’s a Rijksmuseum mistake. Here’s the minimal kit that delivers precision and speed:
- Pure Acetone (10ml) – Fast‑acting for stubborn smudges.
- Non‑Acetone Remover (10ml) – Gentle on skin, still sacks away polish.
- 0.5mm Angled Brush – The workhorse for cutting the cuticle line.
- 3mm Cotton Swab (precision) – A backup when the brush is unavailable.
- Wooden Orange Stick (3mm) – Ideal for side‑wall polish removal.
- 70% Isopropyl Alcohol (5ml) – Quick clean for residue and gel inhibition layers.
- Lint‑Free Wipes – Coffee filters or commercial wipes; no fibers.
- Cuticle Oil (5ml) – Final hydration step.
- Top Coat (30ml) – Quick‑dry undercoat plus a sealing coat.
How to Clean Up Nail Polish Mistakes Around the Cuticle
The most common error is getting polish on the skin or cuticle. If you catch it while the polish is still wet, you have a few options. If it’s dry, you’ll need a different approach.



The Precision Brush Method
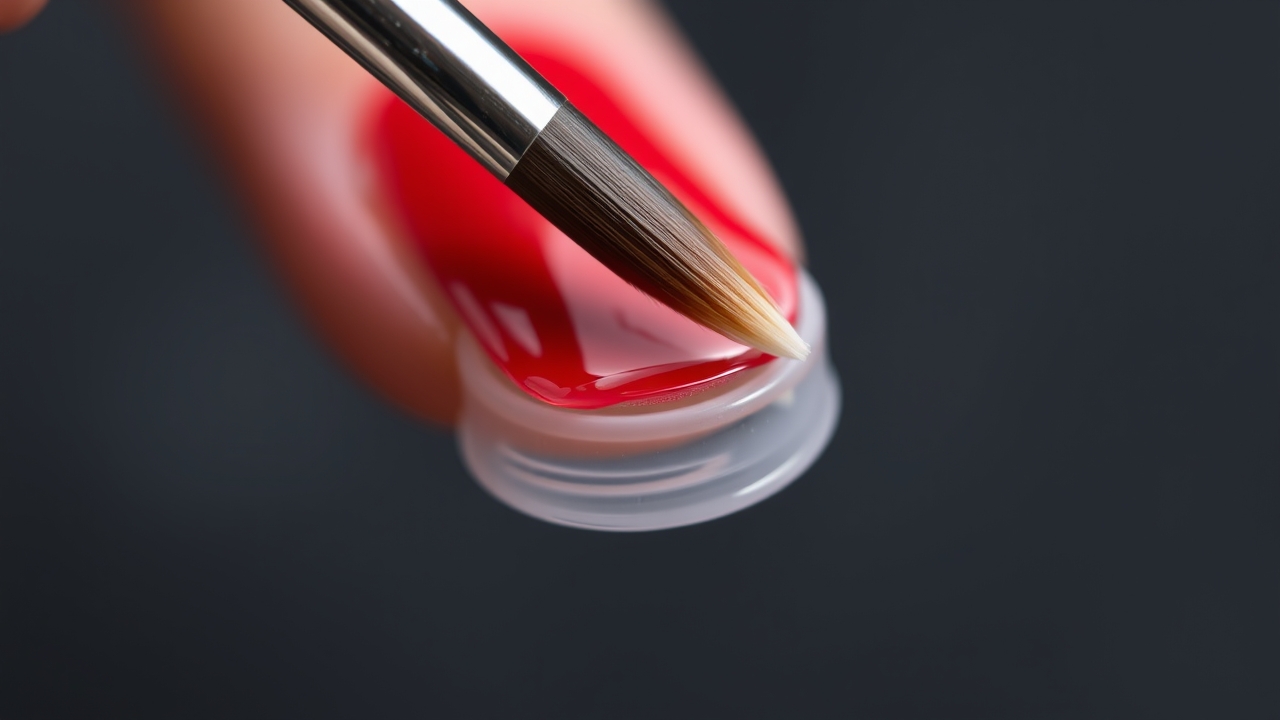
Carve, don’t rub. Dip the angled brush in acetone, then blot it on a lint‑free wipe so it’s damp but not dripping. Glide the brush along the curve of the cuticle, following the natural line. The result is a clean, rounded arc that looks like it was drawn by a pro.
The Cotton Swab Technique
When a brush isn’t on hand, a 3mm cotton swab works wonders. Soak the tip in remover, roll it gently over the mistake, and avoid back‑and‑forth motions that push polish deeper into the skin.
The Orange Stick Trick
For polish that has pooled in the side walls, wrap a tiny lint‑free wipe around the tip of the orange stick, dampen it with remover, and slide it along the groove between nail and skin. This keeps the center of the nail untouched while clearing the edges.
Dealing with Smudges and Bumps
We’ve all reached for our phone and left a giant streak across a freshly painted nail. Here’s how to tackle different surface errors.
The “Wet Smudge” Fix
Don’t paint over a wet smudge. Instead, use a damp brush to erase it. Let the remover evaporate for about a minute, then dab a tiny drop of polish into the cleaned area. Blend it in with a light touch; the result looks seamless.
The “Dried Bump” Solution
When a bubble or lint has dried, you have two choices. First, gently buff the bump with a 2000‑grit buffer, being careful not to sand through the color. Second, apply a thick layer of top coat, let it dry slightly, then buff again before applying a final thin top coat. The two‑step top coat gives a level surface and a glossy finish.
Advanced Brush Cleanup Techniques
Clean brushes are the backbone of a flawless manicure. Clogged bristles produce jagged lines. After each use, rinse the brush in warm water with a drop of dish soap, shake off excess liquid, and let it dry flat. Avoid soaking brushes in acetone for hours; the solvent can degrade the fibers over time.
For shaky hands, rest your pinky on the table. This tripod effect stabilizes your wrist and reduces tremors, cutting the need for frequent corrections.
Preventing Mistakes Before They Happen
Prevention beats correction. Here are the habits that keep polish errors at bay:
- Prep the Skin – Gently push back cuticles with a cuticle stick or a soft brush. A clean surface reduces polish adhesion.
- The Three‑Stroke Method – Apply one stroke down the center, then one on each side. This distributes pigment evenly and prevents pooling.
- Leave a Gap – Never paint right up to the cuticle. Leave a hair‑thin line; it’s easier to fill a small gap than to remove polish from skin.
- Thin Layers – Three thin coats are better than one thick coat. Thick layers dry unevenly and bubble.
Working with Different Polish Types
Not all polishes behave the same. Understanding the chemistry helps you choose the right cleanup method.
Standard Lacquer
Traditional polish is the easiest to fix. Acetone dissolves it quickly, and you can usually paint over a corrected spot without leaving a trace. For a deeper dive into the chemistry, check out Wikipedia’s nail polish page.
Gel Polish
Gel is a different beast because it cures under UV/LED. If gel lands on your skin, you must remove it before curing. Once cured, a brush with remover won’t work; file the cured gel off the skin with a buffer or use a cure‑and‑file method. Precision during application is critical for gel manicures.
Dark vs. Light Colors
Dark colors like black, deep red, or navy are unforgiving. Any mistake is immediately visible. For these shades, double your cleanup efforts. Use a very small amount of remover on the brush to avoid bleeding the color into surrounding areas. Light colors, such as nudes or pale pinks, are more forgiving, but they can leave a stain if the polish is high‑pigment. A gentle wash with soap and water or a skin‑safe oil usually removes these stains after the manicure is finished.
The Finishing Touches for a Professional Look
Once your edges are crisp, the final step is the top coat. The top coat is not just for shine; it seals the polish and smooths out minor texture variations. I always suggest “capping the free edge”—run the brush along the very tip of the nail. This prevents polish from lifting and reduces the chance of chips that would require more cleanup later.
For more tips on maintaining your nails, check out our guide on nail care basics to keep your natural nails healthy under your polish.
Troubleshooting Common Cleanup Issues
Sometimes, despite your best efforts, things go wrong during the cleanup process. Here are a few scenarios and how to handle them.
The “Bleed” Effect
This happens when you use too much remover on your brush, and it seeps under the polish, creating a jagged, eaten‑away edge. To fix it, let the nail dry completely. Use a tiny bit of polish to redraw the line, then seal it with top coat. In the future, always blot your brush on a wipe before touching the nail.
Skin Irritation
Acetone is a powerful solvent and can dry out the skin around your nails, making them look white and flaky. After you finish cleaning up your polish mistakes, always apply a cuticle oil or a heavy moisturizer. This restores the moisture barrier and gives the skin a healthy, hydrated glow that complements the polish.
The “Sticky” Residue
If you’re using gel and you see a sticky layer (the inhibition layer) after curing, do not try to wipe it off with acetone unless the instructions specifically say to. Use a dedicated cleanser or 70% isopropyl alcohol on a lint‑free wipe. This removes the tackiness without damaging the cure.
Summary Checklist for a Flawless Finish
Follow this quick workflow for your next manicure:
- Prep nails and push back cuticles.
- Apply polish using thin layers and the three‑stroke method.
- Inspect the cuticle area immediately after each coat.
- Dip an angled brush in remover and blot.
- Carve out the cuticle line and clean side walls.
- Correct any smudges with a damp brush and a touch‑up drop of color.
- Apply top coat and cap the free edge.
- Hydrate the skin with cuticle oil.
Frequently Asked Questions
How to clean up nail polish mistakes without acetone?
If you don’t have acetone, you can try using a non‑acetone nail polish remover, which is gentler. In a pinch, some people use rubbing alcohol or even a tiny bit of clear polish to “lift” a mistake, though this is less effective. The best non‑acetone method is using a precision brush with a mild remover to avoid damaging the skin.
Can I use a regular makeup brush to fix polish?
Yes, a thin, synthetic angled eyeliner brush is actually one of the best tools for this. Just make sure the bristles are firm enough to hold a shape but soft enough not to scratch the polish. Always clean the brush thoroughly after use so the bristles don’t harden.
Why does my polish smudge even after it feels dry?
Polish dries in stages. It feels dry to the touch (set) long before it is fully hardened (cured). This is why smudges happen. To prevent this, avoid any activity for at least an hour after painting and consider using a quick‑dry top coat to accelerate the process.
How do I remove polish from my skin without ruining the manicure?
The key is to use a localized application of remover. Instead of soaking a cotton ball, use a precision brush or a pointed swab. This allows you to target only the skin and avoid touching the nail plate. If the polish has already dried on the skin, a gentle scrub with a washcloth and warm soapy water may also work.
What is the best way to fix a bubble in my polish?
If you see a bubble, wait for the polish to dry completely. Gently buff the bubble flat with a fine‑grit buffer. Then, apply a thin layer of top coat to refill the indentation and smooth the surface. To prevent bubbles, avoid shaking your polish bottle—roll it between your palms instead.
Leave a Reply