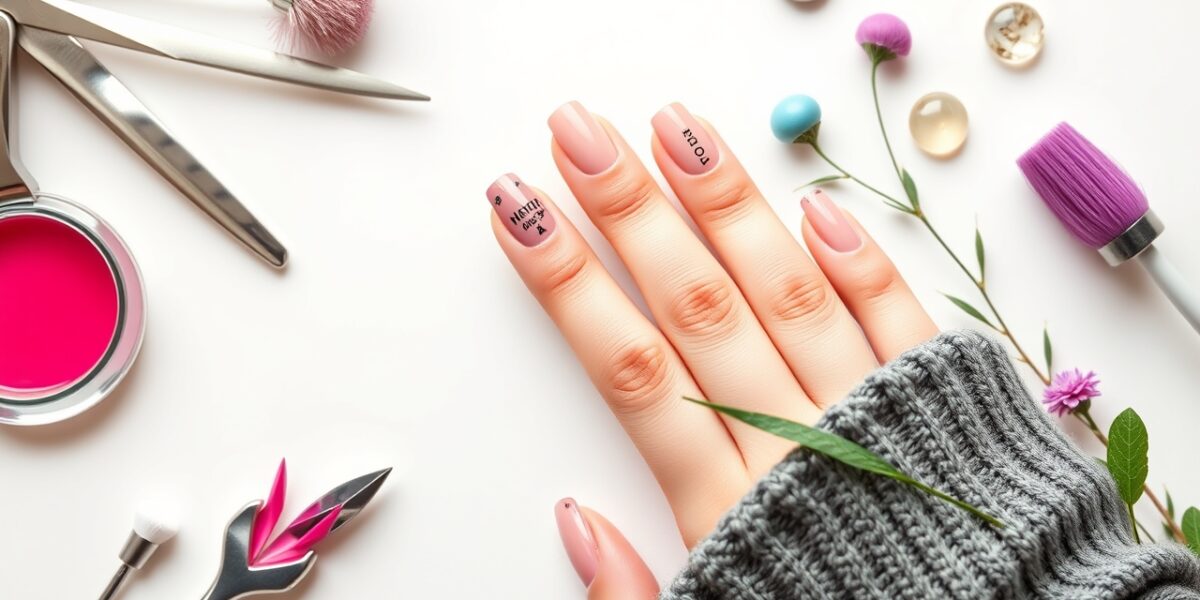
how to use a nail dotting tool can transform a simple manicure into a piece of art, even if you’re just starting out. With the right technique and a few creative ideas, you’ll be able to add polished dots, tiny hearts, or subtle accents that make your nails pop.
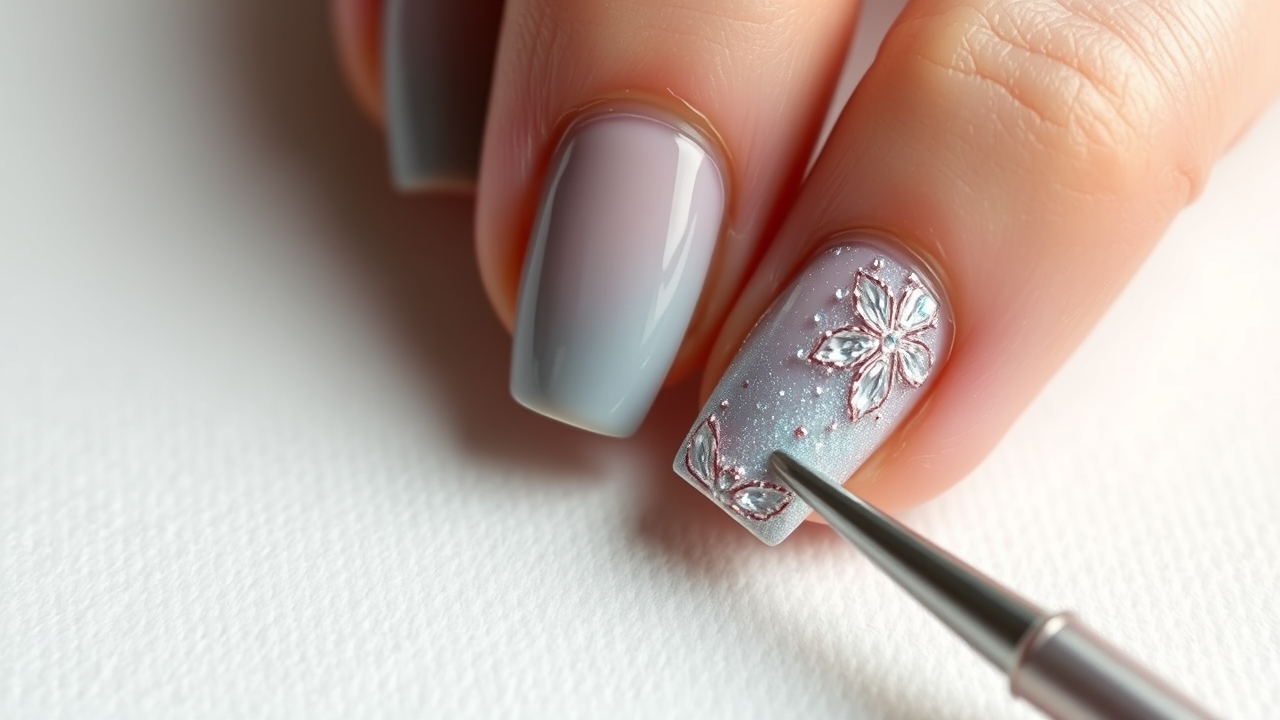
how to use a nail dotting tool: step‑by‑step guide
Before you begin, gather a clean set of nails, base coat, a fresh bottle of polish, and a dotting tool. A dotting tool is a small, round or square metal or plastic tip that leaves a perfect, uniform dot when pressed into wet polish. The key to mastering the tool is practice and consistency.
Step 1: Prep the nails. Start with clean, dry nails. Buff the surface lightly to remove shine, then apply a base coat and allow it to dry completely. A smooth base ensures the dotting tool will sit evenly and prevents the dots from sliding off.



Step 2: Choose your polish. Select a bright or neutral shade depending on the design you want. The polish should be fresh; thick or partially dried polish won’t hold the dotting tool well. For beginners, a semi‑gloss finish works best, as it shows the dot clearly.
Step 3: Dip the dotting tool. Lightly dip the tip of the tool into the polish. Avoid soaking it; a thin film of polish is all you need. A puddle of polish can make the dot uneven or too large.
Step 4: Apply the dot. Press the tip gently onto the nail, then lift. The dot should appear as a clean, circular or square shape. If it’s too small, press a little harder; if it’s too large, lightly tap the tip to break it into smaller dots.
Step 5: Repeat. Continue applying dots across the nail, spacing them evenly. For a symmetrical look, you can use a ruler or freehand, but keep the spacing consistent.
dotting tool designs for beginners
Once you’ve mastered the basic dot, experiment with patterns. Here are three simple designs that work well for first‑time users:
- Polka Dot – Place dots evenly across the nail, creating a classic polka dot look. Use a contrasting color for the dots to make them stand out.
- Heart Series – Start with a single dot in the center, then add two dots around it to form a heart shape. This pattern is subtle yet charming.
- Starburst – Place a dot in the center and add a line of dots radiating outward. The lines can be thicker or thinner depending on the effect you want.
DIY dotting tool
If you’re on a budget or enjoy crafting, you can make your own dotting tool from everyday items. A small bottle cap, a toothpick, or a rolled‑up paper cup can serve as a makeshift tip. The material should be smooth and small enough to create a neat dot. Shape the tip with a pair of scissors or a sharp knife to get the desired size.
dot tool tips
Even the best designs can fall flat if the basics are off. Here are a few tips to keep your dots perfect:
- Keep the tool clean. Wipe the tip with a lint‑free cloth after each use to remove excess polish.
- Use a light touch. Pressing too hard can distort the dot; a gentle squeeze gives the most uniform shape.
- Let the base coat dry fully. A tacky base can cause the dots to slide or smear.
- Test on a paper pad first. Practice on a scrap paper to gauge the dot size before applying to nails.
- Finish with a top coat. Seal the design with a clear top coat to protect the dots from daily wear.
creative dot patterns
Once you’re comfortable with basic dots, explore more complex patterns. Below are step‑by‑step instructions for three popular designs.
1. Double‑Layered Polka Dots
- Apply a base coat and a first layer of polish.
- Use a dotting tool to create a single row of dots across the nail.
- Let the first layer dry, then apply a second color on top.
- Dot again, but offset the dots by half the width of the first row.
- Seal with a top coat.
2. Gradient Dot Trail
- Choose two shades of the same color or two complementary colors.
- Start with the lightest shade and dot a row across the nail.
- After drying, switch to the darker shade and dot a second row, slightly overlapping the first.
- Blend the edges by lightly brushing a lint‑free cloth over the transition faze.
- Finish with a clear coat.
3. Floral Dot Accents
- Paint the entire nail with a neutral base.
- Using a dotting tool, create a small dot for the center of a flower.
- Surround the center dot with a ring of smaller dots to form petals.
- Repeat on each nail, varying the number of petals.
- Seal the design with a top coat.
These patterns show how versatile the dotting tool can be. You can mix colors, sizes, and spacing to create a unique look that reflects your style.
_ie: How to use a nail dotting tool safely and efficiently_
Safety is important when working with polish. Make sure the room is well‑ventilated, and avoid inhaling fumes. If you experience irritation, remove the polish immediately and wash the area. Also, keep your tools clean to prevent contamination.
FAQs about how to use a nail dotting tool
- How to use a nail dotting tool for beginners?
- Start with a clean base coat, dip the tool lightly into fresh polish, and press gently onto the nail. Practice on a paper pad until you get a consistent dot size.
- Can I use any polish with a dotting tool?
- Yes, but thinner or fresh polish works best. Thick, partially dry polish can cause uneven dots.
- What if my dots are too big or too small?
- Adjust the pressure: press harder for a bigger dot, less pressure for a smaller one. You can also tap the tip lightly to break a large dot into smaller pieces.
- How do I clean my dotting tool?
- Wipe the tip with a lint‑free cloth after each use. For deeper cleaning, soak it briefly in rubbing alcohol.
- Is there a quick way to create symmetrical dot patterns?
- Using a ruler or a small stencil can help maintain consistent spacing. Freehand is fine once you feel confident.
For more nail art inspiration, visit our guide and explore additional techniques that complement dotting tools. Remember, the key to mastering how to use a nail dotting tool is patience, practice, and creativity.
Further reading about nail polish composition can be found on Wikipedia’s nail polish page, which explains the chemistry behind the colors and finishes.
Choosing the Right Dotting Tool
Not all dotting tools are created equal. Metal tools offer durability but can be heavier, while plastic versions are lighter and more affordable. Consider the following when selecting a tool:
- Tip shape: Round tips produce classic dots; square or rectangular tips create geometric accents.
- Size range: Most kits include 0.5mm, 1mm, and 1.5mm tips. Experiment to find the size that feels most comfortable.
- Material quality: Look for tools that resist corrosion and maintain a clean edge after repeated use.
- Brand reputation: Established brands often provide better consistency in tip size, which translates to more reliable results.
Advanced Dotting Techniques
Once you’re comfortable with basic dots, you can explore advanced methods that add depth and dimension:
1. Layered Color Dots
- Apply a base coat and a first color.
- Dot a pattern in a contrasting shade.
- Let it dry, then apply a second color over the entire nail.
- Use a dotting tool to create a new pattern in a third shade, layering over the previous layers.
- Seal with a top coat.
2. Negative Space Doting
Instead of adding dots, use the tool to create negative space by applying a clear coat over a dotted base. The dotting tool will leave tiny clear spots that contrast with the surrounding color.
3. Metallic Dot Accents
Apply a metallic polish first, then dot with a contrasting metallic or matte shade. The interplay of shine and flatness creates a striking visual effect.
Color Combinations & Themes
Color theory can elevate your dotting designs. Below are theme ideas with suggested palettes:
- Monochrome Chic: Use varying shades of the same hue. For example, a pale pink base with rose gold dots.
- Bold Contrast: Pair complementary colors like navy blue with orange dots or emerald green with coral.
- Pastel Play: Soft pastels such as mint green and baby blue, dotted with a light silver or pearl finish.
- Metallic Glam: A matte black base with gold or copper dots for a high‑contrast look.
- Seasonal Themes: Winter – icy blue base with silver snowflake dots; Autumn – burnt orange base with amber dot accents.
Maintenance & Longevity
To keep your dotting art looking fresh for weeks, follow these care steps:
- Apply a top coat after each layer. This prevents polish from chipping and protects the dots.
- Use a clear, matte top coat for a sophisticated finish. A glossy top coat can make dots appear overly shiny.
- Avoid harsh chemicals. When removing polish, use acetone‑free removers to prevent damage to the dotting design.
- Store tools properly. Keep dotting tools in a clean case to avoid dust accumulation.
- Reapply a fresh top coat every 7–10 days. This maintains shine and protects the design.
Troubleshooting Common Issues
Even experienced nail artists encounter hiccups. Here are solutions to frequent problems:
- Dots slide off: Ensure the base coat is fully dry and consider using a tacky base coat designed for better grip.
- Uneven dot size: Dip the tool in a thin film of polish, not a puddle. Practice on paper to gauge the correct amount.
- Dots bleed into each other: Allow each layer to dry completely before applying the next dot. Use a quick‑dry top coat between layers.
- Tool tip dulls quickly: Re‑shape the tip with a fine file after each use, or replace the tip if it becomes too worn.
- Polish dries too fast: Add a few drops of liquid polish thinner to the bottle to reduce viscosity and keep the polish wet longer.
Expanded FAQ
- What’s the best way to clean my dotting tool?
- After each use, wipe the tip with a lint‑free cloth. For deeper cleaning, soak the tool in rubbing alcohol for 5 minutes, then rinse with warm water and dry thoroughly.
- Can I use a dotting tool on gel or shellac?
- Yes, but the technique differs. Apply a thin layer of gel polish, then dot while it’s still wet. Finish with a proper curing process before applying a top coat.
- How do I create a larger dot pattern without using a bigger tool?
- Apply a second layer of polish over the first dot. The second layer will expand the dot’s size when it dries.
- Is it safe to use a dotting tool on natural nails?
- Absolutely. The dotting tool is gentle and won’t damage the nail plate. Just ensure your nails are clean and moisturized before starting.
- Can I reuse the same polish bottle for multiple dotting sessions?
- Yes, but keep the bottle capped tightly to prevent drying. Stir the polish before each use to maintain uniform consistency.
Whether you’re creating a subtle accent or a bold statement, mastering how to use a nail dotting tool opens a world of creative possibilities. Keep practicing, experiment with colors, and enjoy the process of turning ordinary nails into miniature canvases.
Leave a Reply