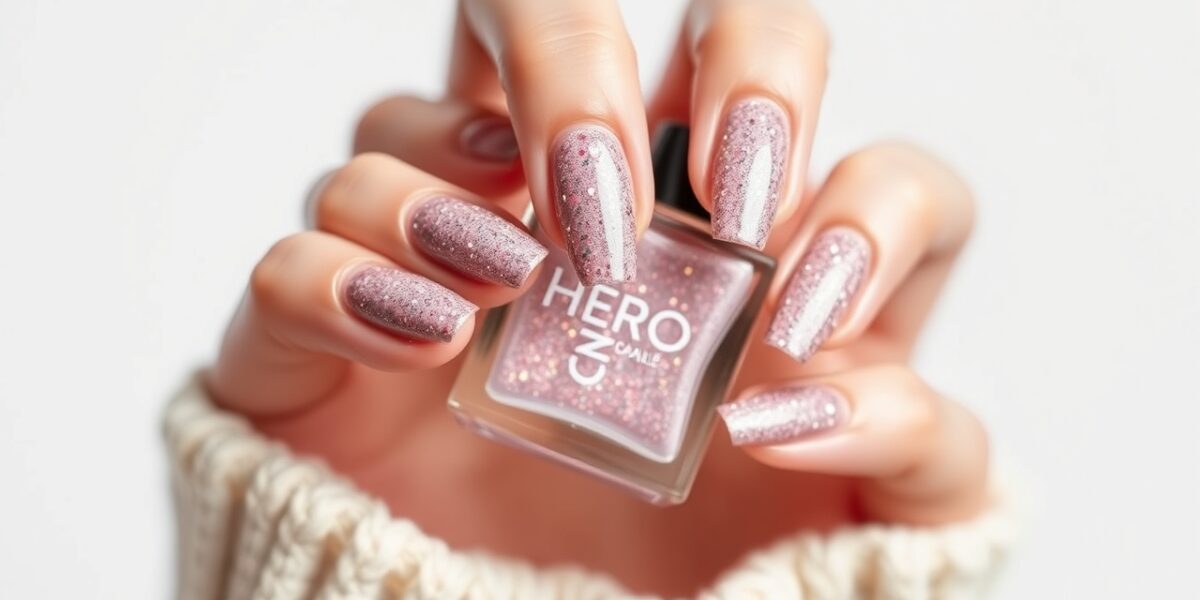
The best base coat and top coat are the foundation of every flawless manicure. They protect your nails, enhance color, and extend the life of your polish. Whether you’re a seasoned nail artist or a DIY enthusiast, understanding their role is key to creating long‑lasting, brilliant nail art.
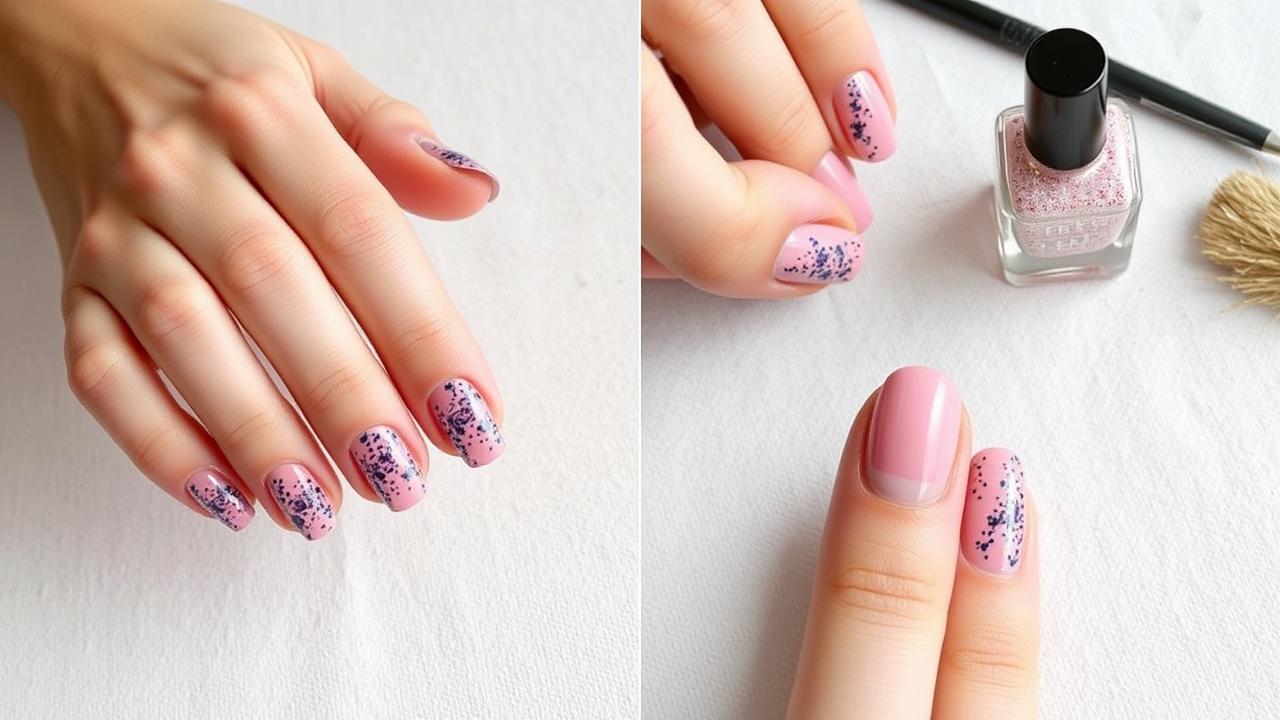
Best Base Coat and Top Coat: Why Both Matter for Nail Art
When you pair the best base coat with the best top coat, you create a barrier that protects color and prevents chipping. The base coat prepares the nail plate, while the top coat seals in pigment and adds shine. Together, they form a cohesive system that ensures your design stays vibrant for weeks.
Why Use a Base Coat
A base coat, often overlooked, is critical for several reasons:



- Prevents staining: Many nail polishes contain dyes that can stain the nail surface. A good base coat creates a neutral canvas.
- Improves adhesion: Polishes adhere better to a properly primed nail, reducing lift.
- Strengthens nails: Some base coats contain conditioning ingredients that help fortify the nail plate.
- Creates a smooth surface: A thin, even layer eliminates ridges, making designs look flawless.
Choosing the best base coat and top coat can transform your manicure. For instance, a clear, fast‑drying base coat allows you to apply multiple layers of color without waiting too long.
Top Coat Benefits
The top coat is the final protective layer. Its benefits include:
- Enhances shine: A glossy top coat gives your nails that coveted high‑gloss look.
- Prevents chipping: By sealing the polish, it reduces breakage and extends wear.
- Adds durability: Some top coats are formulated to be chip‑resistant and water‑proof.
- Provides a smooth finish: It evens out any imperfections left by the color layers.
Even the most vibrant polish needs the best base coat and top coat to show its true color. A clear top coat will not only protect but also intensify the hue.
Base Top Coat Guide
Here’s a step‑by‑step guide to applying base coat and top coat for maximum impact:
- Prep the nails: Remove old polish, file to shape, and buff lightly to remove shine.
- Apply a thin base coat: Use a small amount and let it dry for 30‑60 seconds.
- Apply color layers: Two thin coats are usually enough; let each layer dry fully.
- Seal with a top coat: Apply two layers of top coat, allowing 30‑60 seconds between each.
- Finish with a quick polish: If desired, add a gel or UV top coat for extra longevity.
Remember, the best base coat and top coat are not just accessories; they are essential. They protect the nail and preserve your design’s integrity.
Long Wear Top Coat
For those who need their manicure to last a full week or more, a long‑wear top coat is indispensable. These top coats contain polymers that form a resilient film, resisting everyday wear and tear. Look for features such as:
- Chip resistance: Keeps polish intact even with Woody hand movements.
- Waterproof formula: Prevents water from loosening the polish during dishwashing or bathing.
- Fast drying: Saves time while still providing a durable finish.
When you choose the right long‑wear top coat, you can enjoy your nail art without frequent touch‑ups.
Common Mistakes to Avoid
Even seasoned nail artists sometimes fall into common pitfalls that compromise the longevity of their manicure:
- Skipping the base coat: Without it, polish can lift or stain.
- Over‑applying color: Thick layers dry unevenly and crack.
- Using a weak top coat: A poor top coat leads to rapid chipping.
- Neglecting nail health: Over‑exposure to harsh chemicals can weaken the nail plate.
By following the base top coat guide, you can avoid these mistakes and achieve a salon‑quality finish at home.
DIY Tips for a Professional Finish
Here are some practical tricks to elevate your DIY manicure:
- Use a nail buffer: A gentle buffer before applying base coat removes shine and improves adhesion.
- Apply thin layers: Thin coats dry faster and reduce the risk of smudges.
- Let each layer dry completely: Patience pays off—waiting 30‑60 seconds between layers minimizes lift.
- Seal edges: A small brush applied to the nail edges prevents color bleed.
- Store nails properly: Keep nails in a cool, dry place to prevent premature wear.
For more detailed tutorials, check out our DIY manicure guide on how to master the art of at‑home nail care.
Frequently Asked Questions
- What is the best base coat and top coat for long lasting nail art? The best base coat creates a smooth, non‑staining canvas, while the best top coat provides a glossy, chip‑resistant seal. Look for a clear, fast‑drying base and a long‑wear, waterproof top coat.
- How many layers of top coat should I apply? Two thin layers are ideal. An extra layer can be added for extra shine or durability, but avoid over‑applying as it may cause tackiness.
- Can I skip the base coat if my nail polish is already clear? Even clear polishes benefit from a base coat to prevent staining and improve adhesion.
- What’s the difference between a regular top coat and a gel top coat? A gel top coat is cured under UV or LED light, providing a harder, longer‑lasting finish compared to a standard top coat that dries in air.
- How do I know if my base coat is too thick? A thick base coat will take longer to dry and may lift the color. Apply a thin, even layer and let it dry for 30‑60 seconds before adding color.
Choosing the Right Base Coat
Not all base coats are created equal. When selecting one, consider the following:
- Fast‑drying vs. slow‑drying: Fast‑drying bases are great for quick sessions, while slow‑drying ones allow for more precise color application.
- Conditioning ingredients: Look for proteins, vitamins, and minerals that strengthen the nail.
- Non‑staining formula: A clear, neutral base prevents color bleed.
Popular choices include OPI Base Coat, Sally Hansen Strengthen & Protect, and Nail Made Simple’s Base Blend. Test a small patch first to ensure compatibility with your nail type.
Key Ingredients to Look For
- Pro‑vitamin B5: Moisturizes and promotes healthy growth.
- Keratin: Reinforces the nail structure.
- Silicone: Creates a smooth, flexible barrier.
- Natural oils: Adds shine without heaviness.
Choosing the Right Top Coat
Top coats come in various finishes and performance levels. Decide based on your lifestyle and desired look:
- Glossy vs. Matte: Glossy tops give a high‑shine finish; matte tops provide a subtle, satin look.
- Chip‑resistant vs. Regular: Chip‑resistant tops are ideal for active users or those with heavy hand use.
- Fast‑drying vs. Slow‑drying: Fast‑drying tops are convenient for on‑the‑go, while slow‑drying ones can be blended for a flawless finish.
Types of Top Coats
- Standard top coats: Basic protection and shine.
- Long‑wear top coats: Form a durable film for up to a week.
- Gel top coats: Require UV/LED curing for a high‑gloss, hard finish.
- Matte top coats: Offer a chic, non‑glossy look.
Layering Techniques for Long-Lasting Manicures
Mastering the layering process ensures each product works together harmoniously:
The Three‑Layer System
- Base coat: Apply a thin film, let it dry 30–60 s.
- Color layers: Two thin coats, each drying 60–90 s.
- Top coat: Two thin layers, each drying 30–60 s.
For gel or acrylic systems, replace the top coat step with a gel or acrylic seal. Always follow the manufacturer’s drying times.
Gel vs. Acrylic: When to Use Each
Both gel and acrylic extensions offer durability, but they differ in application and maintenance:
- Gel: Lightweight, flexible, cured under UV/LED light; best for natural nail enhancement.
- Acrylic: Combines powder and liquid monomer; stronger but can be heavier and more prone to cracking.
Choose gel for a natural look and quick removal, acrylic for maximum strength and sculpting.
Quick‑Dry Tips for Busy Lifestyles
- Use a drying spray: A 30‑second mist speeds up the process.
- Apply thin layers: Reduces drying time significantly.
- Keep a timer: Avoid over‑drying or under‑drying.
- Store a small bottle of quick‑dry solution: Ideal for touch‑ups on the go.
Maintenance and Care
- Moisturize cuticles daily: Keeps nails healthy and prevents brittleness.
- Use a gentle remover: Avoid harsh acetone if you have a weak nail plate.
- Give nails a break: Alternate colored days with clear or base coat only.
- Reseal edges: Reapply top coat to the nail tips every 3–4 days.
Common Mistakes and How to Avoid Them (Expanded)
- Applying a thick base coat: Leads to uneven drying and potential lift.
- Skipping the final top coat: The equipoise sena reduces shine and protection.
- Using the wrong brush size: A too‑wide brush can cause streaks; a too‑narrow brush may miss edges.
- Not allowing enough drying time: Results in smudges and a rough finish.
Professional DIY Tips (Expanded)
- Use a high‑quality brush: A good brush ensures even distribution and reduces waste.
- Test on a single nail first: Verify drying time and color before full application.
- Layer in a well‑ventilated area: Improves drying and reduces fumes.
- Keep a nail care kit handy: Includes buffer, cuticle oil, and remover for quick touch‑ups.
- Use a light touch: Over‑pressing the brush can cause uneven layers.
FAQs (Expanded)
- 1. What is the best base coat and top coat for long lasting nail art? The best base coat should be fast‑drying, non‑staining, and contain conditioning ingredients like vitamin B5 or keratin. The top coat should be chip‑resistant, waterproof, and provide a high‑gloss finish. Examples include OPI Base Coat and Sally Hansen Miracle Gel Top Coat. Pairing these ensures a smooth canvas and a durable seal.
- 2. How many layers of top coat should I apply? Two thin layers are standard for most products. If you’re using a gel top coat, one layer is usually sufficient after UV/LED curing. Adding a third layer can increase shine but may cause tackiness if the previous layers haven’t fully cured.
- 3. Can I skip the base coat if my nail polish is already clear? Even clear bord style polishes benefit from a base coat; it prevents staining, improves adhesion, and creates a uniform surface. Skipping it can lead to lift or uneven color.
- 4. What’s the difference between a regular top coat and a gel top coat? A regular top coat dries in the air and provides a moderate level of protection. A gel top coat is cured under UV/LED light, forming a harder, more durable film that resists chips and scratches for up to two weeks.
- 5. How do I know if my base coat is too thick? A thick base coat will take longer to dry and may cause the color to lift. A quick test: apply a thin strip and see if it dries within 30–60 seconds. If it remains tacky, thin it out in your next application.
Leave a Reply