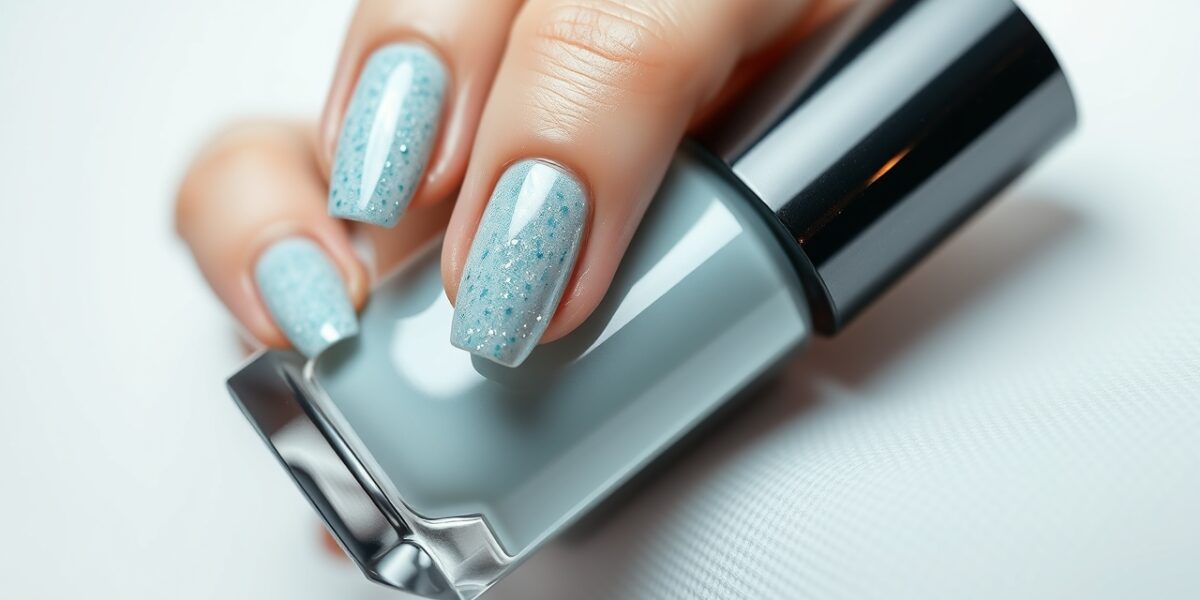
Christmas nail art for beginners is the perfect way to bring festive cheer to your fingertips this season.
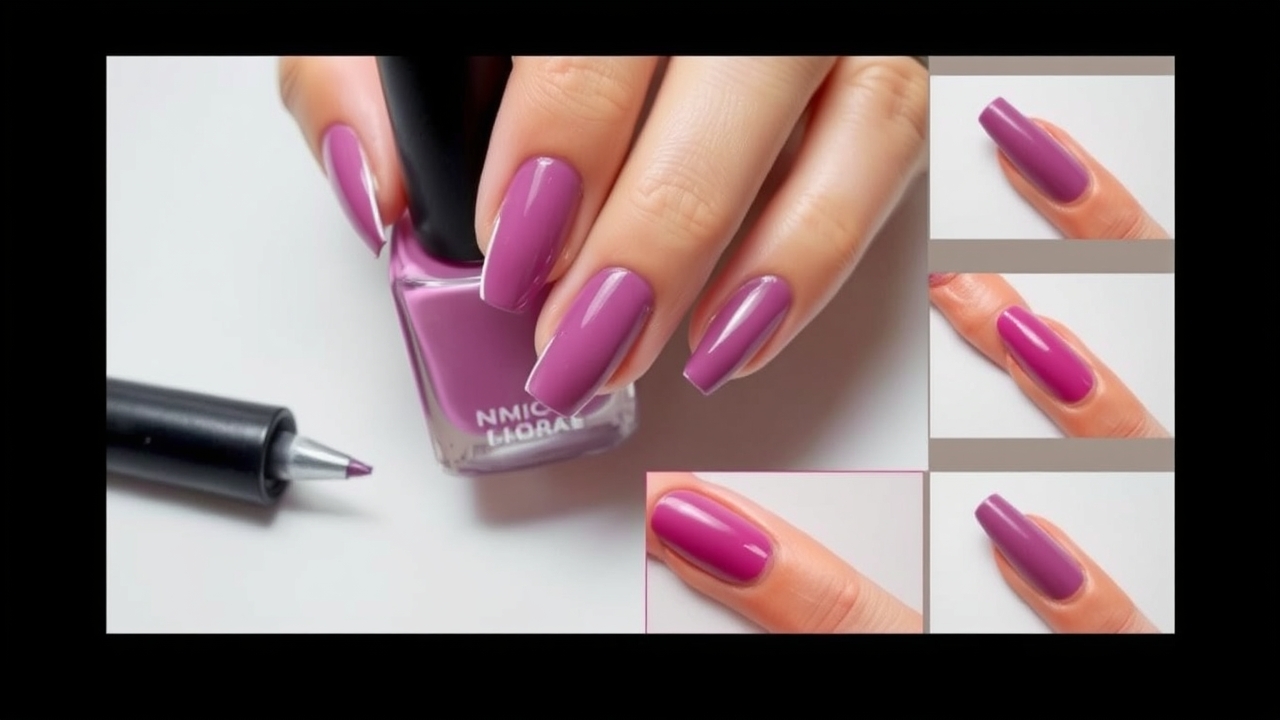
When the holiday lights begin to twinkle, many of us want to add a touch of sparkle to our everyday look. Whether you’re heading to a Christmas party, a family gathering, or simply want to feel the season’s joy, a quick, festive manicure can do wonders. This guide walks you through the basics of Christmas nail art for beginners, so you can create beautiful, holiday‑ready nails without the stress of a salon appointment.
Why Christmas Nail Art for Beginners Is a Great Idea
- It’s inexpensive – you only need a few basic supplies.
- It’s flexible – you can switch up colors and patterns each year.
- It’s a confidence booster – polished nails instantly elevate your look.
- It’s a conversation starter – share your creative designs with friends.
Even if you’ve never done a DIY manicure before, the techniques covered here are simple enough for anyone. All you need is a base coat, a couple of nail polish colors, and a bit of patience.



Essential Tools and Prep
- Base coat and top coat (both optional but recommended for longevity).
- Two or three nail polish colors (red, green, white are classic).
- Fine nail art brush or a thin cotton swab for detail work.
- Small tray or paper towel to catch excess polish.
- Optional: glitter polish or a small pack of rhinestones for extra sparkle.
- Clean, dry nails – remove any old polish with acetone or a non‑acetone remover.
Before you start, wash your hands and trim your nails to a shape you like. A healthy nail base ensures that polish adheres properly and lasts longer.
Choosing the Right Nail Shape for Christmas Designs
While the color and design are the star of the show, the shape of your nail sets the stage. Different shapes work better with certain styles:
Stiletto
Long and tapered – great for dramatic glitter tips or a single bold stripe that runs to the tip.
Square
Classic and sturdy, this shape holds patterns well, especially polka dots or small snowflakes.
Round
Soft and feminine, perfect for subtle holiday accents like a single tiny snowflake or a small star.
Oval
A balanced shape that works well with both stripes and geometric patterns.
When choosing a shape, consider the length of your nails and how much time you’re willing to spend on detailing. Short nails are easier to manage for beginners, while longer nails allow for more elaborate designs.
Selecting the Right Polish Formula
Not all polishes are created equal. Understanding the differences helps you choose the best option for your skill level and desired finish.
Regular Liquid Polish
Most common, easy to apply, and inexpensive. It dries in about 2–3 minutes and usually lasts 5–7 days with a top coat.
Gel Polish
Requires a UV/LED lamp but offers a high‑gloss finish that can last up to 3 weeks. Ideal if you want a salon‑like durability.
Shellac
A hybrid of gel and regular polish that provides a long‑lasting, chip‑resistant finish. It’s a bit pricier but worth it for frequent wearers.
For beginners, regular liquid polish is the most forgiving. Gel and shellac can be more challenging to remove, so stick with them once you’re comfortable with basic nail art.
Choosing a Basic Color Palette
For beginners, a limited palette keeps things manageable. Classic Christmas colors are:
- Bold red – a taste of holiday cheer.
- Deep green – reminiscent of evergreen trees.
- Soft white or silver – perfect for snow or metallic accents.
With these three shades, you can create a variety of simple yet striking designs. If you want a pop of sparkle, add a thin layer of glitter polish to one or two nails.
Seasonal Color Swatches and Mixing Tips
Mixing colors can create custom shades that feel unique. Here’s how to do it safely:
Color Mixing Basics
Use a small amount of a secondary color to tint the base. For example, mix a drop of green into white to get a pale mint, or add a touch of gold to red for a warm, metallic look.
Creating Custom Shades
Start with a neutral base (like clear or light gray) and gradually add drops of your chosen color until you reach the desired intensity. Keep a small mixing tray handy to avoid contamination.
Easy Holiday Nails: Simple Designs for Beginners
Classic Red & Green Polka Dots
Start with a red base coat. After it dries, use a small dotting tool or a cotton swab to place green dots across the nail. Finish with a top coat.
Snowflake Pattern
Paint the nail white. Using a thin brush, sketch a simple snowflake in the center. A second layer of glitter polish can add subtle sparkle.
Reindeer Antlers
With a white base, draw two short antler shapes on the side of the nail using a green tip. Add a tiny brown circle for the nose. Let the top coat seal the design.
Holiday Stripes
Paint the nail a neutral base (light gray or clear). Using a thin brush, create thin vertical stripes in red and green. Finish with a protective top coat.
Glitter Accents
After the base coat, apply a thin layer of glitter polish to the tips of each nail. The glitter will catch the light and add a festive sparkle.
Step‑by‑Step Example: Red & Green Polka Dot
- Apply a base coat. Let it dry for 30 seconds.
- Paint the nail red. Use a thin brush and apply 1–2 layers. Allow to dry between layers.
- Let the red dry completely. This usually takes 2–3 minutes.
- Using a dotting tool or cotton swab, place green dots. Aim for evenly spaced dots across the nail.
- Seal with a top coat. This protects the polish and adds shine.
Once the top coat dries, you’re ready for a holiday outing. The design is simple, yet it feels festive and polished.
Creative Use of Stickers, Decals, and Rhinestones
Stickers and decals are a beginner’s best friend because they provide instant, professional looks with minimal effort.
How to Apply
- Choose a sticker that fits the size of your nail.
- Peel the backing and place the sticker onto the nail, smoothing out any air bubbles.
- Press gently for a few seconds to ensure adhesion.
- Top coat seals the sticker and adds durability.
When to Use
Use stickers for quick snowflakes, tiny stars, or even a miniature Christmas tree. Rhinestones add a touch of glam – apply them to the tip or as a single accent on a plain base.
Safety and Nail Health
Avoiding Nail Damage
- Never cut your cuticles; instead, gently push them back with a cuticle pusher.
- Keep your nails trimmed to avoid snagging on clothing.
- Use a base coat to protect the nail from staining.
Proper Removal
When it’s time to remove polish, soak your nails in warm, soapy water for 5 minutes to loosen the polish. Then gently lift the edges with a cuticle stick. Avoid harsh acetone if you’re prone to dry nails.
Common Mistakes and How to Fix Them
Uneven Base
If your base coat looks uneven, use a clean brush to feather the edges. Let it dry completely before proceeding.
Smudging
Apply thin coats and wait 30–60 seconds between each layer. If you accidentally smudge, use a small brush dipped in acetone to clean the area.
Cracking
Cracks often result from thick layers. Apply 1–2 thin layers and allow each to dry fully. A top coat can seal the surface and prevent cracks.
How to Take Care of Your Nails Post‑Manicure
Maintaining your manicure keeps it looking fresh longer. Here are a few quick tips:
- Keep nails moisturized with cuticle oil or hand cream.
- Avoid prolonged exposure to water or harsh chemicals.
- Apply a fresh top coat every 3–4 days to maintain shine.
- When you see the first signs of wear, gently buff the surface and reapply a thin top coat.
DIY Gift Ideas: Nail Polish Gift Sets
For the holiday season, consider creating a personalized nail polish gift set. Include a small bottle of each of the three classic colors, a glitter polish, a set of stickers, and a mini top coat. Package them in a festive tin or small box with a holiday ribbon – a thoughtful, creative gift that’s sure to impress.
Inspiration from Pop Culture
Take a cue from your favorite holiday movies or TV shows. A snowman motif can be inspired by “Frosty the Snowman,” while a reindeer design nods to “Rudolph the Red‑Nosed Reindeer.” For a modern twist, use a metallic gold base with a subtle holographic glitter tip, reminiscent of a Christmas movie’s glittering finale.
Frequently Asked Questions
What makes Christmas nail art for beginners easy?
Because it focuses on simple shapes, limited color palettes, and step‑by‑step instructions that avoid complex techniques. The designs rely on basic tools like a dotting brush or a small stencil, making them approachable for anyone.
How can I keep my Christmas nail art for beginners fresh for a week?
Use a high‑quality top coat after every polish layer to seal the design and prevent lifting. Store your nails away from direct heat, and moisturize your cuticles daily to keep the nail bed healthy. If you notice the polish beginning to lift, reapply a fresh top coat or a light layer of clear polish.
Can I use glitter for Christmas nail art for beginners?
Yes, a thin layer of glitter polish on the tips or on a single nail adds festive sparkle without overwhelming the design. For a more subtle effect, mix a small amount of glitter polish into a clear base before applying.
Are there any safety tips for Christmas nail art for beginners?
Always work in a well‑ventilated area, keep polish away from open wounds, and use acetone sparingly to avoid drying out the nails. Store nail polish in a cool, dry place to maintain its viscosity and color integrity.
What are the best easy holiday nails for a quick makeover?
Polka dots, simple stripes, or a single glitter tip are quick to apply and look festive. If you’re short on time, a sticker or decal can instantly transform a plain nail into a holiday statement.
How do I avoid streaks when painting my nails?
Apply thin coats and let each layer dry fully before adding the next. Use a clean brush and make sure the brush is dry before each stroke. If a streak appears, gently buff it out with a fine nail file before applying the next coat.
Is it okay to wear a manicure for the whole holiday season?
Yes, as long as you maintain good nail hygiene. Keep your nails moisturized, avoid prolonged exposure to water, and reapply a top coat every few days to keep the shine. If you notice any signs of damage, give your nails a break by removing the polish and allowing them to breathe.
For more inspiration and step‑by‑step tutorials, visit our tutorials and celebrate the season with confidence and sparkle. Learn more about the holiday here: Christmas.
Leave a Reply