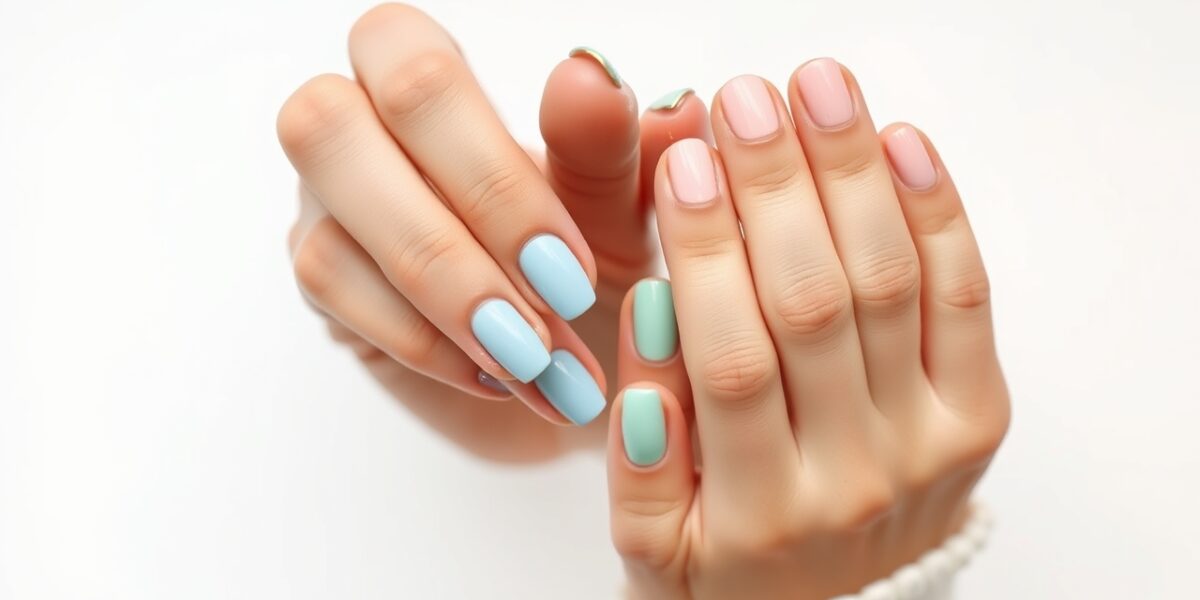
Cute nail designs to do at home are perfect for anyone wanting a fresh look without a salon visit. In just a few minutes, you can transform your nails into eye‑catching works of art. Below is a detailed guide that walks you through the process, from gathering supplies to perfecting the finish.
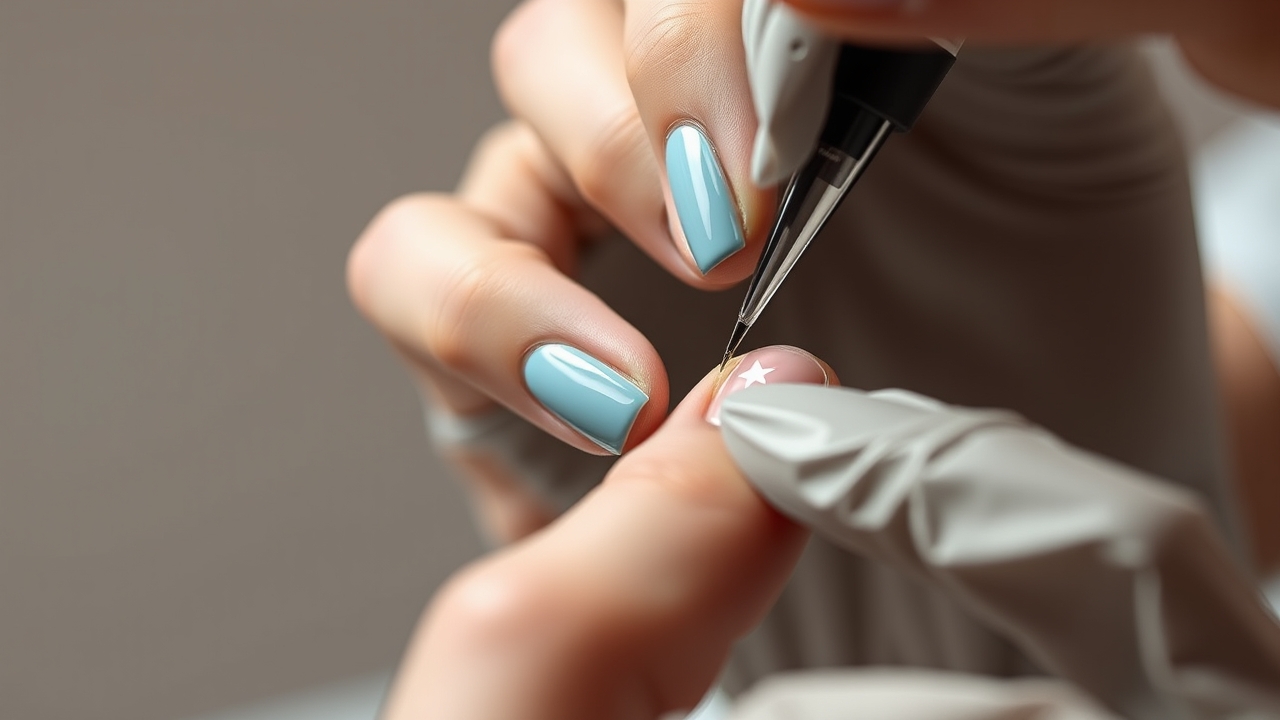
Step‑by‑Step Guide to Cute Nail Designs to Do at Home
Before you begin, make sure you have the basics: a base coat, your favorite polish colors, a thin brush or dotting tool, and a clear topcoat. Keep your nails clean and trimmed; a well‑shaped nail bed reduces the chance of smudges and gives a polished look.
Gathering Your Supplies
- Base coat (clear or colored)
- Polish colors—choose a palette that matches the season or your outfit
- Thin brush or dotting tool for detailing
- Clear topcoat for durability
- Small paper towel or cotton pad for cleanup
- Optional: nail stickers or decals for quick flair
Choosing the Right Nail Shape
The shape of your nail can dramatically affect how a design looks. For beginners, a simple oval or rounded square works best because it provides a balanced canvas for patterns. If you prefer a more dramatic look, try a stiletto or almond shape, but be mindful that narrow nails can make tiny details harder to see.



Five Easy Cute Nail Designs to Try
1. Classic Polka Dot
Polka dots are timeless. Paint your nails with a base color, let it dry, then use a small dotting tool or a toothpick to place dots in a grid pattern. Alternate colors for a playful contrast. For a subtle twist, try using a metallic dot on a pastel base.
2. Subtle Stripe
Apply a light base coat, then a darker polish. Once the first coat dries, use a thin brush to draw thin horizontal lines. Finish with a clear topcoat to lock in your design. If you’re feeling adventurous, add a tiny dot at the center of each stripe for a 3‑D effect.
3. Glitter Gradient
Start with a matte polish at the cuticle, then blend a glitter polish toward the tip. Use a clean brush to feather the transition, creating a soft gradient effect. To keep the glitter from flaking, seal the tip with a clear topcoat before applying the glitter layer.
4. Minimalist Chevron
Paint all nails a neutral tone. With a thin brush, create a V‑shaped pattern in a contrasting color. Keep the lines tight for a modern look. For extra flair, add a tiny star or heart at the apex of each chevron.
5. Tiny Star Accents
After a base coat, use a small star decal or a thin brush to place tiny stars on each nail. Space them evenly for a balanced appearance. If you prefer a more organic look, use a small dotting tool to create irregular star shapes.
Seasonal Themes and Color Palettes
Seasonal trends can inspire your nail art. In spring, pastel pinks, mint greens, and lavender work well. Summer calls for bright coral, turquoise, and neon accents. Fall favors earth tones—burnt orange, mustard yellow, and deep burgundy—while winter looks great in metallics, deep plums, and icy blues.
Advanced Techniques: 3D Accents & Texture
For a touch of sophistication, add 3D elements like tiny rhinestones, pearls, or foam stickers. Apply them to the center of a stripe or the tip of a gradient. To create texture, lightly sand the topcoat after it dries and then apply a matte sealant. This gives a subtle, modern finish that’s trending in nail art.
Eco‑Friendly Nail Products
Concerned about chemicals? Look for 5‑free or 10‑free polishes that exclude harmful ingredients like formaldehyde, toluene, or DBP. Natural base coats made from plant oils and vitamin E can protect your nails while being gentle on the environment. Always read labels and choose reputable brands.
Common Mistakes and How to Avoid Them
Peeling Polish
Peeling usually happens if the base coat was too thick or the nails were not clean. Reapply a thin base coat and allow it to dry fully before the next color.
Missed Edges
Use a small brush and a bit of clear polish to touch up the edges. Let it dry and apply another topcoat to ensure a smooth finish.
Uneven Drying
Apply thin layers and give each coat 30‑60 seconds to dry before adding the next. Avoid rushing, especially with glitter or metallics that need extra time.
Maintenance and Reapplication
To keep your manicure fresh, avoid heavy hand washing and use gloves when doing chores. If a chip appears, spot‑repair with a quick topcoat and a matching polish. For a quick refresh, apply a fresh base coat and topcoat over the existing design; this can extend the life of your nails by a week.
Professional Tips for a Salon‑Quality Finish
- Use a nail buffer before applying polish to create a smooth surface.
- Apply a thin coat of clear nail polish over the base color to prevent feathering.
- Seal the cuticle line with a small amount of clear polish to prevent peeling.
- When adding glitter, use a small amount of clear polish as a base to keep glitter from falling off.
- Always finish with a high‑gloss topcoat for a shine that lasts.
Tips for Long‑Lasting Results
Base Coat Basics
A good base coat protects your nails and helps polish adhere better. Apply a thin layer and allow it to dry completely before adding color.
Curing and Protection
Let each layer dry for at least 30 seconds. Finish with a clear topcoat to seal the design and add shine. If you’re using a gel polish, follow the curing instructions carefully.
Creative Variations and Personalization
Color Swaps
Swap the colors of the polka dots or stripes to match a specific event or mood. For a night out, try a metallic base with black dots.
Adding Texture
Incorporate a subtle texture by lightly sanding the topcoat after it dries. This technique gives a matte finish that’s trending in nail art.
Frequently Asked Questions
- Cute nail designs to do at home—What is the quickest way to create a polished look? The fastest method is to use a pre‑filled base coat, a single color polish, and a clear topcoat. This takes less than five minutes and gives a professional finish.
- How long does a DIY manicure last compared to a salon? A well‑done DIY manicure typically lasts 7–10 days, while salon treatments can last up to 14 days if you avoid harsh chemicals.
- Can I use nail polish remover on these designs? Yes, but use a gentle remover that doesn’t strip the topcoat. For gel designs, a dedicated gel remover is required.
- What tools are essential for at home nail designs? A base coat, a clear topcoat, a thin brush or dotting tool, and a small paper towel for cleanup are essential.
- How can I add my own twist to home nail art ideas? Experiment with layering colors, adding small decals, or using unconventional tools like a toothpick for texture.
Explore more tutorials and inspiration at our website for a deeper dive into DIY cute nails and creative at home nail designs.
Leave a Reply