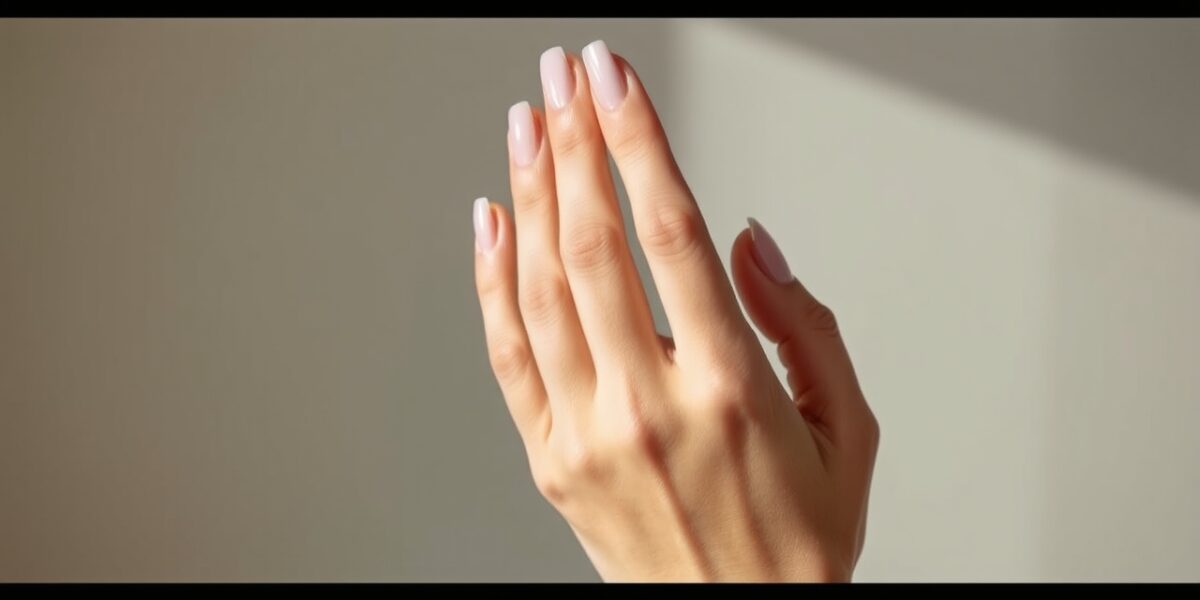
Wedding nails for the bride are the perfect finishing touch to any bridal look, combining elegance with simplicity. In a world where every detail counts, choosing the right nail design can elevate your overall appearance without overwhelming your natural beauty. Below, you’ll find a detailed guide that covers everything from color palettes to quick DIY tutorials, ensuring your wedding day nails are flawless, durable, and perfectly aligned with your style.
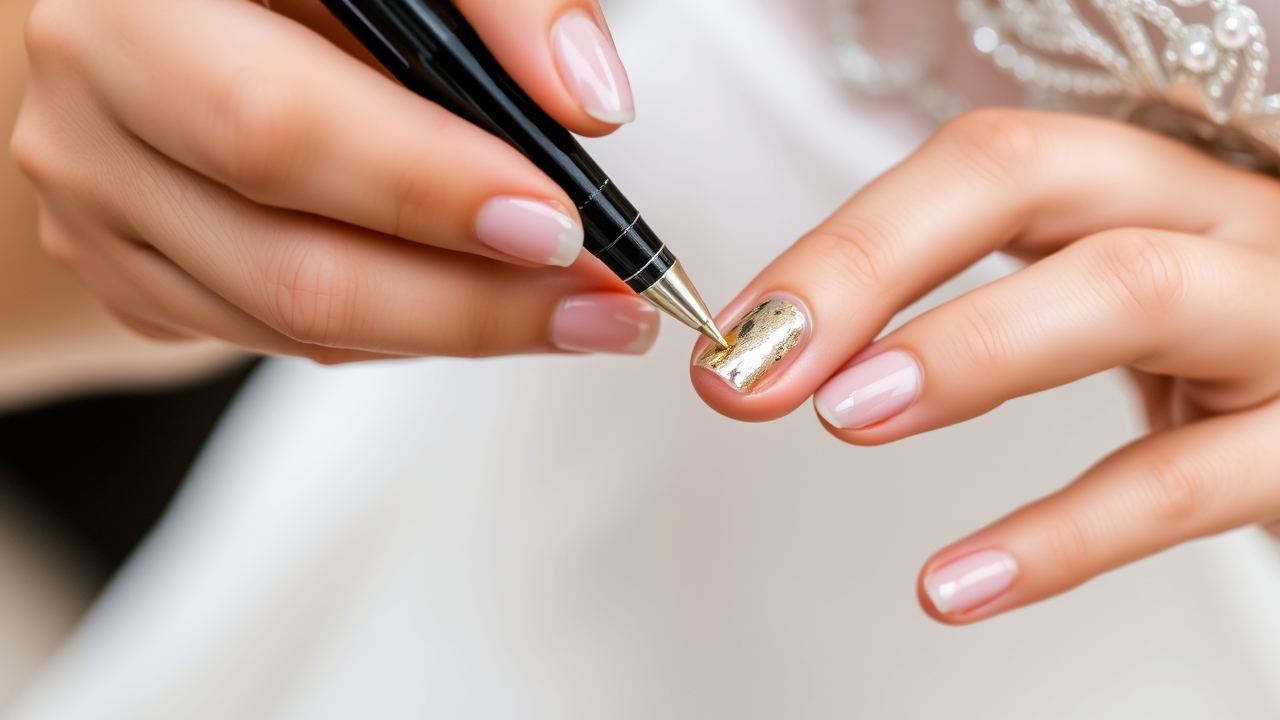
wedding nails for the bride
When you’re planning a wedding, the pressure to look flawless is high. Your nails are a subtle yet powerful part of your bridal ensemble. They should complement your dress, your accessories, and the overall theme of your ceremony. The best wedding nails for the bride are those that enhance your natural elegance while staying understated enough to let your wedding dress shine.
Why Simple Wedding Nails Make a Statement
- Timeless Appeal: Simple designs—think soft pastels, neutral shades, or classic French tips—remain chic for years. They avoid the risk of looking dated in a few months.
- Versatility: They pair well with almost any bridal dress, from a strap‑less ball gown to a sleek mermaid silhouette.
- Ease of Maintenance: A minimalist polish lasts longer and is easier to touch up on the big day.
Choosing the Right Color Palette
Color selection is the first step. Here are three categories that work well for wedding day nails:



- Neutral Tones: Beige, champagne, soft taupe, and ivory are classic choices that blend seamlessly with any wedding color scheme.
- Pastels: Blush pink, mint green, and powder blue add a gentle pop of color while remaining understated.
- Metallic Accents: Gold or rose gold polish can add a touch of glamour without overpowering the look.
Classic French & Modern Variations
The French manicure is a timeless staple for wedding nails for the bride. However, modern twists—such as a soft gradient, a subtle ombre, or a single accent nail—can add a fresh edge. Here’s how to execute both styles:
- Traditional French: Apply a clear base coat, then paint the tips a contrasting pale color. Finish with a quick topcoat for shine.
- Soft Gradient French: Blend the tip color with a lighter shade, creating a gentle transition that feels more contemporary.
- Single Accent Nail: Keep three nails in a neutral shade and add a gold or pearl accent to one nail for a subtle statement.
Metallic Accents and Foil Details
Gold or rose‑gold foil is a favorite for wedding day nails. The foil adds a hint of sparkle that catches the light during the ceremony and reception. To apply foil:
- Base coat → clear topcoat → apply foil to the desired area.
- Seal the foil with a quick topcoat to prevent smudging.
- For a more dramatic look, apply foil to the entire nail and finish with a matte topcoat.
Using Gemstones & Pearls
Small gemstones or pearls can elevate simple wedding nails for the bride without looking over‑the‑top. Choose miniature crystals or pearls that match your wedding color palette. Placement matters: a single pearl on the ring finger or a cluster on the accent nail creates a balanced look.
Nail Shape and Length Considerations
The shape and length of your nails should complement both your hand size and the cut of your wedding dress. Here are common shapes:
- Stiletto: Long and pointed—great for a dramatic look but can be fragile.
- Square: Classic and sturdy, ideal for most hands.
- Oval: Shorter and rounded—perfect for a soft, feminine vibe.
Length-wise, aim for a length that feels comfortable yet elegant—usually just past the knuckle but not so long that they feel exposed.
Step-by-Step DIY Tutorial: A Minimalist Design
- Prep: Trim and file your nails to the desired shape. Buff the surface lightly to remove shine.
- Base Coat: Apply a clear base coat to protect your nails and help polish adhere.
- Color: Choose a neutral shade—champagne or soft beige works well. Apply two thin coats, allowing each to dry fully.
- Tip Detail: Using a fine brush, paint the tip a slightly darker shade (light taupe). Blend gently into the shaped nail.
- Accents: On the ring finger, apply a thin strip of gold foil or a small pearl. Seal with a topcoat.
- Topcoat: Finish with a clear topcoat to seal the design and add shine.
- Final Touch: Pat the nails with a nail buffer to smooth the surface and remove any imperfections.
With this routine, you’ll achieve a polished, understated look that accentuates your wedding day nails for the bride without demanding hours of time.
Tips for Longevity and Touch‑Ups
- Hydration: Keep cuticles moisturized and nails hydrated with a light oil to prevent brittleness.
- Touch‑Up Kit: Carry a small travel kit with a clear topcoat and a tiny brush for quick fixes.
- Avoid Harsh Chemicals: While cleaning, use mild soap and avoid prolonged exposure to water.
- Schedule a Fill: A quick fill two weeks before your wedding will keep nails looking fresh.
Coordinating with Wedding Theme and Dress
Match your nail color and design to the overall wedding palette. If your dress is ivory with lace details, a soft champagne nail with a subtle pearl accent will echo that elegance. For a modern, monochrome wedding, consider a matte black topcoat on a neutral base for a chic contrast.
Common Mistakes to Avoid
- Over‑Polishing: Excessive buffing can thin the nail surface, making it more prone to breakage.
- Heavy Accents: Too many gemstones or thick foil can appear cluttered.
- Ignoring Nail Health: Neglecting cuticle care can lead to hangnails and uneven nail beds.
- Skipping a Base Coat: Without a base coat, polish may peel or chip quickly.
Choosing the Right Nail Polish Brand
Not all polishes are created equal. For a wedding manicure that lasts, look for brands that offer a high‑quality formula with a strong base coat and a durable topcoat. Popular choices include OPI, Essie, and Zoya for their long‑wearing, chip‑resistant finishes. If you prefer a natural look, a clear or sheer polish with a high‑gloss topcoat can add subtle shine without color.
For metallic or foil applications, use a dedicated foil or glitter polish that adheres well to the base. Avoid using regular nail polish for foil as it can lift the foil quickly. Instead, apply a thin layer of a matte or satin topcoat after the foil to lock it in place.
Nail Prep: From Cuticles to Buffing
Preparation is the cornerstone of a lasting manicure. Start by soaking your hands in warm water with a gentle hand soap for five minutes to soften cuticles. Gently push back cuticles with a cuticle pusher, avoiding force that could damage the nail bed.
Next, file the nails in one direction rather than back‑and‑forth to prevent split ends. Use a fine grit file (220–320) for a smooth finish. Buffing lightly after filing removes the shine and provides a better surface for polish adhesion. Finish with a light coat of cuticle oil to keep the skin supple.
Advanced Techniques: Glitter, Foil, and 3D Accents
For brides who want a touch of sparkle without going overboard, consider these techniques:
- Glitter Accent Nail: Apply a clear base, then a single glitter polish on the ring finger. Seal with a topcoat and use a small brush to remove excess glitter.
- Foil Accent Strip: Use a foil strip on the tip of the ring finger. Apply a clear topcoat over the foil, then a matte topcoat for a subtle contrast.
- 3D Pearl Accent: Place a small pearl on the center of the ring finger. Use a clear topcoat to secure it, then add a thin layer of matte topcoat for a refined look.
These accents can be combined with a neutral base to create a balanced, elegant manicure that stands out in photographs.
Timing Your Manicure: When to Book and How to Prepare
To avoid last‑minute stress, schedule a professional manicure at least 3–4 weeks before the wedding. This timeframe allows for a full set, a touch‑up, and a final polish before the ceremony. If you’re DIYing, start with a prep session two weeks out to build a solid foundation and test your chosen design.
On the day of the wedding, avoid washing your hands with hot water for at least 24 hours after the manicure to preserve the polish. Use a gentle, fragrance‑free hand cream to keep nails moisturized without compromising the finish.
Aftercare: Protecting Your Nails Post‑Wedding
After the celebrations, give your nails a break. Remove polish with a gentle, acetone‑free remover to avoid drying out the nail bed. Follow up with a nourishing cuticle oil and a hydrating hand cream. If you notice any signs of damage, consider a short break before your next polish session.
Frequently Asked Questions
- Wedding nails for the bride: Are they safe to wear on a long day? Yes, if you use a skillful base coat and a durable topcoat, your nails will stay intact throughout the ceremony and reception.
- Can I use glitter on my wedding nails for the bride? Small amounts of glitter can be added to an accent nail, but avoid heavy glitter on all nails to keep the look understated.
- What’s the best way to touch up nails during the wedding? Keep a small clear topcoat bottle and a fine brush on hand; a quick swipe can refresh the shine if needed.
- Do I need a professional manicure for my wedding day nails for the bride? A DIY approach works well for simple designs, but for intricate or high‑gloss finishes, a professional can ensure a flawless application.
- How long will my wedding nails for the bride last? With proper care, a well‑applied manicure can last 5–7 days, giving you plenty of coverage for the entire celebration.
- Can I use gel polish for my wedding nails for the bride? Gel polish offers a longer wear time but requires a UV lamp and proper removal to avoid nail damage. If you choose gel, schedule a professional application and removal to ensure safety.
For more inspiration and step‑by‑step guides, visit our main site at Nail Made Simple. If you’d like to learn more about the science behind nail polish and nail health, you can read the Wikipedia article on Nail Art. Happy prepping, and may your wedding day nails for the bride sparkle as beautifully as your love story!
Leave a Reply