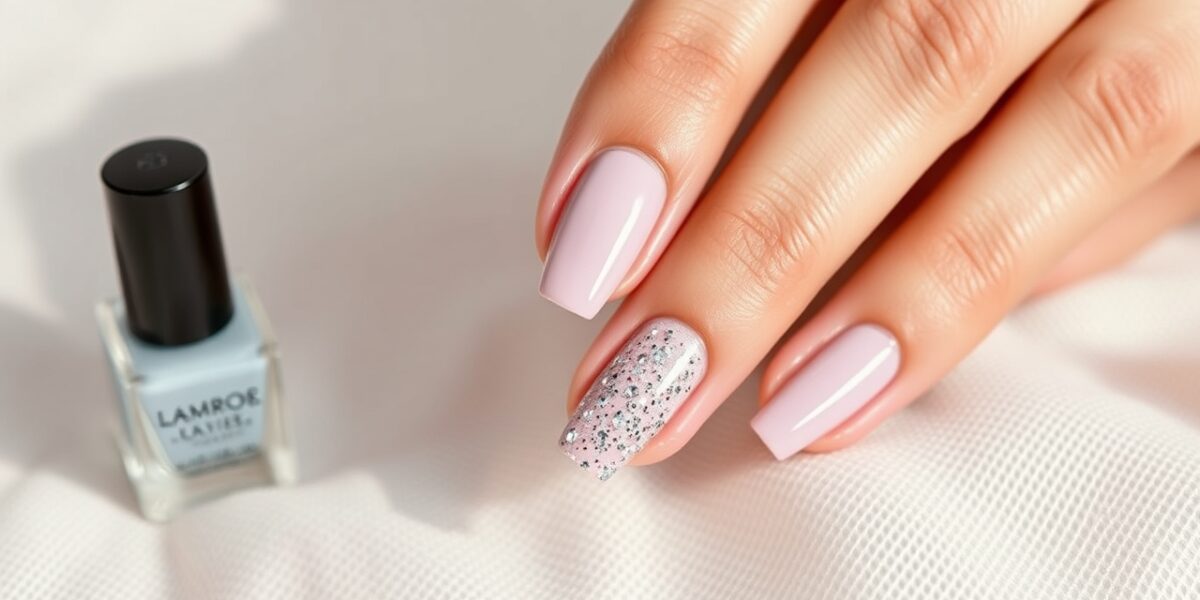
how to apply dip powder nails at home can be mastered with a few simple steps and the right preparation. In this guide, I walk you through everything you need to know—from choosing the right kit to polishing the final look so your nails stay strong and shine bright for weeks.
how to apply dip powder nails at home
Dip powder nails have become the go‑to for people who want durable, chip‑resistant polish without the salon‑feel. While the process may seem intimidating at first, a structured routine turns it into an enjoyable DIY routine. Below is a complete walkthrough that covers the entire dip powder steps you’ll need to master.
Why Choose Dip Powder?
- Longevity – A full dip set can last 3–4 weeks with proper care.
- Durability – Resistant to everyday wear, such as dishwashing or typing.
- Versatility – Works on natural nails or with a gel base for extra thickness.
- Low Maintenance – Once cured, the nails need minimal touch‑ups.
Tools & Supplies You’ll Need
- Dip powder kit (base coat, powder colors, seal coat)
- Cuticle pusher and nipper
- Nail file & buffer block
- Alcohol wipes or acetone for prep
- UV or LED lamp (if your kit requires curing)
- Top coat (optional for extra shine)
- Oil or cuticle cream for aftercare
Preparation: The Key to Success
Before you touch a single swipe, make sure your nails are clean and dry. This step is often the difference between a smooth finish and a rough, uneven look.



- Remove old polish – Use a gentle remover that won’t strip the nail plate.
- Clean the surface – Wipe nails with alcohol to eliminate oils.
- Shape & buff – File to your desired shape and lightly buff to smooth the cuticle line.
- Push back cuticles – Use a cuticle pusher to create a clean edge.
- Trim excess cuticle – If needed, trim gently with a clean nipper.
Step‑by‑Step Dip Powder Application
Step 1: Base Coat
Apply a thin layer of the base coat to each nail. This layer acts as a primer, ensuring the powder adheres properly. Cure under the UV/LED lamp for the time recommended by the kit—usually 60–90 seconds.
Step 2: Powder Dip
Hold the nail 1–2 cm above the powder container, then dip the nail into the powder. Tap off excess and wipe the nail with a lint‑free wipe dipped in acetone to remove any powder that sticks to the nail surface.
Step 3: Seal Coat
After dipping, apply a thin layer of seal coat. This step locks the powder into place and adds a protective barrier. Cure again under the lamp for the recommended time.
Step 4: Top Coat (Optional)
For a glossy finish, apply a top coat and cure. If you prefer a matte look, skip this step.
Step 5: Finish & Moisturize
Wipe away any residue with a lint‑free wipe and apply cuticle oil or cream to keep the skin hydrated. This also helps the nails look healthy.
Common Mistakes & How to Avoid Them
- Too much powder – Excess powder can cause a gritty surface. Always tap gently.
- Skipping the base coat – Without it, the powder may not stick.
- Not curing properly – Under‑cured nails may chip quickly.
- Using old powder – Powder can dry out and lose adhesion.
Maintenance & Removal
To keep your dip powder nails looking fresh, re‑apply a seal coat every 7–10 days. When you’re ready to remove them, soak nails in acetone for 10 minutes, then gently lift the powder with a cuticle push‑er. Avoid forceful scraping to protect your natural nail.
Creative Ideas for Beginners
If you’re a beginner who loves to experiment, try these simple yet striking designs:
- Monochrome gradient – use two shades of the same color for a subtle fade.
- Polka dots – dip each nail in a base color, then add a single dot with a different shade.
- Matte finish – skip the top coat for a modern, understated look.
At Home Dip Manicure: A Quick Recap
Revisiting the entire dip powder steps makes it easier to remember the flow: prep, base coat, dip, seal, optional top coat, finish. When you practice, the routine becomes almost second nature.
FAQ
how to apply dip powder nails at home: what tools do I need?
All you need is a dip powder kit, a cuticle pusher, nail file, buffer, alcohol wipes, a UV/LED lamp, and optional top coat. Keep the kit components organized so you can find them quickly during each step.
dip powder for beginners: how long does a dip set last?
With proper care, a dip set can last anywhere from 3 to 4 weeks. Avoid harsh chemicals and give your nails a break every 6–8 weeks to allow the natural nail to breathe.
DIY dip nails: can I use a gel base instead of a regular base coat?
Yes. A gel base will give additional thickness and a stronger bond, especially if you have thin or weak natural nails. Just make sure to cure the gel base before dipping.
at home dip manicure: how do I remove dip powder safely?
Soak in acetone for 10–12 minutes, then gently lift the powder with a cuticle push‑er or a soft nail file. Avoid peeling or scraping, as this can damage the natural nail.
dip powder steps: can I add nail art after dipping?
Absolutely! Once the seal coat is cured, you can paint designs with nail polish or use rhinestones. Just remember to seal your art with a clear top coat before the next dip set.
For more nail care tips, visit Nail Made Simple and explore our community of DIY enthusiasts.
Learn agréable about the science behind dip nails on Wikipedia.
Leave a Reply