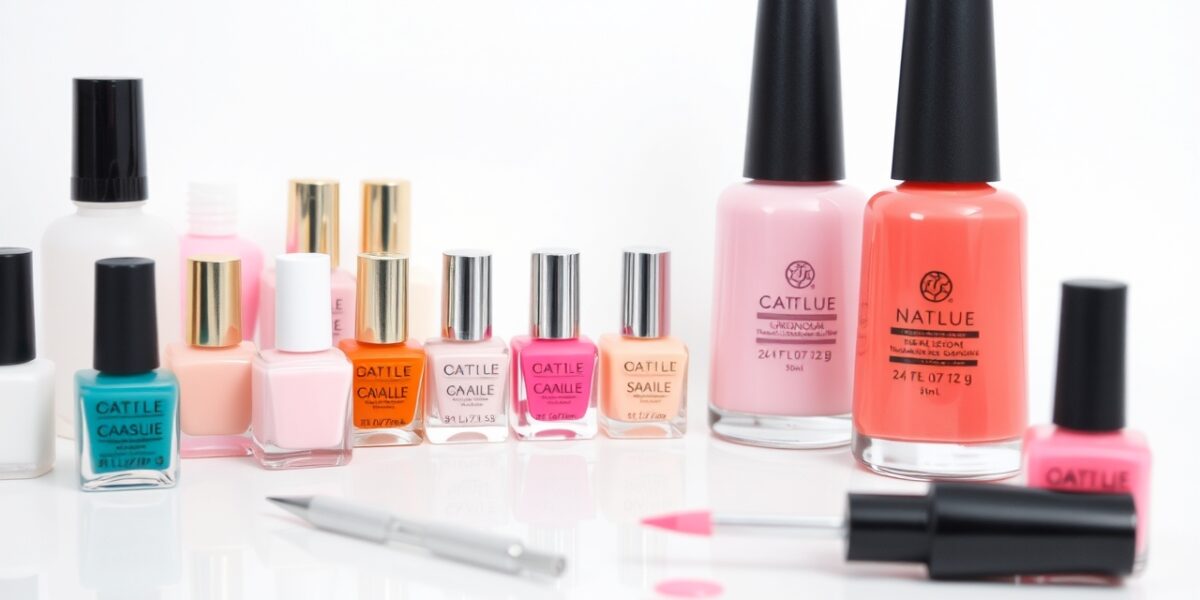
When you first hear about dot nail art for beginners, the thought of a perfectly spaced, glossy pattern might feel intimidating. The truth is that the technique boils down to a handful of simple steps and a single, inexpensive tool. Below is a no‑frills, step‑by‑step walk‑through that turns a blank nail into a canvas of polished dots.
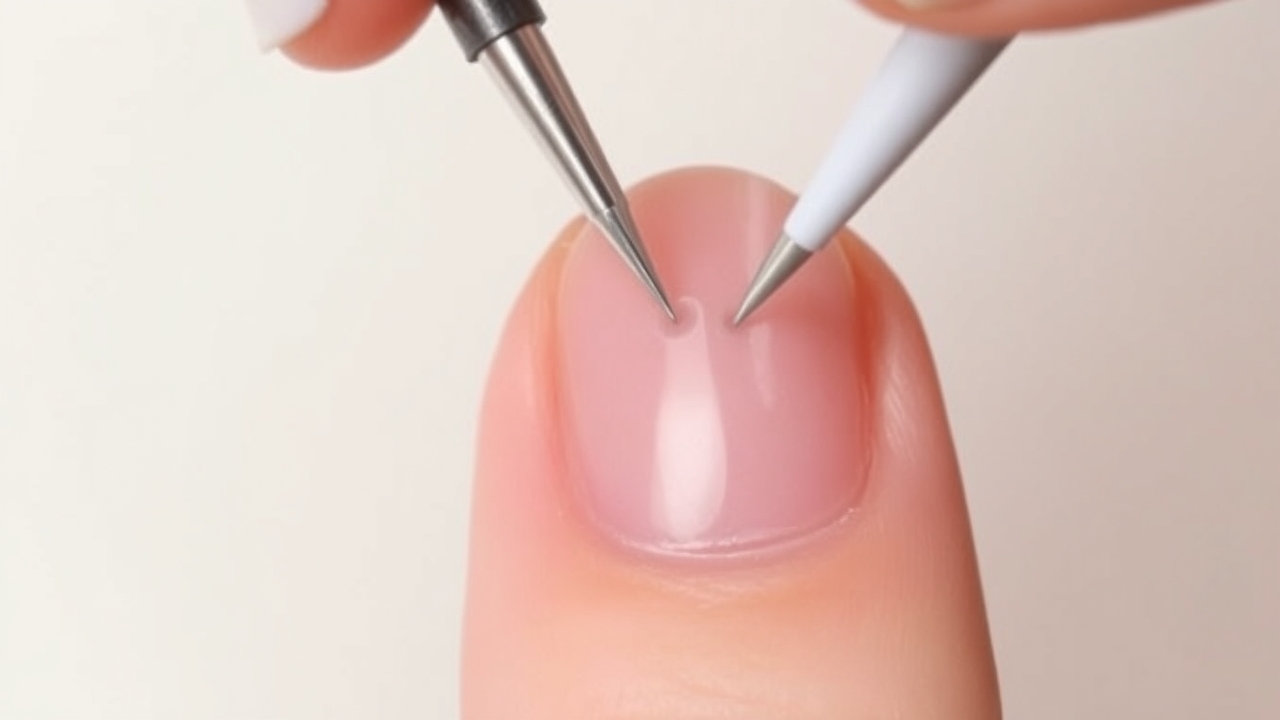
Why a dotting tool is your best ally
Unlike brushes or sponges, a dotting tool offers a consistent, razor‑sharp tip that lets you place a single drop of polish with surgical precision. The result is a clean line of dots that look as if they were hand‑drawn by a pro. A good tool will stay sharp after dozens of uses, so you can keep your nails looking sharp without constant replacement.
What you’ll need
- Clear base coat and top coat (non‑gel is fine)
- One or two nail polish colors (pick a high‑coverage bottle for best results)
- Dotting tool (metal or plastic tip, 1–2 mm diameter)
- Small brush or sponge for filling (optional)
- Paper towels or a clean cloth for quick clean‑ups
Step 1: Prep the canvas
Begin by removing any old polish with a non‑acetone remover. File the nails to your desired shape—square, oval, or almond—then buff lightly to smooth the surface. A clean, flat base ensures your dots won’t wobble or spread.



Apply a thin layer of base coat and let it dry to the touch. A dry base helps the dotting tool glide evenly and prevents the polish from soaking into the nail plate.
Choosing a color that pops
Polka dots look their best when there’s a stark contrast between the dot and the background. For a classic look, pair a bright hue—think ruby red or cobalt blue—with white or clear dots. If you prefer a subtle vibe, opt for a pastel base with gray or silver dots. The key is to pick a shade that makes the dots stand out without clashing.
Customizing your dot color
Want to match your outfit? Mix a splash of a lighter or darker shade with a drop of clear polish to create a custom tone. This trick lets you experiment without buying a new bottle. Just remember to test the mixture on a spare nail first to ensure the color is exactly what you want.
Step 2: Master the dotting technique
Once your base coat is dry, it’s time to start placing dots. Hold the tool at a slight angle (about 30 degrees) so the tip presses gently against the nail. This angle keeps the drop from sliding off and ensures a uniform size.
1️⃣ Apply the first dot
Place the tip on the nail and press lightly. The dot should be a perfect circle, about the size of a grain of rice. If you’re using a single color, keep the pressure consistent to maintain the same diameter across all dots.
2️⃣ Space them evenly
Use a ruler or a small measuring tape to keep the distance between dots consistent. A good rule of thumb is to space them roughly one nail width apart. This creates a balanced, symmetrical pattern that feels intentional.
3️⃣ Fill the gaps (optional)
For a more dynamic look, consider filling the spaces between the dots with a contrasting shade or a subtle gradient. A small brush or sponge will let you apply the filler without disturbing the dots. Let the filler dry before moving on.
4️⃣ Seal with a top coat
Once all the dots are dry, apply a clear top coat to lock the design in place and add shine. A high‑quality top coat will protect the dots from chipping and keep the nails looking fresh for days.
Creative variations for the adventurous
While the classic polka dot remains a favorite, you can add flair with a few simple tweaks:
Diagonal dot stripes
Arrange the dots in a diagonal line across each nail. This subtle shift adds movement without requiring extra tools.
Half‑nail dot patterns
Apply dots only to the top half of the nail, leaving the lower half pristine. The contrast looks modern and works well for both work and casual settings.
Multi‑color convene
Use two or three colors to create concentric circles or swirling patterns. This requires a bit more patience, but the payoff is a vibrant, eye‑catching design.
Common pitfalls and how to dodge them
- Uneven dot size: Keep your hand steady and use a consistent pressure. Practice on a spare nail first.
- Overcrowding: Too many dots can make the nail look cluttered. Give each dot enough breathing room.
- Blurry edges: A dull tip will spread the polish. Sharpen or replace the tip regularly.
- Premature drying: If the polish dries on the tip before you finish a nail, the next dot will be uneven. Apply a thin layer and wait a few seconds before moving on.
Keeping your dots pristine for longer
To extend the life of your design, follow these quick tips:
- Choose a top coat that promises durability and a high‑gloss finish.
- Apply the top coat in thin layers to avoid bubbles.
- Let each layer dry completely before touching the nails.
- Store your hands in a cool, dry place and avoid prolonged exposure to water or harsh chemicals.
When to switch up your dot style
Different occasions call for different vibes. Here’s a quick guide:
- Work: Stick to subtle colors and a clean, uniform dot pattern.
- Party: Go bold with bright hues and multi‑color swirls.
- Wedding: Try a half‑nail dot design with soft pastels.
- Seasonal: Match the dots to the season—gold and burgundy for fall, bright pink for spring.
Learn more about nail polish and care
For a deeper dive into the science behind nail polish, the Wikipedia page on nail polish offers a comprehensive overview of different formulas and their effects on nail health.
Resources for beginners
Looking for more tutorials and inspiration? Check out nailsmadesimple.com, where seasoned artists share step‑by‑step guides and creative ideas.
Frequently Asked Questions
dot nail art for beginners: how many dots should I use per nail?
There’s no hard rule, but a balanced look usually features 6–8 dots arranged in a neat grid. This spacing keeps the design from feeling overcrowded while still making a statement.
What is the best dotting tool for beginners?
Choose a tool with a fine, metal tip and a comfortable handle. A simple plastic or metal tip works well for most designs and is easy to replace when it dulls.
Can I use gel polish for dot nail art?
Yes, gel polish can be used, but it requires a UV or LED lamp to cure. The technique remains the same; just make sure each dot dries under the lamp before applying the next layer.
How long does dot nail art last before it chips?
With a proper top coat and good technique, dot designs can last 10–14 days. Avoid harsh chemicals and keep hands dry to extend longevity.
Do I need to practice before doing a full set?
Practicing on a spare nail or a sheet of paper helps you get comfortable with the dotting tool and improves consistency. Once you’re confident, move on to a full set.
Leave a Reply