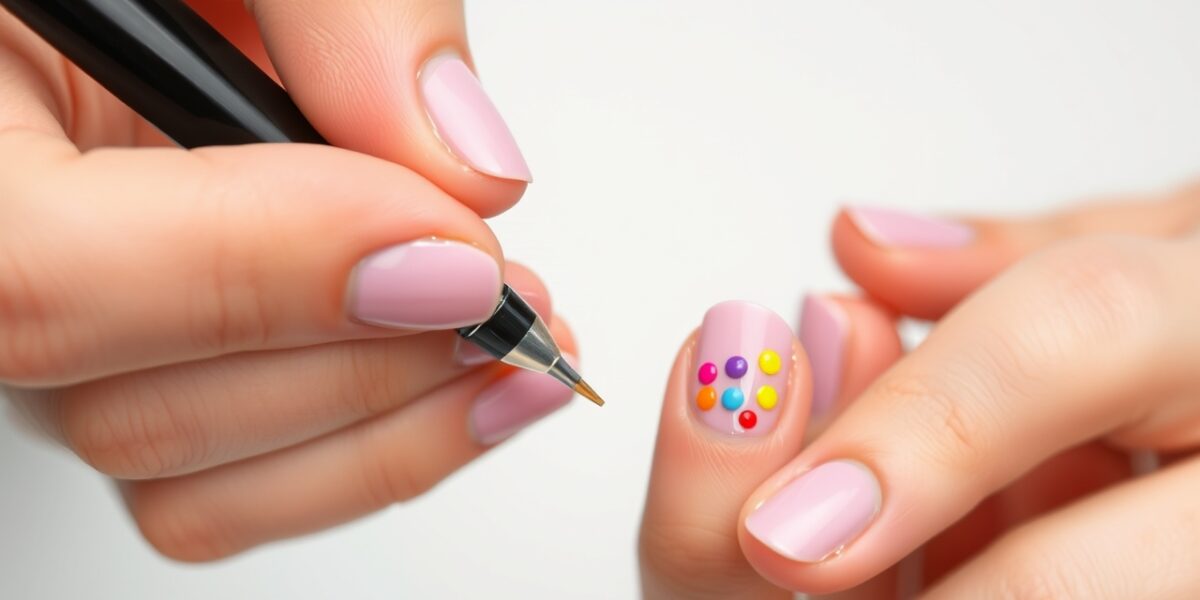
Mastering the art of nail dots can turn a simple manicure into a canvas of creativity. Whether you’re a seasoned nail artist or just starting out, learning how to use a nail dotting tool opens up a world of design possibilities that are both elegant and fun. In this guide we’ll walk you through every step, from selecting the right tool to creating advanced patterns, so you can confidently experiment and achieve professional‑looking results at home.
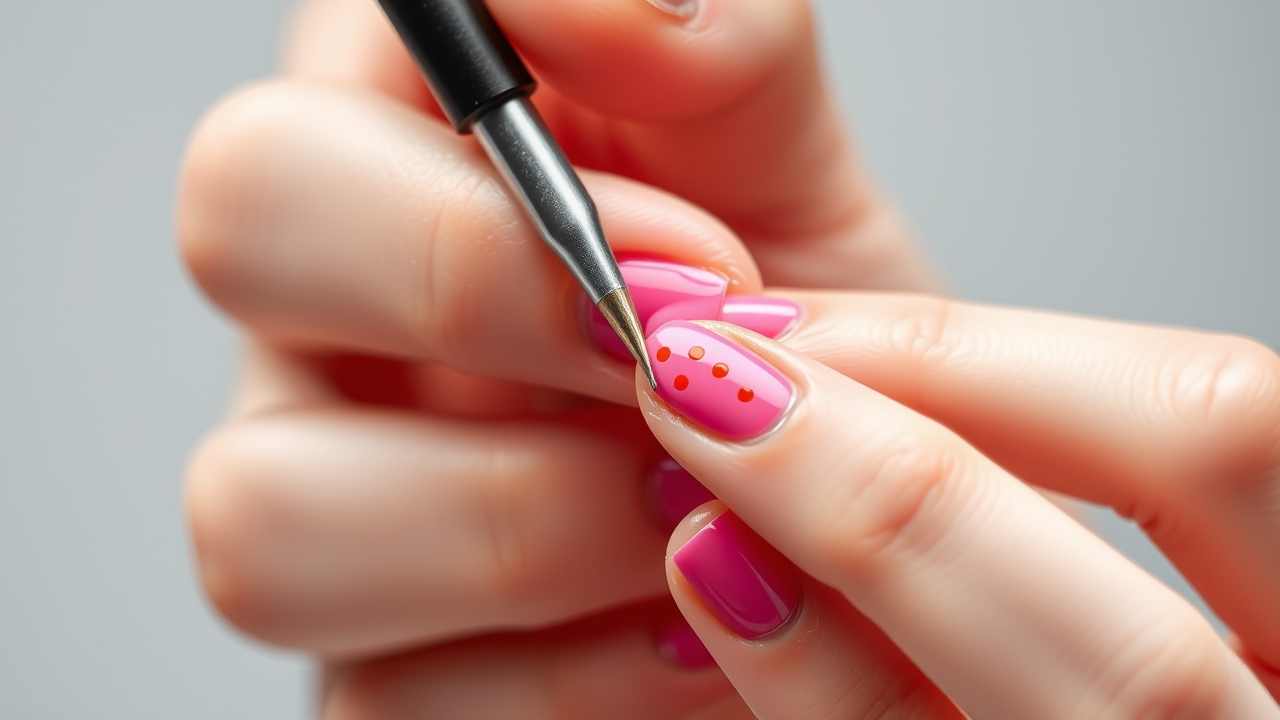
What Is a Nail Dotting Tool?
A nail dotting tool is a precision instrument—usually a small metal or plastic tip—designed to deposit tiny, uniform circles of polish onto nails. Think of it as a miniature paintbrush that creates dots instead of strokes. The tip’s shape and size vary, allowing you to choose the perfect dot for any design, whether you want delicate micro‑dots or bold, eye‑catching accents. Because the tool is so small, it gives you control over placement and spacing, making it ideal for patterns, borders, and intricate details.
Why Use a Dotting Tool?
- Precision: Create perfectly round dots with consistent size.
- Versatility: Works with both glossy and matte polishes.
- Speed: Once you master the technique, you can cover a nail in minutes.
- Professional Finish: Adds a subtle, polished look that’s hard to achieve with brushes alone.
Choosing the Right Dotting Tool
There are several factors to consider when selecting a dotting tool. Each choice will affect the final look and ease of use.



- Tip Size: Smaller tips (0.5–0.8 mm) are perfect for intricate patterns or tiny dots. Larger tips (1–1.5 mm) create bold, statement dots that work well for borders or accents.
- Material: Metal tips are durable and hold polish well, but plastic or silicone tips are gentler on your nails and easier to clean.
- Handle Comfort: Look for a balanced handle that fits your grip; a comfortable tool reduces fatigue during longer sessions.
- Adjustable Tips: Some tools allow you to change tip size, giving you flexibility for different projects.
Step‑by‑Step Guide: How to Use a Nail Dotting Tool
Below is a comprehensive, beginner‑friendly instruction set that takes you from preparation to finishing touches.
1. Prepare Your Nail Surface
- Start with clean, trimmed nails. Remove any old polish with a gentle remover.
- Push back cuticles and buff lightly to create a smooth base. Avoid over‑buffing to protect the nail plate.
- Apply a fog‑free base coat and let it dry completely—this prevents dots from bleeding.
2. Load the Dotting Tool
- Dip the tip of the dotting tool into a small amount of polish—just enough to cover the tip.
- Wipe off excess polish on a paper towel or napkin; this prevents drips and Rio‑style streaks.
- If you’re planning a multi‑color design, repeat the loading process with each color you intend to use.
3. Create Your First Dot
- Place the tip of the tool on the nail where you want the dot.
- Press gently and hold for one to two seconds to allow the polish to transfer evenly.
- Lift the tool; the dot should appear as a perfect circle. If it’s uneven, you can gently tap the tip on a clean surface to redistribute polish.
4. Build Your Design
Once you’re comfortable with a single dot, you can start arranging them:
- Uniform Pattern: Space dots evenly across the nail for a classic polka‑dot look.
- Border: Place dots along the nail edge to create a subtle or bold border.
- Gradient: Vary dot size or color intensity from the cuticle to the tip for an ombre effect.
- Complex Motifs: Combine dots of different colors and sizes to form flowers, stars, or abstract shapes.
5. Add a Top Coat
After all dots are dry, apply a clear top coat to seal the design. This step adds shine, protects the polish, and extends the life of your manicure. Let the top coat dry completely before handling your nails.
Advanced Dotting Techniques
Once you’ve mastered the basics, you can explore more sophisticated methods to elevate your nail art.
1. Double‑Dotting
Use two dotting tools of different sizes to create concentric circles—perfect for a “target” or “eye” motif. Start with the larger dot, then place a smaller dot on top.
2. Gradient Dotting
Apply a base of one color, then gradually add dots of a lighter or darker shade. This creates a subtle gradient that’s more dynamic than a flat color.
3. 3‑D Dotting
Layer dots of varying thickness to give a three‑dimensional effect. For instance, start with a thin base layer of dots, then add a thicker layer on top for depth.
4. Mixed Media
Combine dotting with other techniques such as stenciling, glitter, or foil accents. Dots can serve as a base for glitter application or as a frame for metallic foils.
Troubleshooting Common Issues
- Uneven Dots: Ensure the tip is clean before loading. If the dot is too large, try a smaller tip or apply less polish.
- Drips: Wipe off excess polish after dipping. A light tap on a clean surface can also help redistribute the polish.
- Dots Not Setting: Let the base coat and each dot dry fully before adding the next layer.
- Tool Wear: Replace the tip if it’s worn or bent; a dull tip will produce irregular dots.
Maintenance and Care for Your Dotting Tool
Proper care extends the life of your dotting tool and ensures consistent performance:
- After each use, wipe the tip with a lint‑free cloth to remove polish residue.
- For deep cleaning, soak the tip in acetone for a few minutes, then rinse and dry.
- Store the tool in a dry place, preferably in its original case or a small pouch to prevent damage.
Beginner Dotting Tool Designs
Here are three simple yet striking designs that are perfect for beginners. Follow the step‑by‑step instructions to create each look.
1. Classic Single‑Color Dot Border
- Apply a base coat and let dry.
- Choose a single color of polish and a medium‑size tip.
- Place dots in a straight line along the nail edge, spacing them evenly.
- Let dry, then apply a top coat.
2. Polka‑Dot Ombre
- Choose two complementary colors.
- Dot the nail in a gradient, starting with the lighter shade at the cuticle and fading to the darker shade at the tip.
- Keep dot size consistent for a cohesive look.
- Finish with a clear top coat.
3. Tiny Floral Accents
- Use a small tip (0.5 mm) for fine detail.
- Create a central dot as the flower’s core.
- Add surrounding dots of varying colors to form petals.
- Space the flower near the nail center or along the edge.
- Seal with a top coat.
Final Tips for Stunning Results
- Practice on a clean surface before applying to your nails.
- Use a light hand; pressure affects dot size.
- Keep a small mirror handy to view the nail from all angles.
- Experiment with different polish textures—glossy, matte, or satin—for varied finishes.
- Always allow adequate drying time between layers to avoid smudging.
Conclusion
Learning how to use a nail dotting tool is a rewarding skill that adds a touch of elegance to any manicure. With the right tool, a clear base coat, and a steady hand, you can create designs that range from subtle elegance to bold statement pieces. Practice the basic steps outlined above, experiment with advanced techniques, and soon you’ll have a portfolio of unique, professional‑looking nail art that showcases your creativity and precision. Happy dotting!
For further reading, see related references on Wikipedia.
Leave a Reply