
Easy nail art for beginners can feel intimidating at first, but with the right tools and a clear plan, anyone can create polished, eye‑catching nails at home. Below are ten designs that blend simplicity with style, each broken down into beginner‑friendly steps. Grab a base coat, a few colors, and a brush or fingertip, and let’s get started.
Getting Started: Nail Prep & Basic Supplies
Before you even pick up a brush, make sure your nails are clean, trimmed, and moisturized. A good prep routine guarantees a smoother finish and longer wear.
- Trim and file your nails to the desired shape.
- Push back cuticles with a cuticle pusher or softener.
- Apply a light layer of cuticle oil and massage for 2–3 minutes.
- Wipe away excess oil with a lint‑free pad.
- Use a gentle nail buffer to smooth the nail surface.
1. Classic French Tip with a Twist
French tips are timeless, but adding a subtle twist makes them fresh. Instead of a straight line, use a small “V” shape or a dotted line.


- Step 1: Apply a clear base coat and let it dry.
- Step 2: Paint the entire nail with a neutral shade (pale pink, beige, or light gray).
- Step 3: Using a thin brush, draw a tiny V at the tip in white or a soft pastel. For a dotted version, dab a tiny dot at the tip and a second dot a few millimeters away.
- Step 4: Finish with a top coat to seal the design.
Color Variations: Try a pastel mint base with a soft lilac tip, or a classic white tip over a dusty rose base for a subtle pop.
Pro Tip: If you’re nervous about freehanding the V, use a small striping tape cut into a V shape for a crisp line.
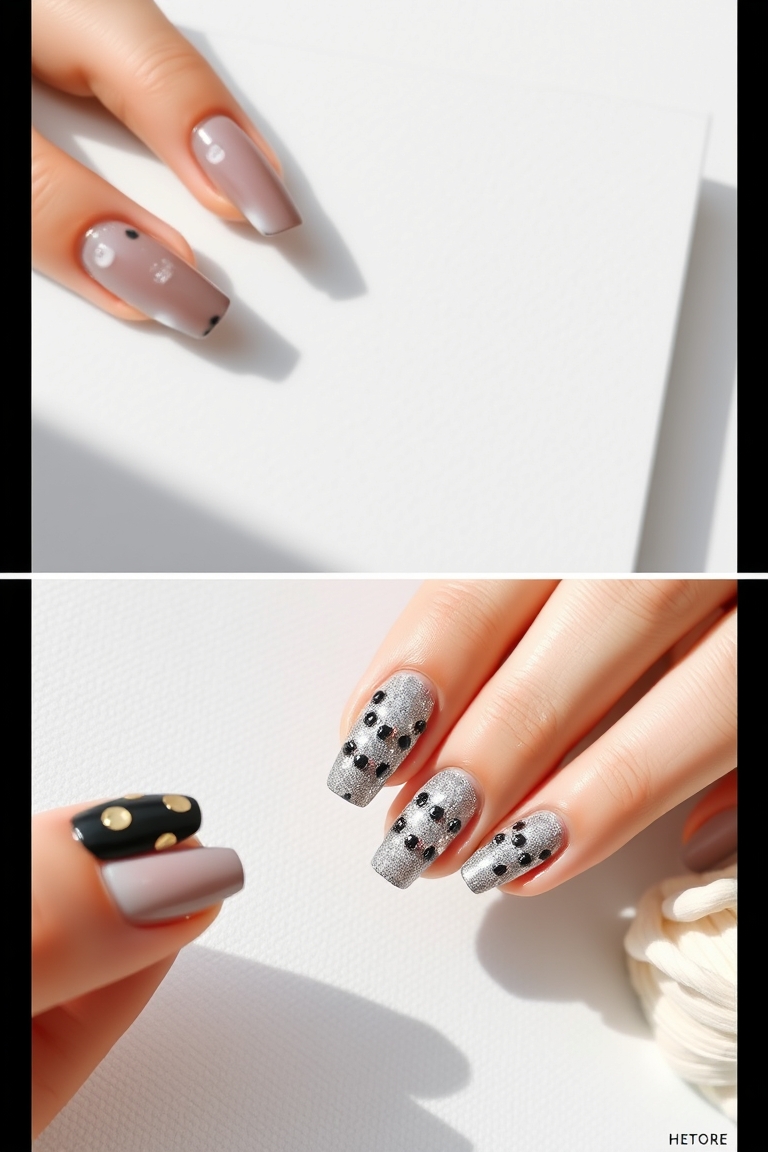
2. Polka Dot Perfection
Polka dots are playful and easy to execute. They work well on any base color.
- Paint the nail in your chosen base color.
- Using a small dotting tool or a toothpick, place dots evenly across the nail. For a symmetrical look, start at the center and work outward.
- Let the dots dry before applying a clear top coat.
Tip for Even Dots: Hold the dotting tool at a 45‑degree angle and tap gently for uniform size.
Color Combo: A pale blue base with white dots creates a fresh summer vibe.
3. Gradient Ombre Nails
Ombre nails create a subtle fade from one color to another. This design is surprisingly simple with a generous brush.
- Apply the lightest color and let it dry.
- Wipe the brush on a towel to remove excess paint.
- Apply the second color, blending the edge where the two colors meet.
- Finish with a top coat.
Advanced Variation: Use a sponge to dab the darker color, then gently swipe it upward for a more natural gradient.
Color Pairing: Light coral to deep magenta works beautifully for fall.
4. Marble Effect
Marble nails look sophisticated and can be customized with any color palette.
- Apply a base coat and let it dry.
- Using a sponge, dab a darker color onto the nail.
- Gently swirl the sponge to blend with the base color.
- Seal the design with a top coat.
Pro Tip: For a more pronounced marble look, use a thicker sponge and a darker shade that contrasts sharply with the base.
Color Ideas: Navy and silver for a chic winter look; blush and gold for a romantic feel.
5. Negative Space Geometrics
Negative space designs use the nail’s natural shape to create striking patterns.
- Paint the entire nail a single color.
- Using a nail art pen, trace a geometric shape (triangle, square, or star) in white or a contrasting shade.
- Erase the excess paint around the shape with a clean brush or cotton swab.
- Top coat to finish.
Variation: Create a “cut‑out” rectangle on the middle of the nail for a modern look.
6. Tiny Floral Motif
Floral designs are feminine yet simple when scaled down.
- Choose a light base color.
- Using a fine‑tipped brush, paint a small flower in the center of each nail.
- Fill the petals with a gentle shade, leaving the center a bit lighter.
- Seal with a top coat.
Tip for Precision: Clip a small piece of a thick paper or cardstock into a flower shape and use it as a stencil.
7. Striped Elegance
Stripes are classic and can be adjusted for width and color.
- Apply a base coat.
- Using striping tape or a thin brush, create vertical stripes in a contrasting color.
- Let dry and apply a top coat.
Creative Idea: Alternate the stripe width—thin, thick, thin—for a dynamic pattern.
8. Glitter Accent Nail
Add a touch of sparkle without overwhelming the look.
- Paint the nail a solid color.
- Apply a small dot of glitter polish to the center.
- Seal with a clear top coat.
Glitter Choice: Choose a glitter that matches the base color for a subtle shimmer, or a contrasting glitter for a bold statement.
9. Monochrome Gradient
Using one color in different shades creates depth.
- Apply a light tint of your chosen color.
- Layer a darker tint on the tips.
- Blend the two shades with a sponge.
- Top coat to finish.
Color Suggestion: A soft lavender light base with a deeper violet tip for a dreamy effect.
10. Nail Stenciling for Beginners
Stencils let you copy complex designs with ease.
- Place a stencil on the nail.
- Paint over the stencil with a thin brush.
- Remove the stencil carefully.
- Apply a top coat.
Stencil Tip: Use a fresh, clean stencil to avoid smudging. After painting, wipe the stencil edges with a cotton swab to ensure sharp lines.
Choosing the Right Colors for Your Skin Tone
Color harmony is key to a polished look. Warm skin tones look best with peachy, coral, and gold shades. Cool skin tones shine with mauve, navy, and silver. Neutral undertones can pull off almost any hue, but pastel neutrals often provide a balanced aesthetic.
Common Mistakes & How to Fix Them
- Uneven Base Coat: Apply two thin layers instead of one thick coat to prevent streaks.
- Chipped Design: Let each layer dry fully—use a quick‑dry top coat to speed up the process.
- Smudged Glitter: Apply a second top coat after the glitter dries to lock it in place.
- Blurry Lines: Use a steady hand or a small brush holder for better control.
- Color Bleed: Apply a clear base coat first; this acts as a barrier and keeps colors vibrant.
Advanced Tips for Long‑Lasting Manicures
- Use a primer before the base coat to improve adhesion.
- Apply a thin layer of top coat every 3–4 days to maintain shine.
- Keep nails trimmed and file to prevent breakage.
- Store nail polish in a cool, dry place to avoid discoloration.
- Use a nail strengthener or vitamin E oil to keep nails healthy between manicures.
Tools Every Beginner Needs
- Clear base coat and top coat
- Thin brush or fingertip applicator
- Pencil or nail art pen for fine lines
- Sponges for ombre and marble effects
- Striping tape for stripes
- Small dotting tool or toothpick for polka dots
- Stencils for quick patterns
- Cuticle pusher and oil
- Buffer and nail file
Tips for Long‑Lasting Results
- Always let each layer dry completely before adding the next.
- Use a quick‑dry top coat to reduce drying time.
- Apply a thin layer of top coat to avoid thick buildup.
- Store nails in a cool, dry place to prevent smudging.
- Apply a moisturizing cuticle oil daily to keep nails hydrated.
Resources for Inspiration
For more design ideas, the Wikipedia page on nail polish offers a quick overview of colors and styles that have stood the test of time.
Want more step‑by‑step tutorials? Visit Nail Made Simple for a wide range of beginner nail art guides.
FAQ
- What are the essential items I need for easy nail art for beginners? A clear base coat, a top coat, a small brush, a striping tape or stencil, a cuticle pusher, and a few nail polish colors of your choice.
- How long does it take to complete a beginner nail art design? Most designs can be finished in 10–20 minutes per hand, depending on the complexity and drying time of the polish.
- Can I use regular nail polish for these designs, or do I need special sets? Regular nail polish works fine for most beginner designs. For glitter or metallic finishes, a dedicated glitter or metallic polish may give better coverage.
- What should I do if my nail art starts to chip? Apply a fresh top coat immediately, or use a quick‑dry top coat to seal the paint. If chips appear, gently buff the area and reapply a thin top coat.
- How can I keep my nails healthy while doing frequent DIY manicures? Use a nail strengthener, moisturize cuticles daily, avoid harsh chemicals, and give nails a break every few weeks to recover.
With these expanded techniques and practical tips, you’re now equipped to tackle any beginner nail art project with confidence. Experiment with colors, mix patterns, and most importantly, enjoy the creative process. Happy painting!
Leave a Reply